A kitchen island can really change your cooking space, making it both a functional workspace and a social spot. The secret to a great kitchen design? Pick an island with dimensions that fit your needs and your space.
Remember to repin your favorite images!
Choosing the perfect kitchen island size comes down to your kitchen layout, how much room you have, and how you actually use your kitchen every day.
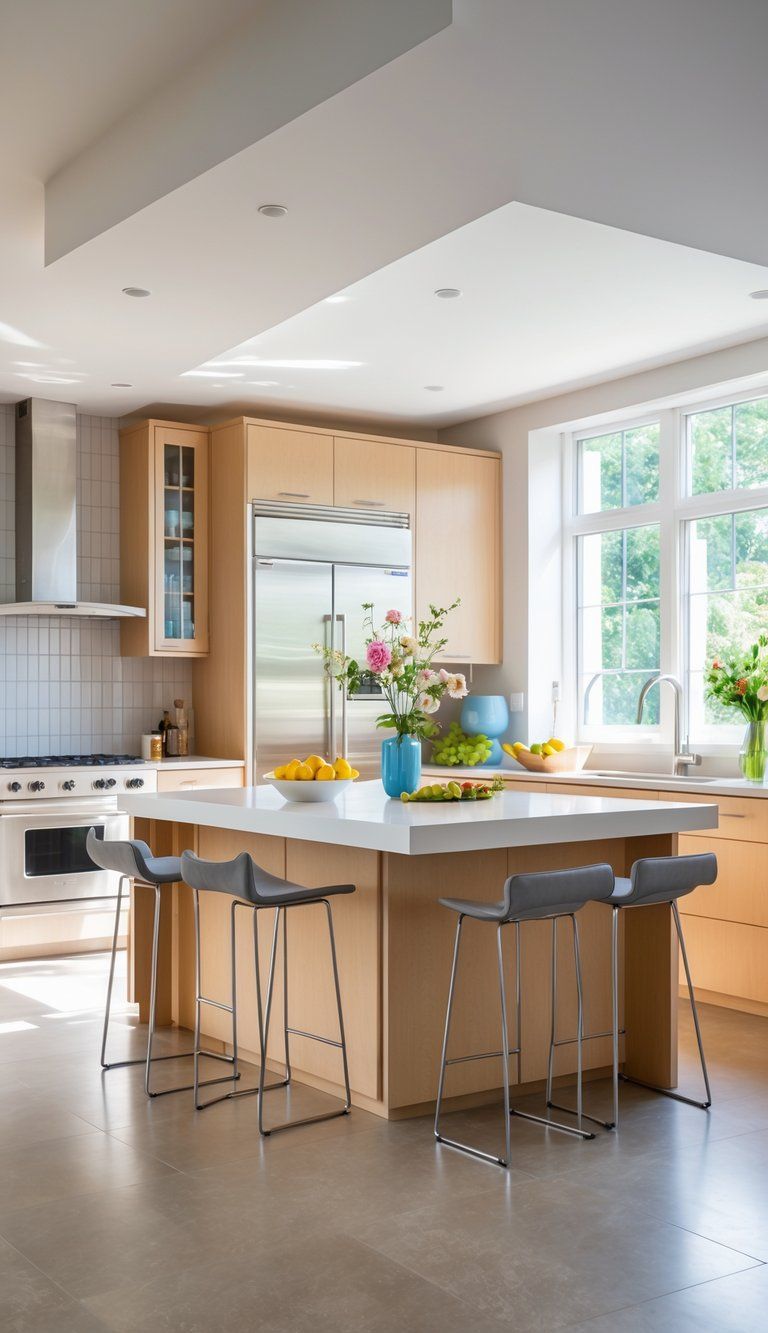
When you plan your kitchen island, don’t overlook the importance of size. Small islands (3-5 feet) suit compact kitchens, while medium ones (5-7 feet) fit average spaces.
Large islands (7-10+ feet) really stand out in big kitchens. Always leave at least 36 inches around all sides for easy movement and access to cabinets and appliances.
Your island should make your kitchen’s workflow smoother, not more complicated. Think about how it fits into your kitchen’s work triangle—the path between sink, stove, and fridge.
The right island supports your traffic pattern and gives you what you need, whether that’s extra counter space, a casual dining spot, more storage, or a place for a sink or cooktop.
Fundamentals of Kitchen Island Size
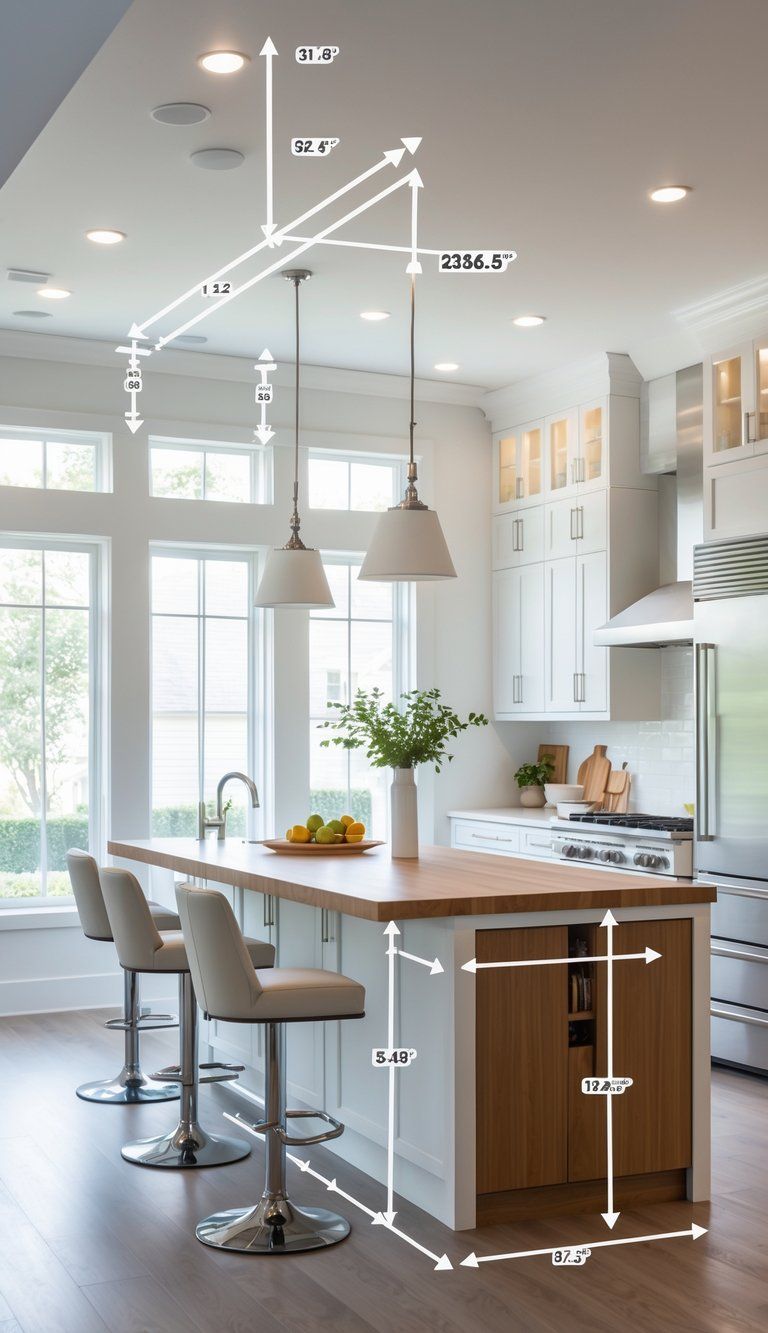
Designing the perfect kitchen island starts with knowing the basics about size. The right measurements help your island fit, function, and keep everyone moving comfortably.
Standard Kitchen Island Dimensions
Most kitchen islands measure around 80 inches long by 40 inches wide (2000mm x 1000mm). But honestly, this varies a lot depending on your kitchen and what you want.
Standard island height is 36 inches, which matches most counters. This keeps things looking neat and gives you a comfortable spot to work.
If you want seating, you might add a raised section at 42 inches high. That helps separate work space from dining space.
When you plan for seating, leave about 22-24 inches of width per person. That way, no one feels squished.
Proportionality and Scale
Your island should match your kitchen’s size. A huge island in a tiny kitchen just gets in the way. A tiny island in a big room looks odd.
Try to keep your island under 10% of your kitchen’s total square footage. This keeps things balanced and leaves you enough workspace.
Think about how your island looks, too. Bulky islands can swallow up small kitchens, while super-minimal islands might disappear in a big space.
Shape matters. Rectangular islands fit most kitchens, but L-shaped or curved islands can make the most of unusual layouts.
Clearance Space Requirements
You need enough space around your island to move, open appliances, and work. Don’t skimp on this.
Leave 42-48 inches between your island and other counters or appliances. This way, two people can work back-to-back without bumping elbows.
If you’re usually the only cook, you can get away with 36 inches, but don’t go smaller. Less than that, and things get tight fast.
Watch out for clearance near appliances. Leave at least 48 inches where fridge doors swing open or where you load the dishwasher.
If your kitchen is a main path to other rooms, make sure your island doesn’t block the way.
Assessing Your Kitchen Layout
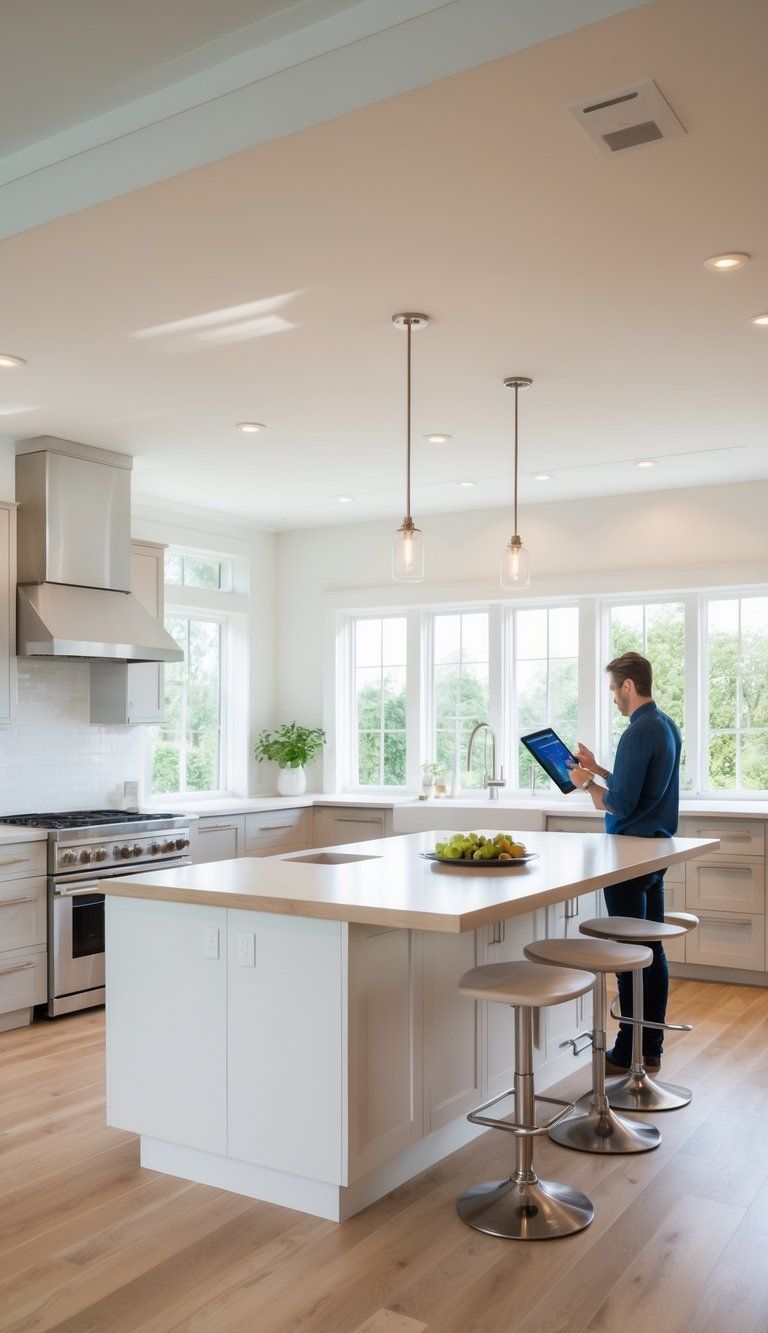
Before you pick a kitchen island, take a good look at your kitchen’s layout and how people move through it. This helps make sure your island adds to your kitchen, not just gets in the way.
Understanding Kitchen Layout Types
Most kitchens fall into one of five layouts: galley, L-shaped, U-shaped, G-shaped, or open plan. Each one gives you different options for island placement.
L-shaped kitchens often have room for a center island. U-shaped kitchens might fit a smaller island inside the “U” shape.
Galley kitchens usually don’t have space for a traditional island, but sometimes a rolling cart or a narrow table works.
Open plan kitchens give you the most freedom. Islands can act as a boundary between the kitchen and living areas.
G-shaped kitchens (with a peninsula) might fit a small island opposite the peninsula, but only if there’s enough room.
Your current layout really decides what size and shape island will work. Don’t try to squeeze in an island if your space is too tight—it just causes headaches.
Traffic Flow and Workflow Patterns
Good kitchen design pays attention to how people move. Always keep at least 36 inches of space around your island for walking.
If you have a busy kitchen or more than one cook, 42-48 inches is better.
Keep the work triangle—sink, fridge, stove—efficient. Your island shouldn’t block it, but it can join in by holding a sink or cooktop.
Ask yourself:
- How many people cook at once?
- Do kids need to walk through the kitchen?
- Will guests hang out here during parties?
Islands can naturally guide traffic. Put your island where it helps, not where it gets in the way.
Spatial Requirements Analysis
Start by measuring your kitchen’s square footage and the space available for an island. Standard islands need:
- At least 2 feet wide
- At least 4 feet long
- Ideally, 3 feet × 6-8 feet
If your kitchen is under 150 square feet, maybe a rolling island or peninsula fits better. Bigger kitchens (200+ square feet) can handle islands up to 4 × 10 feet.
Try marking the island’s footprint with tape on the floor. Live with it for a few days. If you keep bumping into it or feel cramped, scale it back.
Bigger isn’t always better. An oversized island in a small kitchen just makes things awkward. The best island fits your space and supports how you cook.
Determining the Ideal Island Configuration
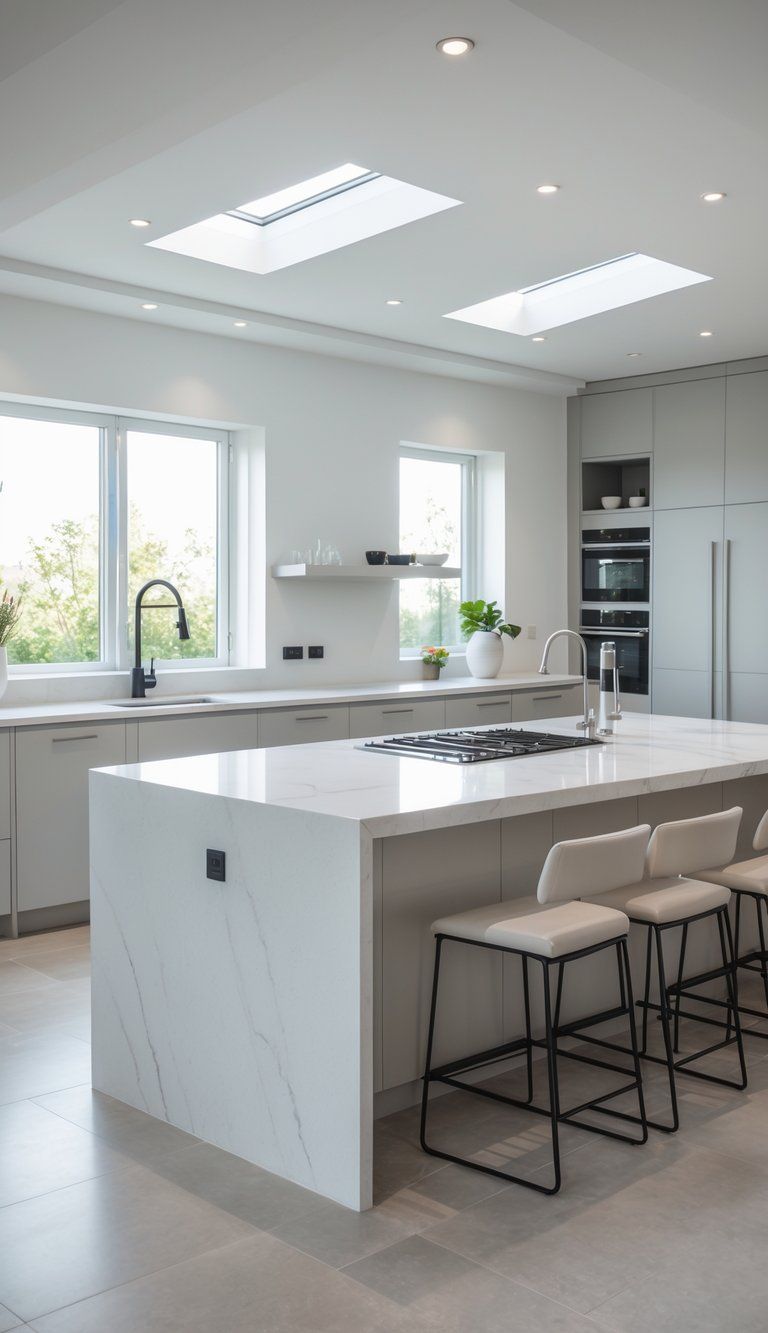
How you configure your kitchen island makes a huge difference in how your kitchen works and feels. Don’t just default to a rectangle—special shapes can change how you use the space.
L-Shaped and U-Shaped Islands
L-shaped islands work great in open floor plans where you want to separate cooking and dining. You’ll need at least 12 by 14 feet of kitchen to make this work.
Give yourself 36-48 inches of space around all sides for easy movement.
U-shaped islands partially enclose the space, which is awesome for entertaining. They need a big kitchen (at least 15 by 15 feet) and can include things like:
- A prep sink on one side
- A cooktop on another
- Seating on the third side
Lighting matters even more with U-shaped islands since they create a more enclosed area.
Multi-Level and Custom Designs
Multi-level islands solve a lot of kitchen challenges. A raised bar section (usually 42 inches high) can:
- Hide kitchen mess from guests
- Create a spot for dining
- Separate cooking from socializing
Families with kids might want a lowered section (30 inches) for baking or homework.
Custom islands can meet special needs. Here are some popular features:
| Feature | Benefit |
|---|---|
| Curved ends | Easier to walk around |
| Built-in appliances | More functional |
| Mixed materials | Adds interest |
If you’re remodeling, work with a designer to create detailed drawings first. It helps you picture how the island will fit your kitchen’s traffic patterns.
Seating and Social Interaction
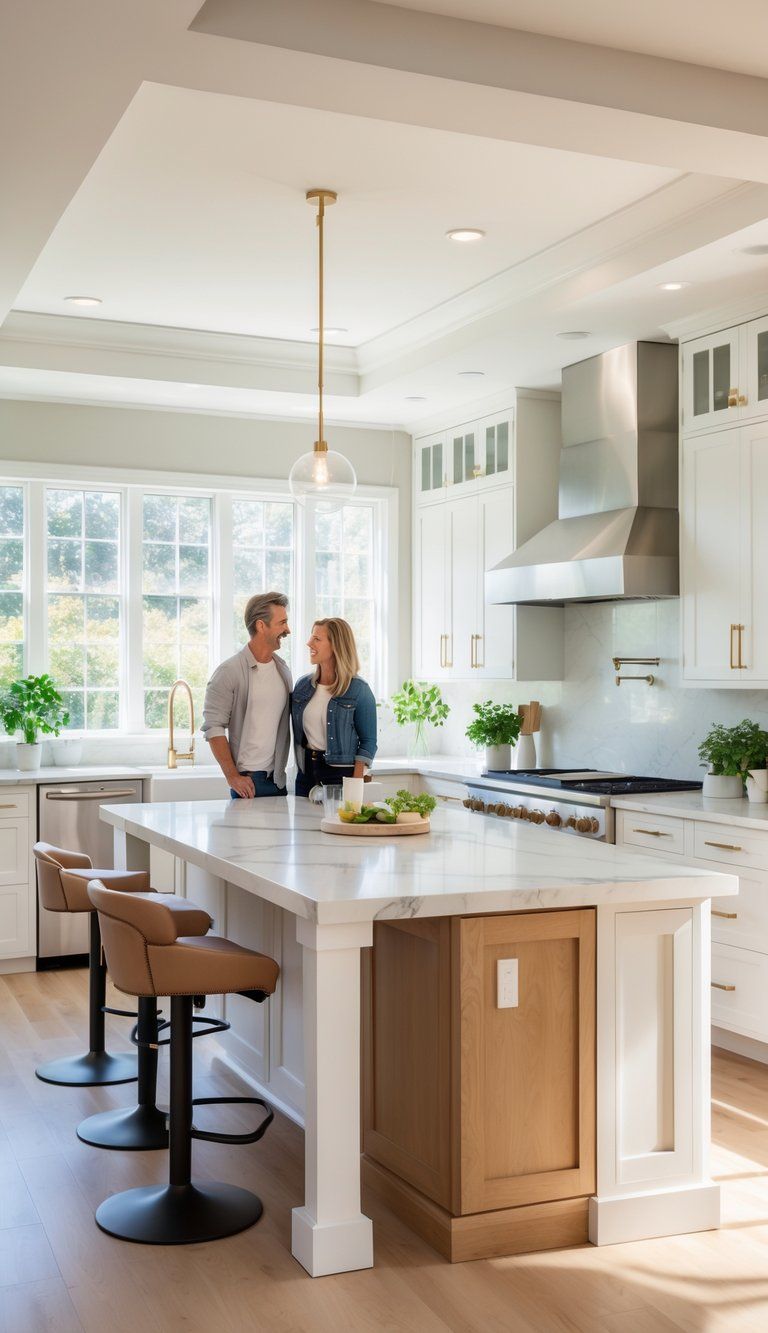
Islands with seating turn your kitchen into a hangout spot where people cook, eat, and chat. A well-designed island makes it easy for family and friends to gather while keeping things practical.
Island with Seating Options
Think about how you’ll use your island’s seating. Bar-height seating (42 inches) gives a casual, pub-like vibe.
counter-height options (36 inches) blend with regular counters. Table-height (30 inches) is comfiest for long meals.
For families with kids, lower counters are safer and easier. Counter-height usually works for most people as a good middle ground.
L-shaped and T-shaped islands can seat more people than rectangles. These shapes let guests face each other, which is great for conversation.
Consider a built-in banquette if you want a cozy, restaurant feel and need to save space.
Stool Spacing and Counter Overhang
Give everyone enough elbow room at your island. Allow 24-26 inches of counter width per stool, or up to 30 inches if you want it roomy.
For counter overhang, stick to these numbers:
- 12 inches: Minimum for knees
- 15-18 inches: Most comfortable
- 24 inches: Only with extra support
Countertop material matters for overhang:
- Granite: Up to 10 inches unsupported
- Quartz: Up to 14 inches
- Marble: 6-8 inches
Add brackets or legs for style and support if you go bigger.
Breakfast Bar Considerations
A breakfast bar on your island gives you a casual spot for quick meals or entertaining. Shoot for at least 12 inches of depth for plates, but 16-18 inches feels better.
Most people like counter-height (36 inches) breakfast bars for versatility.
Install outlets on the sides for laptops or small appliances. That way, your island doubles as a workspace or charging station.
Hang pendant lights 30-36 inches above the bar for good lighting and to make the dining zone stand out. It’s practical and looks great, too.
Functionality and Workflow Efficiency
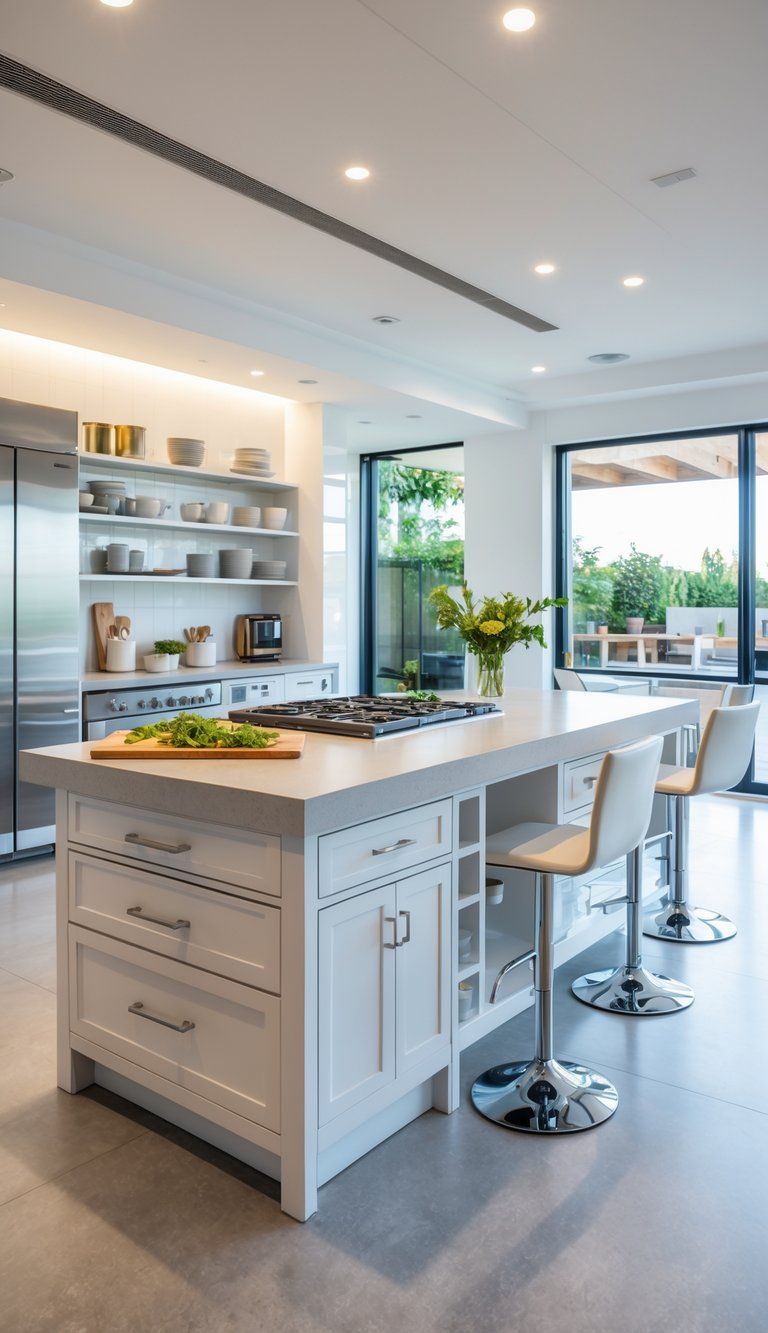
A smartly designed kitchen island makes your daily routine easier by supporting smooth movement and better organization. The right setup encourages a natural flow between kitchen tasks.
Defining Zones: Cooking, Prep, and Serving
Divide your kitchen island into zones for different activities. The cooking zone needs heat-safe surfaces and good ventilation if you add a cooktop. Keep this away from where people sit for safety.
The prep area should have plenty of counter space—at least 30 inches wide by 24 inches deep. If you can, add a small sink here to cut down on back-and-forth.
Set up a serving zone at the edge of the island facing your dining space. You might make this section a bit lower (34-36 inches) than the rest to help it stand out.
Arrange your zones to follow your cooking routine: from fridge, to prep, to cooking, to serving. It just makes everything flow better.
Storage Solutions and Cabinet Depth
Your island gives you valuable storage opportunities that really help with kitchen functionality.
Deep drawers—at least 24 inches—work better than cabinets for pots, pans, and those awkwardly big items.
Try pull-out organizers for easier access. They just make life simpler.
Most islands use 24-inch deep cabinets, but you can bump that up to 30 or even 36 inches if you want more storage.
Just make sure you still have enough clearance to move around comfortably.
Some practical storage ideas:
- Specialized drawers: Spice drawers, utensil dividers, and knife blocks
- Vertical dividers: Great for baking sheets and cutting boards
- Trash and recycling pullouts: Hidden but still easy to reach
Try to balance closed storage with a bit of open shelving. That way, you get function and a bit of visual flair.
Countertop Space and Height
Counter height and space can totally change how your kitchen works.
Standard counter height is 36 inches, but here are some options:
| Section | Ideal Height | Best For |
|---|---|---|
| Prep Area | 36 inches | Standard cooking tasks |
| Baking Station | 30-32 inches | Rolling dough, kneading |
| Breakfast Bar | 42 inches | Bar-height seating |
Leave at least 15 inches of countertop space on both sides of cooktops or sinks. You’ll want those landing zones for hot pans and prepping food.
Countertop depth should land between 24 and 30 inches for enough workspace. If you want seating on the other side, go up to 36 inches.
Pick materials like quartz or granite. They’re tough, heat-resistant, and still look good after years of use.
Adapting Island Size to Different Kitchen Types
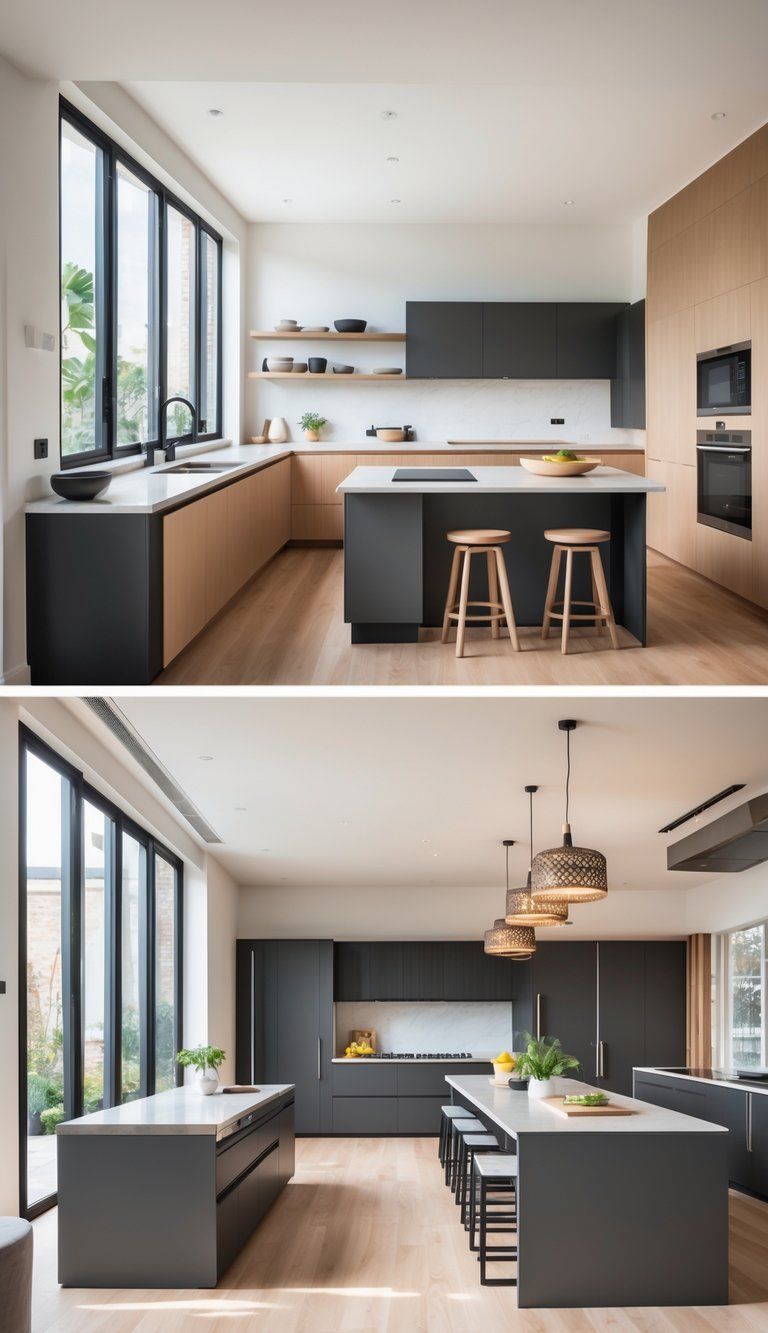
Every kitchen layout comes with its own set of opportunities for island design.
The right island size depends on your space and how you plan to use it.
Small Kitchens and Compact Spaces
In small kitchens, every inch really matters.
For compact spaces, islands between 24-48 inches wide and 36-40 inches long can give you extra workspace without making things feel cramped.
Clearance is a big deal in tight kitchens. Try to keep at least 36 inches of walking space around every side.
If you’re short on space, you have some options:
- Rolling islands: Move them out of the way when you need to
- Peninsula designs: Attach to a wall and save floor space
- Slim islands: Narrow, 18-24 inch wide islands work where standard ones just won’t
Multi-purpose features make small islands more useful. Look for built-in storage, fold-down extensions, or seating that slides underneath.
Open-Concept and Large Kitchens
Large kitchens can handle islands that are 4 to 10 feet long and 3 to 4 feet wide.
In these bigger layouts, your island can really stand out and become the heart of the kitchen.
When you size an island for an open kitchen, keep it in proportion to the room. Even with lots of space, leave 42-48 inches of clearance so people can move around easily.
Here are some configuration ideas for big spaces:
- L-shaped islands: These use corner space and can be 48-96 inches per side
- Double islands: Two in parallel let you split up prep and dining zones
- Tiered designs: Surfaces at different heights separate cooking from eating
You can add major appliances to your island if you’ve got the room.
Plan for extra space if you want a sink (24+ inches), dishwasher, or cooktop (at least 30 inches). Just think about how these affect the flow around your island.
Lighting and Visual Impact
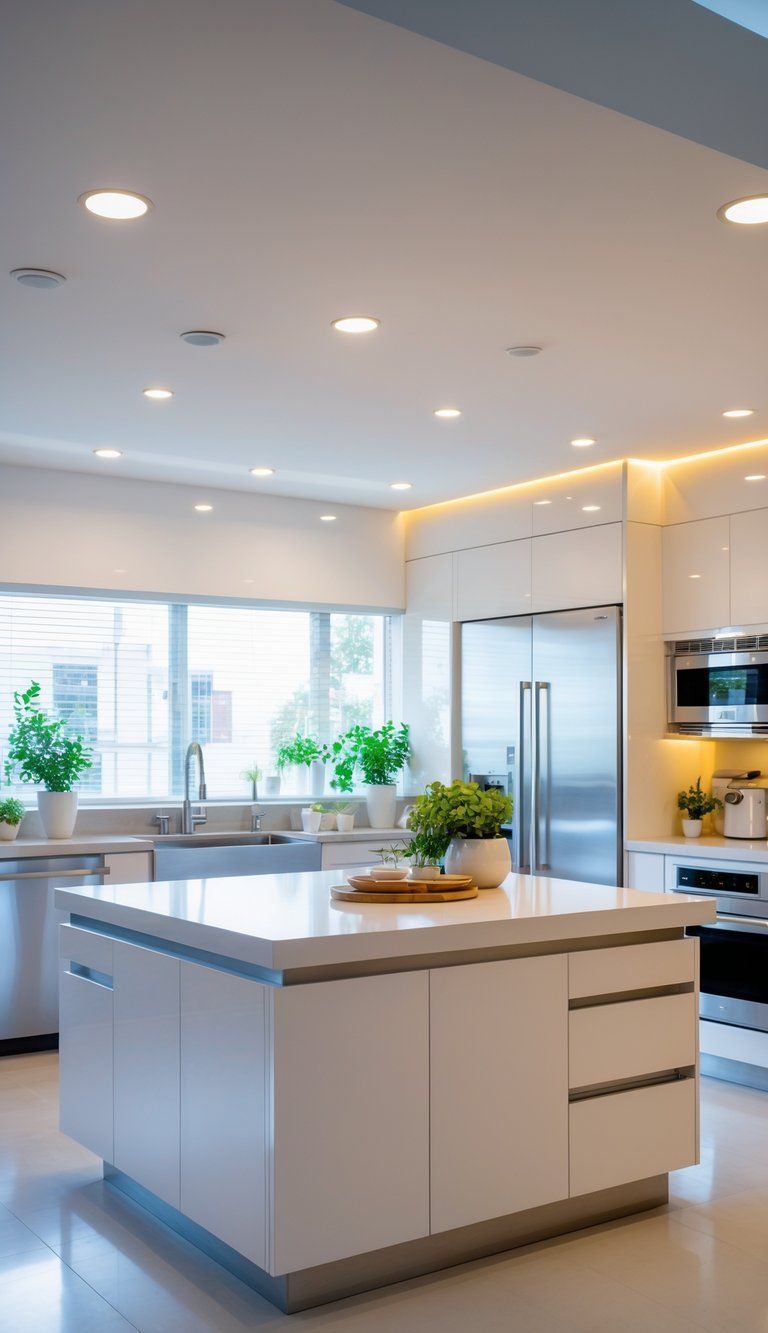
Good lighting turns your kitchen island into more than just a work surface—it can easily become the star of the room.
The right lights show off your design and give you task lighting for cooking and eating.
Proper Lighting Placement
Hang kitchen island lighting 30-36 inches above the countertop if you have standard 8-foot ceilings.
That height keeps your sightlines open and gives enough light for tasks.
For islands over 6 feet long, use several lights spaced 24-30 inches apart. This way, you won’t get those annoying dark spots.
The size of your fixtures matters. As a rule, the diameter of your pendant lights (in inches) should match the width of your island (in feet). So, a 3-foot wide island looks good with 3-inch diameter pendants.
If your ceiling’s taller, bump up the pendant size by 2-3 inches for each extra foot of height. That keeps everything in proportion.
Design Principles for Visual Balance
Your island lighting should work with—not fight against—other kitchen lighting.
Pick fixtures that match your overall kitchen style but still add some interest.
Think about the weight and look of your lighting. Chunkier islands need more substantial fixtures, while sleek islands look better with simple, clean pendants.
The number of lights affects balance, too. For a 6-foot island, three smaller pendants usually feel more balanced than two big ones.
Light color changes the vibe. Warm light (2700-3000K) cozies up wood tones, while cooler light (3500-4000K) fits modern kitchens with white or gray counters.
Finalizing Your Kitchen Island Selection
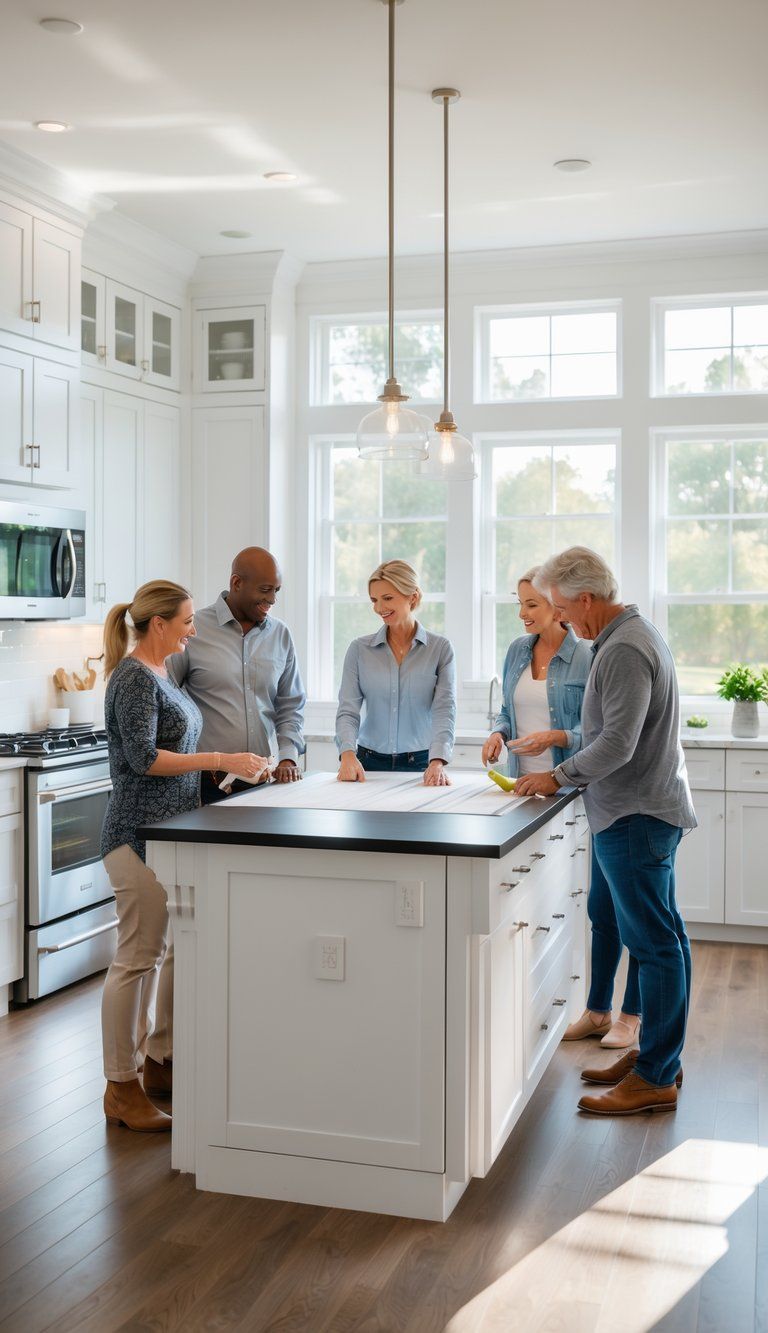
Choosing your kitchen island isn’t just about looks—it’s about how it fits your life and kitchen space.
The best choice balances size, function, and how you move around the kitchen.
Reviewing Your Kitchen Remodel Goals
Think back to why you wanted a kitchen island in the first place.
Are you after more prep space, storage, or a spot for everyone to gather?
Let your goals steer your decision. If you love to cook, make sure the island has enough counter space.
If you entertain, figure out if you need seating and how many people you usually host.
Jot down your must-haves:
- How much work surface you need
- Storage priorities
- Seating requirements
- Any special features (sink, cooktop, etc.)
Compare your options to this list. The right island should fit your daily routine and make your kitchen look and work better.
Tips for Measuring and Planning
Start by grabbing a tape measure and checking your space. It’s easy to misjudge, so take your time and double-check those numbers.
Make sure you leave about 36 to 42 inches of clearance around each side of your island. You’ll want enough room to move comfortably, trust me.
Try marking the outline of your planned island with painter’s tape right on the floor. Then, just live with it for a few days. Walk around, cook, open the fridge—see if anything feels cramped or awkward.
Here are some quick guidelines to keep in mind:
- Minimum width: 2 feet, which is just enough for a workable surface
- Ideal length: anywhere from 3 to 7 feet, depending on how much room you’ve got
- Standard height: 36 inches for a work surface, but 42 inches if you’re adding bar seating
If you’re still unsure, grab a table or stack some boxes where the island will go. It’s a bit makeshift, but it really helps you picture the final result.
Take a few photos from different spots in your kitchen. Looking at those later can help you spot things you might’ve missed, or maybe even spark a new idea.

