Window seats bring a lovely mix of charm and usefulness to any home. These cozy nooks make perfect reading spots and double as valuable storage space—all without eating up extra floor space.
Remember to repin your favorite images!
When you build a window seat with storage, you turn forgotten corners into features that boost both style and organization.
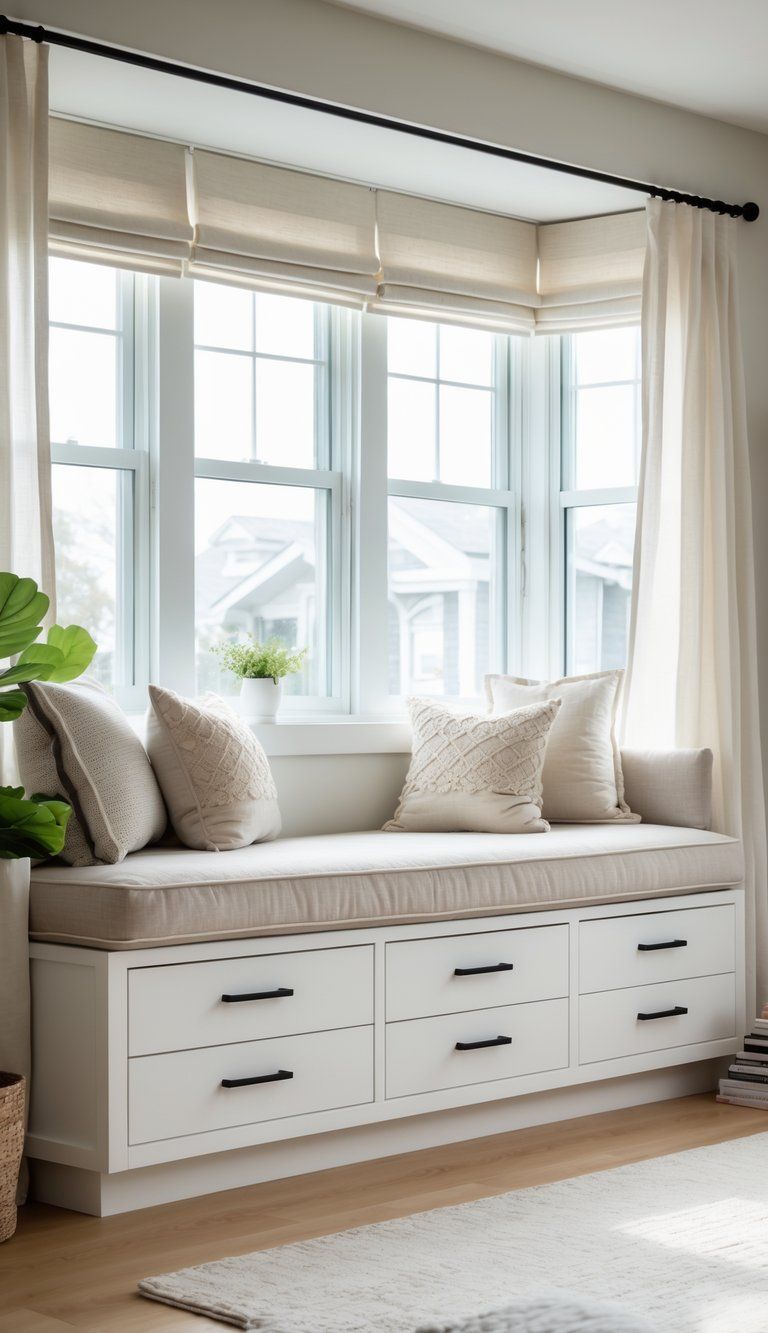
Trying to squeeze more out of a small room? Add a window seat with drawers or a lift-top compartment to stash away blankets, books, or whatever clutters up your space.
Natural light from the window makes this spot ideal for curling up with a book or just kicking back. It’s a win-win: comfort and storage, all in one bright corner.
Window seat storage is pretty versatile, honestly. You can tweak the design to fit your style—maybe you love crisp modern lines, weathered reclaimed wood, or the classic look of white cabinetry.
Top it off with comfortable cushions and pillows, and you’ve got a cozy perch. Underneath, baskets, cabinets, or drawers keep things tidy but close at hand.
Understanding the Benefits of Window Seat Storage
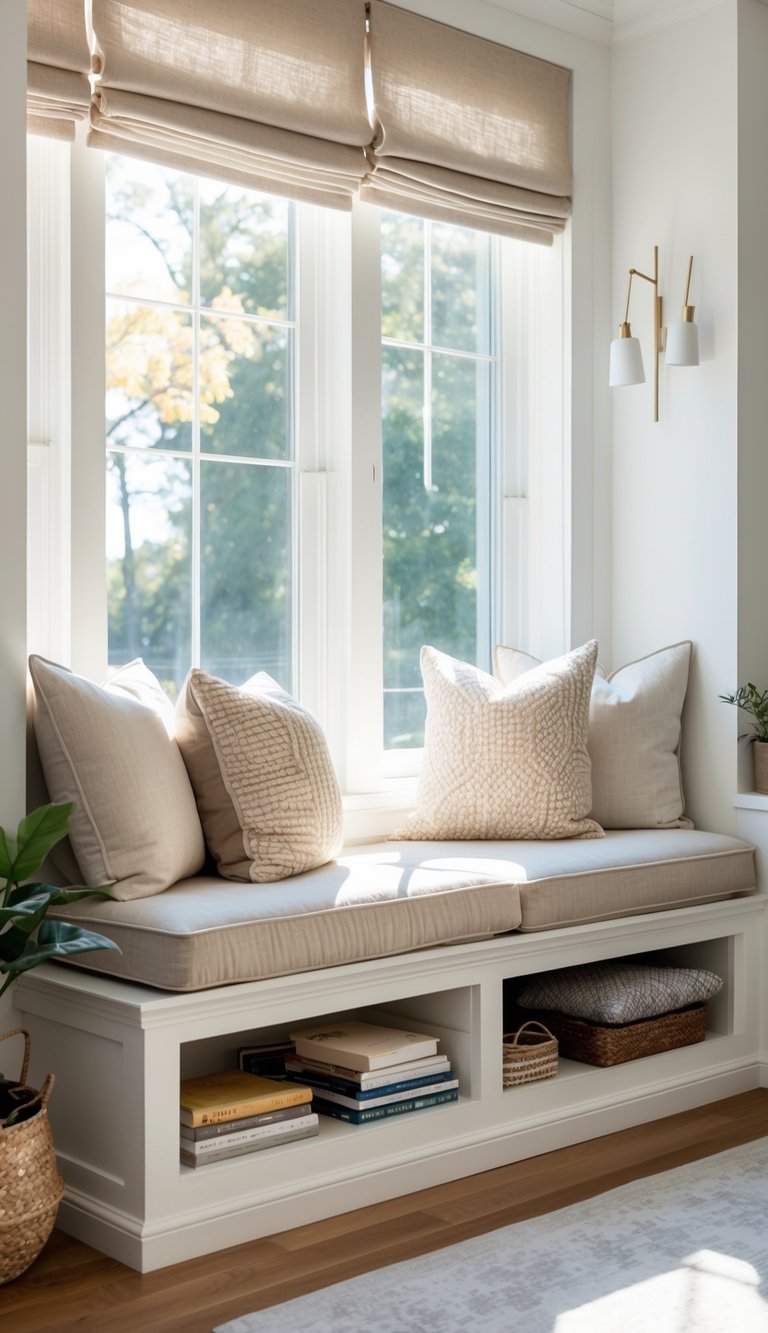
Window seat storage gives homes of all sizes a clever way to blend beauty and function. You can turn a plain window into a multi-purpose area that serves both practical and decorative purposes.
Maximizing Functional Space
A window seat with storage lets you reclaim space that usually goes unused. By tapping into the area under windows, you get storage without losing any precious floor space—huge for small rooms.
A typical window seat can offer about 10-15 cubic feet of hidden storage. That’s not nothing!
These built-ins shine in bedrooms, living rooms, and reading nooks. You can stash away seasonal stuff, extra blankets, books, or toys—out of sight but always close.
Most window seats are about 16-20 inches deep and around 18 inches high, but you can adjust them for your window size and what you want to store.
This design takes advantage of vertical space that usually just sits empty. Many people find that adding storage under windows helps cut down on clutter, making the room feel calmer and more organized.
Combining Style with Storage Solutions
Window seats don’t just solve storage problems—they look great, too. You can make yours fit your home’s vibe, whether that’s modern, rustic, or classic.
Popular Style Options:
- Reclaimed wood for a rustic, eco-friendly touch
- Sleek cabinetry for a modern feel
- Beadboard for cottage charm
- Built-in bookcases for book lovers
A cushioned top invites you to sit and relax, while storage hides beneath. Toss on some throw pillows in colors or patterns you love to pull the look together.
Many window seats use lid-style tops or drawers for easy access. Some people go for basket storage for a more laid-back, flexible setup.
This mix of comfort and convenience is honestly hard to beat.
Versatile Design Features
Window seat storage adapts easily to your space and needs. There’s a bunch of ways to set it up:
Storage Access Types:
- Hinged lids
- Pull-out drawers
- Cabinet doors
- Open shelving
- Basket storage
You can pick materials that suit your style. Natural wood adds warmth, while painted finishes let you play with color. In high-traffic areas, water-resistant fabrics for cushions are a smart move, but you might want something fancier for formal rooms.
Window seats fit almost anywhere—kitchen breakfast nooks, attic hideaways, dormers, or along a straight wall.
They provide extra seating for gatherings, a quiet spot for yourself, and hidden storage—all while adding personality and value to your home.
Planning and Measuring for a Window Seat with Storage
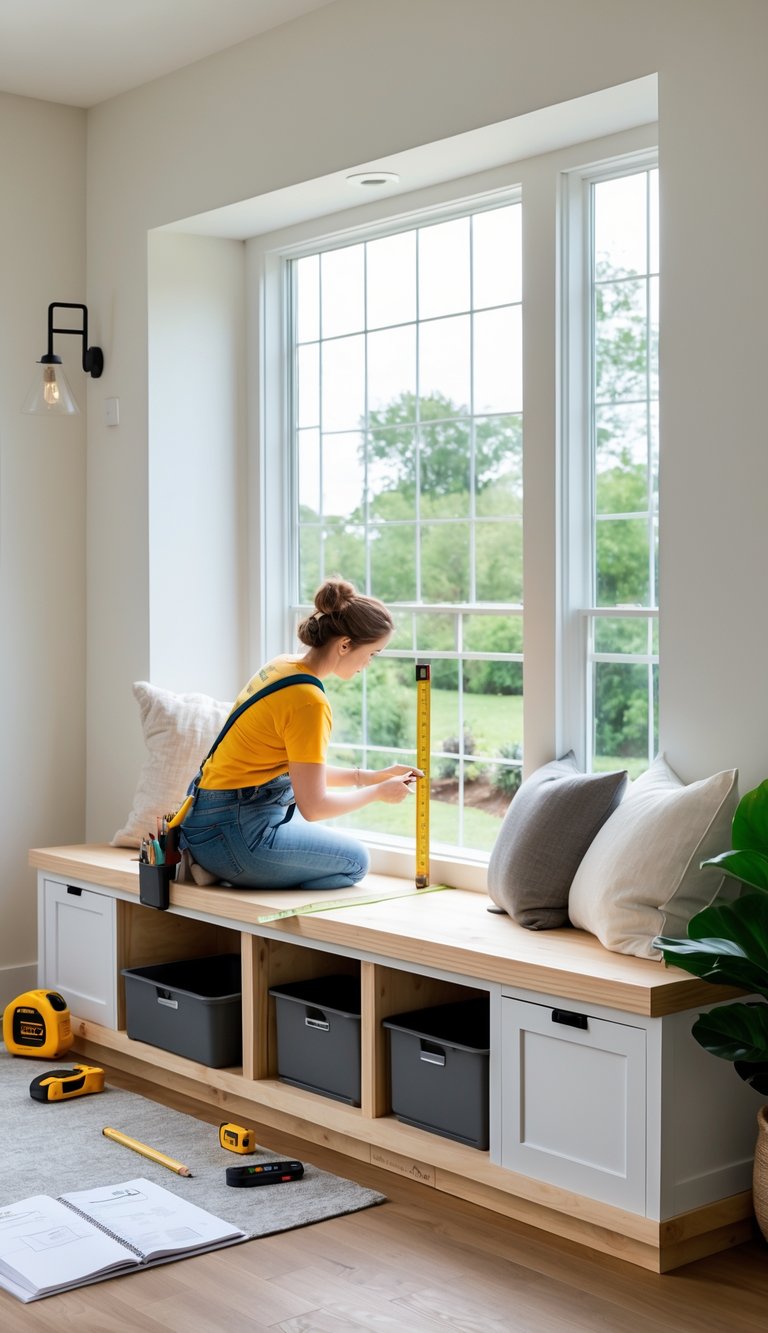
Before you start building, you’ll want to plan things out. Good measurements and a clear idea of your storage needs will save you headaches (and probably some money) later.
Selecting the Best Location
Window seats work best where there’s lots of natural light and a nice view. Bay windows are ideal because of their alcove shape, but really, any window at least 30 inches wide can work.
Check the room’s traffic flow. You don’t want the seat blocking doors or walkways. South-facing windows get loads of light but can get hot, so maybe plan for some curtains or blinds.
Think about how you’ll use the seat. Is it a reading nook? Extra seating for guests? Just for looks? Your answer affects where and how you build it.
Kitchen window seats can add dining space, while bedroom window seats make for a cozy hideaway.
Accurate Measurements and Layout
Grab a measuring tape and jot down the window area’s width. For comfort, shoot for a seat depth of 18-24 inches. Standard seat height is about 18 inches, but feel free to tweak it for your needs.
Sketch your plan, including:
- Overall size
- Storage layout
- Frame design
- Seat top style
Don’t forget to account for baseboards or moldings that might get in the way. If your window has a sill, decide if you’ll build below it or remove it for a flush fit.
If the window opens, make sure your seat won’t block it.
Assessing Storage Needs
Figure out what you’ll actually store in your window bench. This will help you decide on the inside layout and how you’ll access things. Hinged tops make it easy to reach everything if you need that.
For small stuff, maybe add:
- Built-in dividers
- Removable bins
- Pull-out drawers
Measure your items to make sure they’ll fit, and leave an inch or two of wiggle room around big things.
Think about how much weight your seat needs to handle. Books and blankets are heavy, so you’ll want a sturdy build.
If you’ll store electronics or anything sensitive, add some ventilation to help avoid moisture issues.
Choosing Materials and Tools
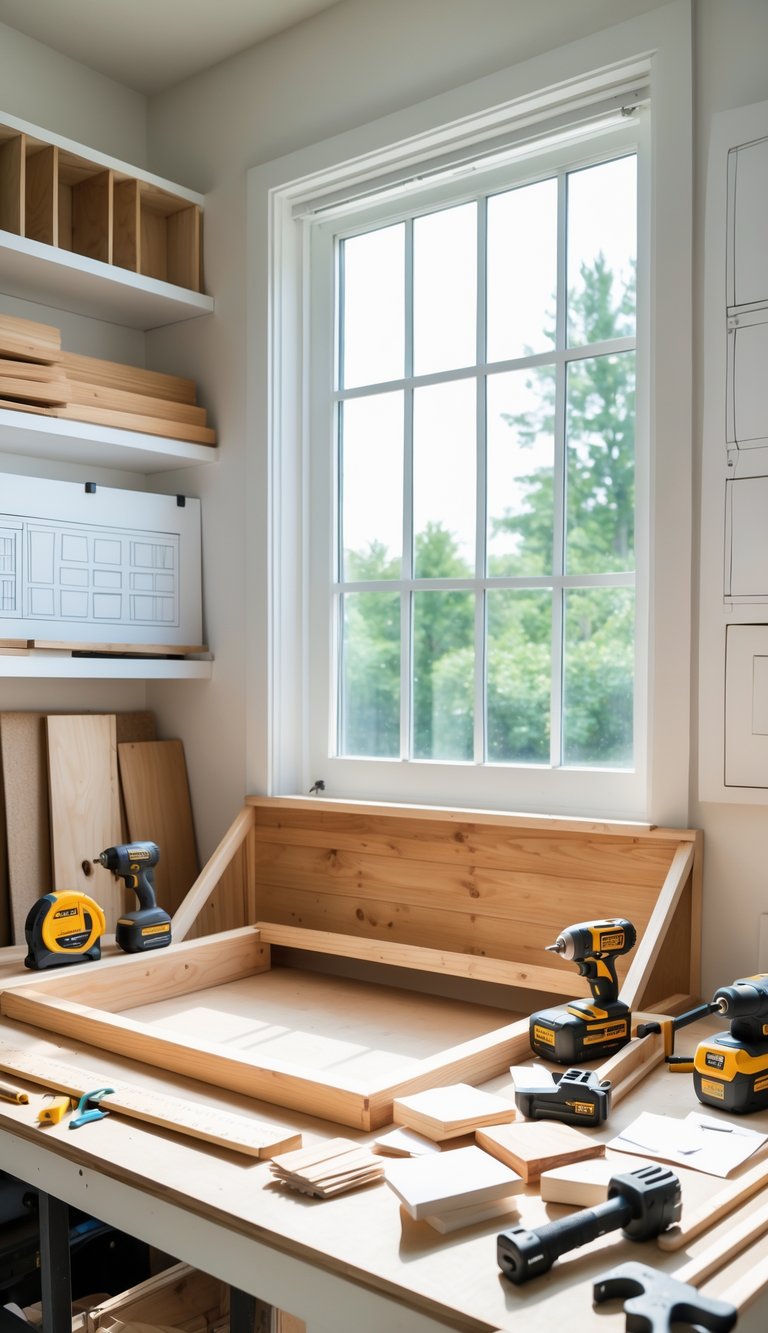
Picking the right materials and tools makes all the difference for a strong, good-looking window seat. Quality materials mean your build will last, and the right tools make everything go smoother.
Best Wood Types for Structure and Durability
Plywood is usually the go-to for window seat frames. Use 3/4-inch sanded plywood—it’s sturdy, resists warping, and gives solid support. Cabinet-grade plywood looks nicer for parts you’ll see.
MDF is great for trim and panels. It paints well and costs less than solid wood, but don’t use it for the main structure since it can sag under weight.
For the frame, 2x4s work well. Pine is affordable, but hardwood 2x4s are even stronger if you expect heavy use.
Essential Hardware and Fasteners
Screws will hold your window seat together. Use 1½-inch screws for attaching plywood and 2½-inch screws for the frame. Pocket hole screws with a Kreg jig make clean, strong joints.
A brad nailer comes in handy for attaching trim and details. 18-gauge brads hold well and don’t split thin pieces.
For the storage parts, you’ll want:
- Piano hinges for lift-up lids
- Soft-close hinges to avoid pinched fingers
- Drawer slides (100 lb capacity is a safe bet)
- Handle pulls that match the room’s look
You’ll also need a circular saw, drill, level, and measuring tape for accurate cuts and assembly.
Finishes, Fabrics, and Cushioning Options
For finishes, go with semi-gloss or satin paint—they’re durable and easy to clean. Prime any raw wood, especially MDF, since it soaks up moisture.
Try to match your window seat finish to your existing trim for a seamless look.
When it comes to cushion fabric, durability is key. Look for:
- 30,000+ double rubs (Wyzenbeek test)
- Stain resistance
- Machine-washable covers
- UV resistance for sunny spots
For cushioning, high-density foam (2-4 inches thick) is comfy and supportive. Memory foam feels luxe but costs more. Add batting over the foam for softness before wrapping it in fabric.
Velcro or zipper closures make cushion covers easy to remove and clean. Water-resistant fabrics like Sunbrella are a smart pick for spots near windows or where spills happen.
Designing Stylish and Functional Window Seat Storage
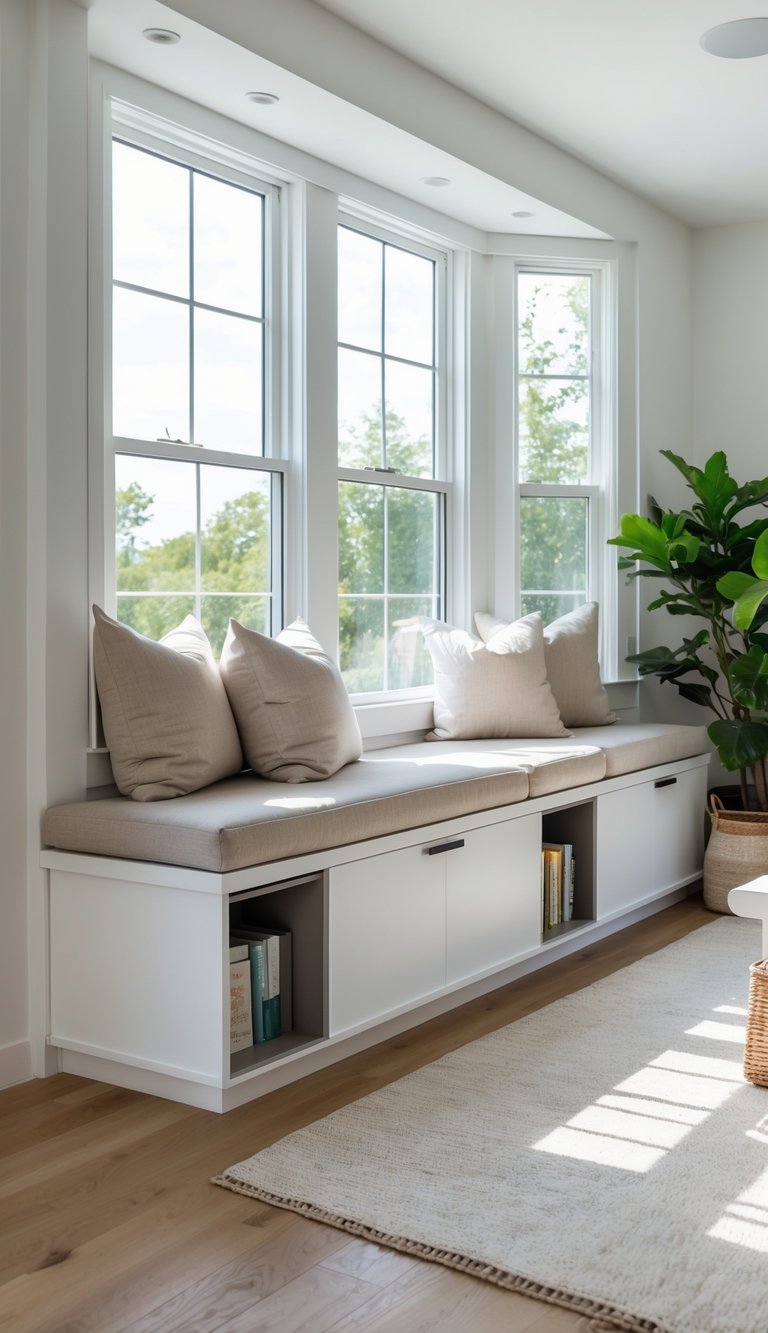
Window seats really do blend comfort and practicality. You get a cozy place to sit and a sneaky spot to stash stuff. With the right design, you can turn any window into a standout feature and make the most of your space.
Window Seat Ideas for Every Room
In the living room, try a window seat with bookshelves on each side. It makes a perfect reading nook, and your favorite books are always close.
For bedrooms, go for a seat with lift-top storage to hide bedding or out-of-season clothes. A thick cushion (3-4 inches) keeps it comfy for everyday use.
Kitchen window seats are great in breakfast nooks. Add drawers underneath for cookbooks or special dishes you don’t use often.
In kids’ rooms, build compartments that fit toy bins. Kids can pull them out easily and (hopefully) put their things away when they’re done.
Entryway window seats are super handy for shoes and bags, plus they give guests a place to sit.
Creative Storage Compartment Configurations
Drawer Systems keep things organized and easy to reach. Try:
- Full-extension slides to grab stuff at the back
- Drawers of different heights for various needs
- Dividers for sorting small things
Lift-top designs let you use the whole space under the seat. Use piano hinges for smooth movement and safety hinges to keep lids from slamming.
Open cubbies work well for things you grab often. Make cubbies in different sizes for baskets, books, or display items.
Mix and match for the best setup. Maybe drawers on one side, a lift-top on the other—whatever fits your life.
Measure carefully before you build. The best storage compartments fit what you need to store and make it easy to get to.
Incorporating Hidden Storage Elements
Hidden storage can turn a regular window seat into a clever, space-saving solution. Install push-latch hardware so compartments open with a gentle press—no handles needed.
Piano hinges along the whole seat top give a clean look and strong support. They let you open the entire top for easy access.
If you want extra security, add hidden locks to compartments for valuables. This is especially useful for entryway window seats that guests use.
Try adding false fronts that pull out to reveal slim storage for documents or small valuables. These little nooks make great hiding spots for things you don’t need every day.
You could also design a section with removable panels, giving you access to utilities or bonus storage behind the main compartments.
Personalizing with Finishing Touches
Pick out cushions and pillows that tie into your room’s color scheme. If you can, go for washable covers—they’re a lifesaver, especially if you’ve got kids or pets running around.
Try adding accent lighting under or around your window seat for that cozy, warm glow. LED strip lights are a solid choice and won’t run up your energy bill.
Think about hardware that fits your home’s vibe:
- Wrought iron pulls bring out a rustic feel
- Sleek chrome looks great in modern spaces
- Brushed brass adds a touch of tradition
Show off a bit of personality by placing family photos or treasures on shelves nearby. It helps your window seat feel like a natural part of your living space.
Paint or stain your window seat to either blend in with your existing woodwork or stand out as a statement piece. Two-tone finishes can highlight details and keep things interesting.
Step-by-Step Building Guide for a DIY Window Seat
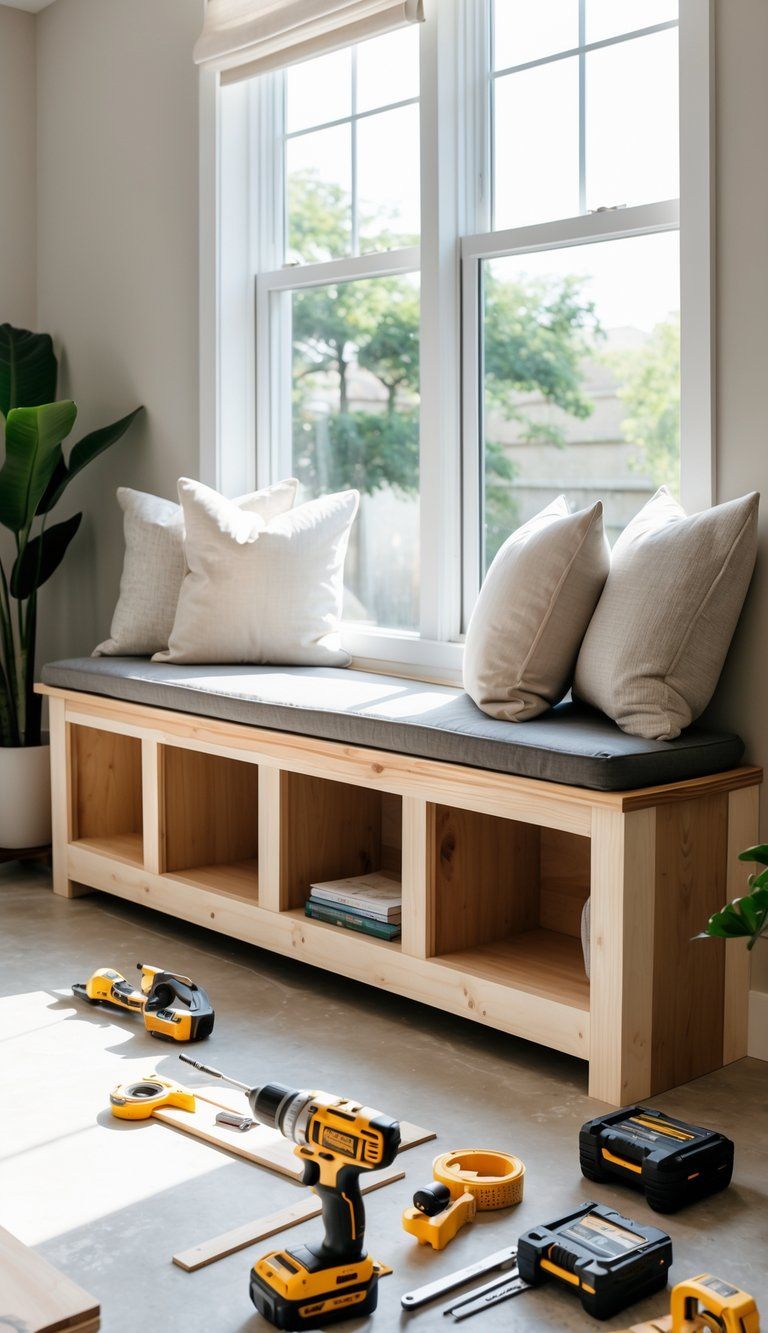
Building your own window seat brings together practical storage and a bit of charm. If you have basic carpentry skills and some decent materials, you can create a custom feature that fits your space perfectly.
Constructing the Base and Frame
Start by pulling off any old floor moldings in your window area. Measure carefully—aim for a seat height around 19 inches and a depth of 21 inches. That usually works for most adults.
Build your floor frame from 2×4 lumber. Screw horizontal supports into the wall studs, using two screws per stud for strength. This sets up your foundation.
Make a front frame with vertical supports spaced 16-24 inches apart. Connect it to the floor frame. Since this front part will be visible, take your time to get it square and level.
Add cross supports between the wall and front frame. These supports hold up the seat top and add structure for any storage compartments you want.
Building and Installing Storage Compartments
Decide if you want open shelves or closed storage. For enclosed storage, build simple box frames using 3/4-inch plywood.
Measure and cut dividers to create multiple compartments. This stops stuff from sliding around when you open one section. Install the dividers perpendicular to your front frame.
Add a plywood bottom to each compartment and secure it with wood screws. For the seat top, use 3/4-inch plywood cut to fit the whole area. If you want lift-up lids, attach hinges.
If drawers are more your style, build basic drawer boxes that fit your compartments. Install the slides following the manufacturer’s instructions.
Adding Trim, Doors, and Drawers
Cover raw edges with trim for a finished look. MDF trim gives you a smooth, paintable surface, while wood trim keeps things natural. Use finish nails and wood glue to attach everything.
For cabinet doors, cut MDF or plywood panels a bit bigger than your openings. Install hinges as directed on the package. Add simple knobs or pulls for easy opening.
Cut foam to fit your seat top for a comfy cushion. Wrap it with your favorite fabric and staple it underneath.
Paint or stain all the wood to pull the look together. Semi-gloss paint makes cleaning easier. Run a bead of caulk where the seat meets the wall for a seamless finish.
Customizing for Comfort and Aesthetics
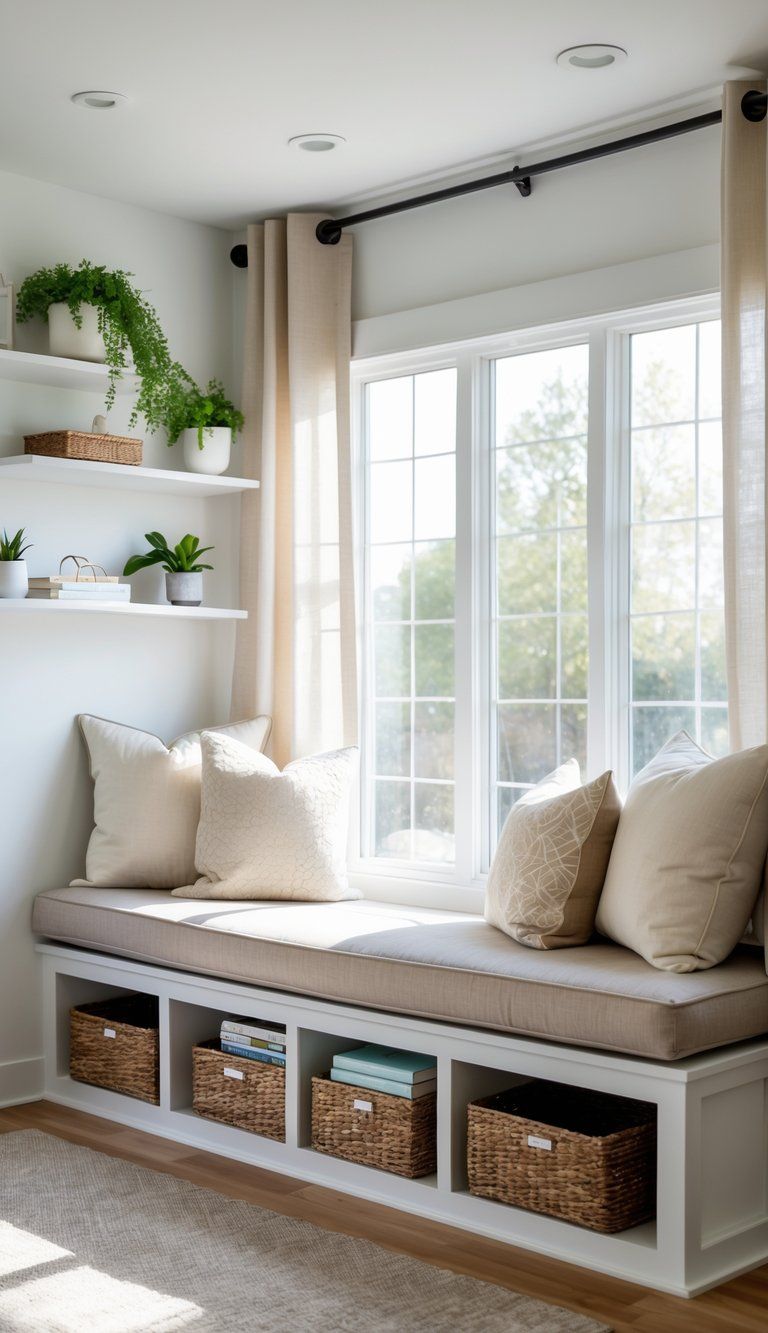
A window seat feels truly inviting when you add personal touches for comfort and style. The right cushions, paint, and fabric choices can turn a plain bench into a favorite nook that shows off your home’s character.
Selecting and Installing Cushions
Your window seat needs a cushion that fits just right. Measure the space before you buy or make one. For comfort, pick cushions 3-5 inches thick with medium-firm foam that holds up over time.
Here are some cushion options:
- High-density foam (2.5-3 lbs) for everyday use
- Memory foam if you love extra comfort
- Outdoor-grade foam for sunny spots
Keep cushions in place with velcro strips, non-slip mats, or tiebacks. This makes cleaning easier too. If your seat gets a lot of sun or spills, add a waterproof liner.
If you want a custom fit, get foam cut to size at an upholstery shop or order online. Many fabric shops will make cushions if you give them your measurements.
Painting and Finishing Techniques
A good paint finish makes your window seat tough and good-looking. Semi-gloss or satin finishes resist stains and are easy to wipe down.
Prep tips:
- Sand all surfaces
- Use primer made for your material (wood, MDF, etc.)
- Apply 2-3 thin coats instead of one thick one
For wood seats, try these finishes:
- Stain to show off wood grain
- Whitewash for a breezy, coastal feel
- Distress for a vintage vibe
Match your seat color to your trim for a built-in look, or go bold with an accent color. Chalkboard paint on the sides can create a fun space for kids to draw.
Wait for each coat to dry before adding the next. It takes patience, but your finish will look much better.
Incorporating Fabric for Style
Fabric can take your window seat from basic to beautiful. Pick materials that fit your lifestyle and decor.
Great fabrics for window seats:
- Performance fabrics like Sunbrella or Crypton for busy areas
- Cotton canvas for a casual, easy-to-clean option
- Velvet for a touch of luxury
Throw in some patterned pillows that go with your cushion fabric. This adds interest without overwhelming the space. Mix textures—try smooth cotton with nubby linen or plush velvet.
A few practical tips:
- Use covers with hidden zippers for easy washing
- Spray fabric protector on anything you can’t toss in the wash
- Rotate pillows to keep fading even
Coordinate your window seat fabric with nearby curtains for a pulled-together look.
Smart Organization and Storage Solutions
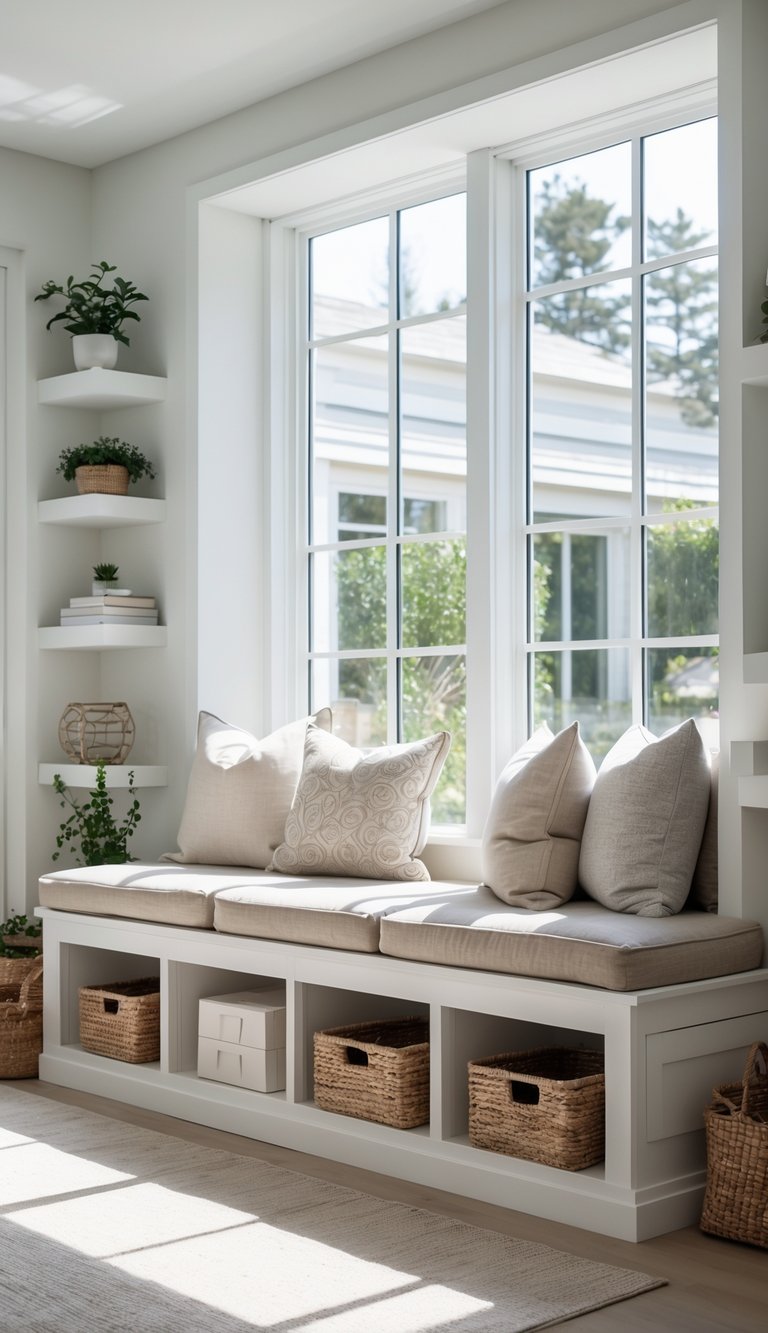
Window seats with storage give you a handy spot to stash your things without cluttering the room. The best approach depends on what you want to store and how often you need it.
Organizing Everyday Items
Drawers built into your window seat are great for daily essentials. Add dividers to separate things like reading glasses, remotes, and chargers.
Pull-out baskets work well for window seat storage. Wicker baskets feel natural, while fabric bins can match your decor. Labels help you find things quickly.
Use clear containers if you want to see what’s inside at a glance. Stack them neatly in cabinets under your seat. They’re especially handy for craft supplies, magazines, or office stuff.
Adjustable shelving lets you change things up as your needs shift. Move shelves higher or lower inside your window seat cabinet whenever you want.
Toy Storage and Family-Friendly Solutions
Toy boxes with safety hinges keep little fingers safe. The top of your window seat can lift up for easy toy access.
Kid-friendly tips:
- Picture labels help young kids find their toys
- Rounded corners and soft-close lids are safer
- Washable materials handle spills and messes
- Keep favorite toys at kid height
Give each family member their own bin or drawer. It cuts down on clutter and helps teach responsibility.
For bath toys or outdoor gear, pick waterproof storage. Tuck these in window seats near the door or bathroom.
Integrating Hidden and Accessible Storage
False bottoms under cushions can hide valuables. Build a thin layer that lifts up to reveal a secret compartment.
Use magnetic latches for a clean look without visible hardware. They’re perfect if you want a minimalist design.
Add hidden storage around your window seat by installing slim pull-out cabinets between wall studs. When closed, they look like decorative panels.
Combine open shelves for books and display items with closed cabinets below. You can show off pretty things and hide the rest.
Specialty Window Seat Storage Ideas
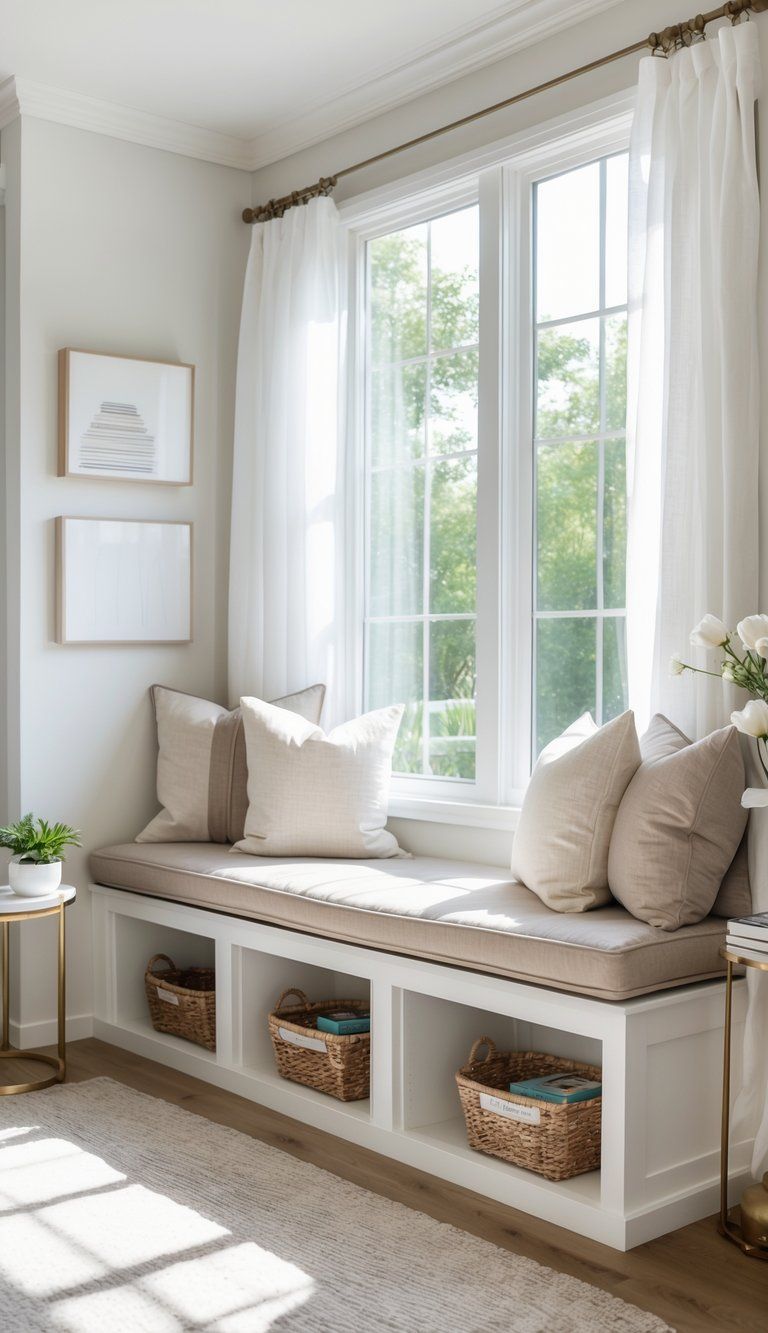
Window seats can be more than just pretty. With some planning, you can solve storage problems and carve out special spots for different activities.
Reading Nooks and Cozy Spaces
A reading nook in your window seat gives unused space a purpose. Start with comfy cushions and pillows in fabrics that resist fading and water, since sun pours in here.
Add built-in bookshelves on both sides so books are always within reach. Install small drawers under the seat for things like glasses or bookmarks.
For evening reading, go with adjustable lights that won’t bother anyone else. Wall-mounted swing-arm lamps or recessed lighting work well.
A small side table or built-in shelf gives you a spot for drinks and snacks. Some folks even add USB ports for charging e-readers or tablets—no messy cords needed.
Breakfast Nooks and Kitchen Banquettes
In kitchens or dining spaces, window seats can become cozy breakfast nooks with smart storage. Use benches with hinged tops for tablecloths, special dishes, or appliances you don’t use every day.
Drawers make it easy to grab placemats, napkins, or utensils. Some designs even have pull-out baskets for fruits and veggies that need air.
If your kitchen’s tight, stash big pots, pans, or small appliances under the seat. Put casters on bins so you can roll them out easily.
Try a rounded or L-shaped design to get more seating and keep traffic flowing. This layout works especially well in bay windows or corners.
Incorporating Air Vents and Custom Features
Don’t let vents mess up your window seat plans. Install custom grates in the bench face so air still flows.
If your seat sits above a radiator, use metal heat shields and create a vented space underneath. This protects your bench and keeps warm air moving through special slots.
Add built-in pet features, like a feeding station that slides out or a cozy pet bed in a corner.
Hide electrical outlets and USB ports inside drawers or along the sides for charging. Some people even sneak in a mini fridge drawer for cold drinks in their breakfast nook.
Maintaining and Updating Your Window Seat
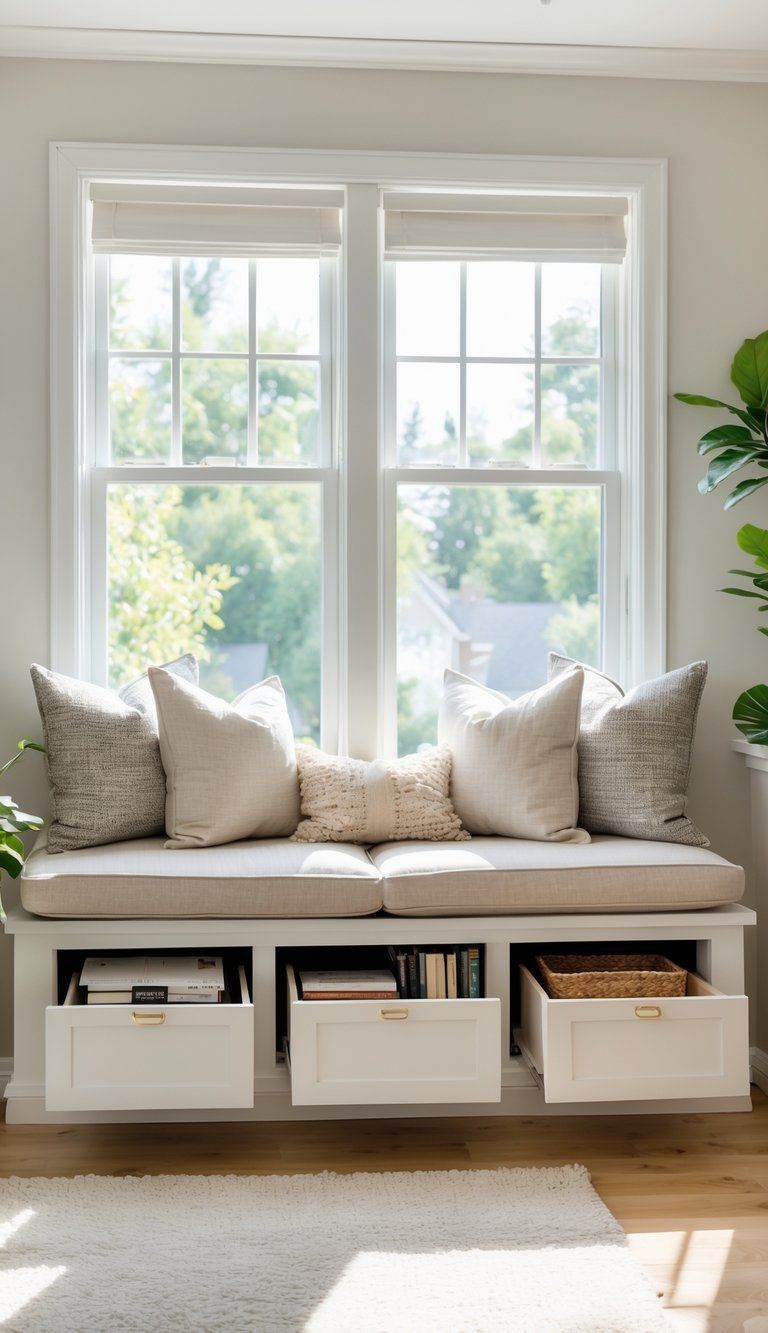
Your window seat is both a style statement and a useful spot, but it needs some care to stay fresh and functional. Simple routines and the occasional update help keep it inviting year after year.
Care and Cleanliness Tips
Dust all surfaces weekly with a microfiber cloth to keep dirt from building up. For cushions and fabric, check the tags for cleaning instructions. Most can be vacuumed using an upholstery attachment to get rid of crumbs and dust.
Clean up spills right away with the right cleaner for your fabric. If you have removable covers, wash them every few months to keep them fresh. Spray on some fabric protector after cleaning to help prevent new stains.
Wipe wood parts with a gentle wood cleaner twice a year. Skip harsh chemicals that could damage the finish. Check storage spaces regularly and wipe out dust or crumbs with a barely damp cloth.
Refreshing Style Over Time
You can give your window seat a new vibe without diving into a big renovation. Just swap out cushions and pillows as the seasons change. It’s honestly surprising how much this simple switch-up can do for the whole space, and you don’t have to spend more than $100.
Go for lighter fabrics and breezy colors in summer. When fall and winter roll around, try warmer, cozier tones.
Hang some wall art near your window seat if you want to shake things up a bit. Swap out pieces now and then, maybe with the seasons or just when your mood changes. It’s a quick way to keep things feeling fresh—here’s some inspiration.
Toss in functional accessories like a little side table, an adjustable reading lamp, or some storage baskets. Pick ones that actually fit your style right now, and you’ll notice the space gets a lot more useful too.
If you’re itching for a bigger change every few years, try sanding down and refinishing the wood parts or repainting the walls around the seat. Swapping out the hardware on storage drawers or cabinets can give the whole nook a surprisingly modern look without breaking the bank.

