Ever walk into a room and just feel like something’s off? That emptiness usually comes from not having a focal point. A focal point works as a visual anchor—it gives your room structure, draws the eye, and helps everything feel balanced. A lot of folks assume you need fancy architecture, like fireplaces or some dramatic showpiece, but honestly, that’s not always the case.
Remember to repin your favorite images!
You don’t need big renovations or a massive shopping spree to make a focal point. Even something as simple as built-in or floating shelves can totally change the vibe. Style those shelves with a mix—books, framed photos, ceramics, maybe a plant or two. Suddenly, you’ve got layers and rhythm.
When a room doesn’t have a focal point, it can feel scattered and kind of soulless. But you’ve got plenty of options besides fireplaces or big windows. Try textured walls like exposed brick, or wood paneling. Even arranging your furniture thoughtfully can give the room a center of gravity. That center guides your layout and sets the whole mood.
Understanding Focal Points in Interior Spaces
Focal points anchor your room’s design. They give your eyes somewhere to land and help organize everything visually.
They also set the vibe and influence how you experience the space when you walk in.
What Is a Focal Point?
A focal point in interior design is just the main thing you notice when you enter. It’s the “star” of the room, and everything else plays a supporting role.
Usually, your eyes go straight to it without even thinking.
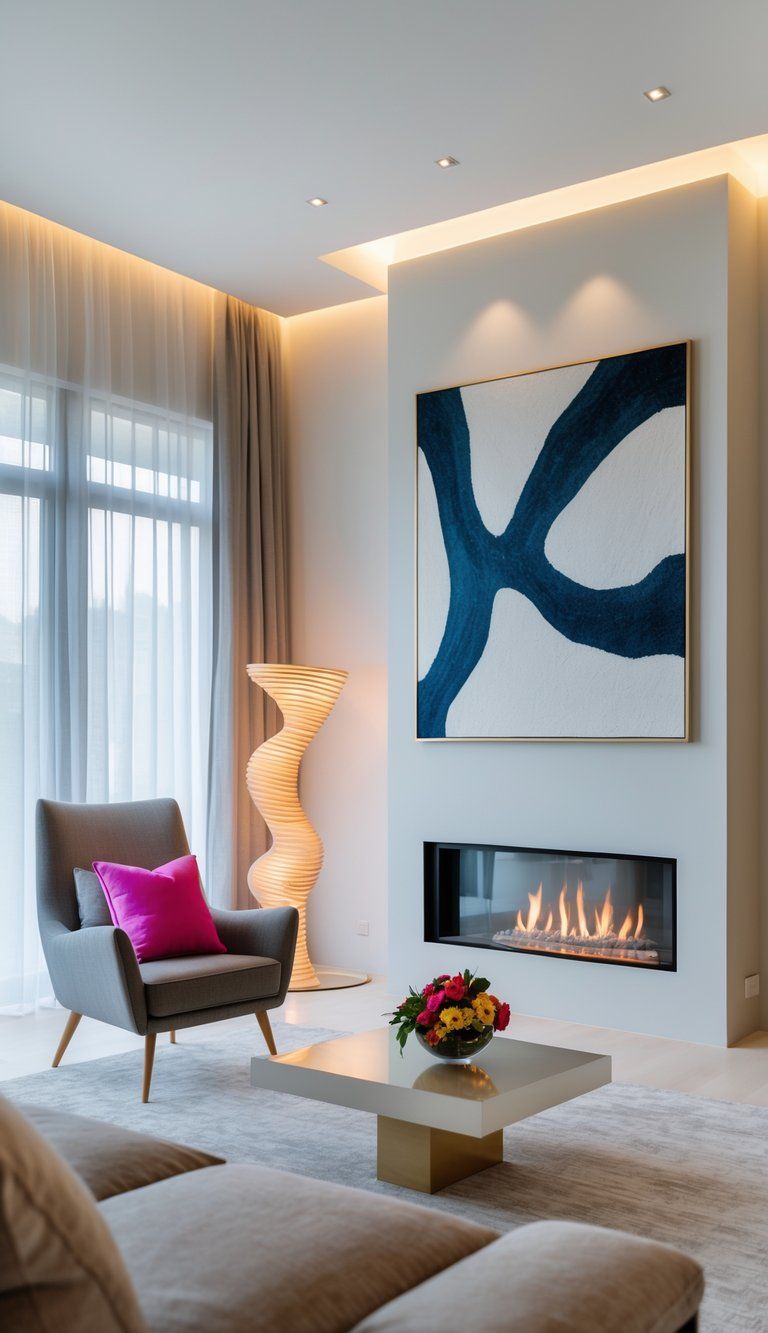
Focal points organize your layout and design. Sometimes it’s a fireplace or a killer window, but it could also be a huge piece of art or a funky chair you picked out on a whim.
Great focal points have some weight to them. They stand out because of their size, color, design, or just where you put them. Without one, rooms can feel kind of lost.
The Importance of Focal Points in Design
Focal points give your space a sense of purpose. They help you figure out where the furniture should go and how people will move through the room.
A good focal point:
- Creates balance for the whole space
- Sets the mood depending on what you highlight
- Cuts down on visual clutter by giving your eyes a break
- Defines what the space is for
Once you pick your main feature, the rest of the decorating gets a lot simpler. Wall color, where to put the couch, and which accessories to use—they all revolve around your focal point.
In tiny rooms, a focal point can even distract from how small the space is and put the spotlight on your style instead.
Types of Architectural Features Commonly Lacking
A lot of newer homes or apartments just don’t have those standout architectural details. Usually, what’s missing are:
- Fireplaces – Classic, always draw attention
- Built-in shelves – Add character and display space
- Architectural moldings – Like crown molding or wainscoting
- Ceiling beams – Bring interest overhead
- Window features – Think bay windows or window seats
Rentals often come with blank walls and basic windows. Builder-grade homes? They tend to feel a bit cookie-cutter.
If you’re dealing with low ceilings, weird room shapes, or open layouts, it can be tough to create a natural focal point. But that just means you get to be creative.
Assessing Your Room for Opportunities
Before you start making focal points, take a good look around. Sometimes the best ideas come from just noticing what’s already there.
Analyzing Existing Elements
Check out your walls, windows, and any built-in features. Got a fireplace? Maybe it just needs some love to stand out. Or maybe there’s a big window with a decent view you could highlight.
In bedrooms, the bed is usually the main attraction. You can make it pop with an eye-catching headboard or a cool piece of art above it.
In living rooms, see where people naturally look when they walk in. That’s probably the best spot for your focal point.
Don’t forget the details:
- Crown molding
- Ceiling beams
- Built-in shelves
- Interesting floors
Sometimes you just need the right light or a splash of color to make what you already have stand out.
Identifying Areas for Enhancement
Find those blank walls or empty corners. These spots are basically begging for some attention.
In kitchens, a bare wall can become a killer backsplash or a spot for open shelves. In living rooms, an empty wall is perfect for a gallery wall or a standout piece of furniture.
Try these ideas:
- Color contrast: Go bold with an accent wall
- Texture: Add stone, wood, or fabric panels
- Lighting: Hang a dramatic pendant or add wall sconces
- Furniture: Bring in an entertainment center or a unique cabinet
In small rooms, vertical focal points can help draw the eye up and make the space feel bigger.
Recognizing Spatial Challenges
Every room has its quirks. Maybe you’ve got low ceilings or a weird layout that makes things tricky.
In bathrooms, you might not have much wall space, so go for a statement vanity or bold tile in the shower. In small bedrooms, your focal point might need to double as storage.
Keep an eye on:
- How people move through the room
- Furniture that’s stuck where it is
- Structural stuff like columns or vents
- How much natural light you get
Sometimes those challenges push you to come up with your best ideas. A support column that’s in the way? Wrap it in wood or stone and make it a feature. Got an awkward corner? Turn it into a cozy reading nook.
Creating Focal Points with Statement Furniture
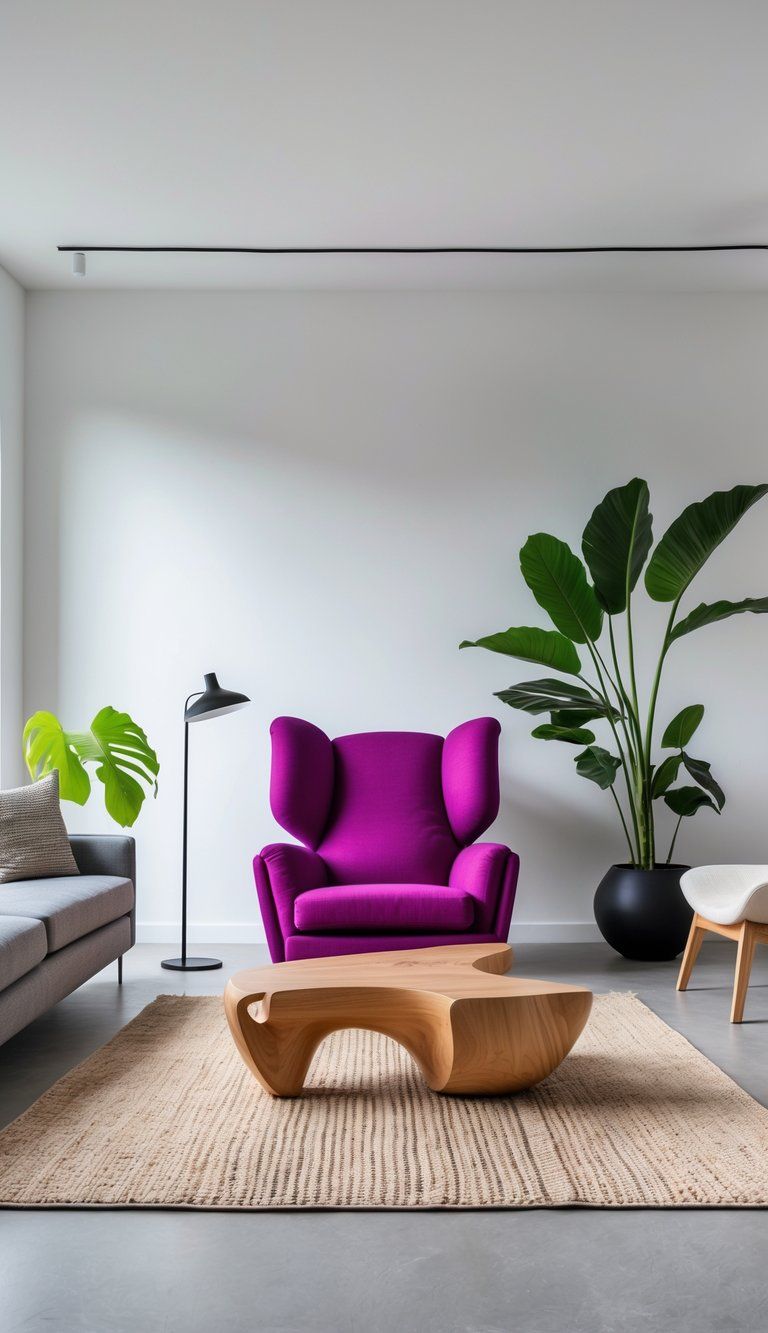
Statement furniture can totally change a plain room. The right piece, in the right spot, anchors your design and gives your eyes somewhere to rest.
Selecting the Right Statement Furniture Piece
When picking statement furniture, think about both style and size. Go for pieces with interesting shapes, bold colors, or unusual materials that fit your vibe. Maybe it’s a velvet sofa in emerald or a funky accent chair.
Don’t mistake “statement” for “huge.” Your piece should fit the room but still stand out. In smaller spaces, look for cool details like carved legs or unique upholstery.
Stick to one statement piece per room. If you have too many, nothing really stands out.
Strategic Furniture Placement for Emphasis
Put your statement furniture where it’ll get noticed—usually that’s right across from the entry or centered on the main wall.
Give it some breathing room. If your bold sofa is crammed in with a bunch of other stuff, it loses its impact.
Use an area rug to ground your statement piece. Rugs can help define the space and pull everything together.
Lighting matters, too. Aim a sconce, pendant, or lamp at your focal piece to help it shine.
Using Sofas and Tables as Focal Points
A sofa grabs attention with its color, shape, or fabric. Try a curved sectional or something with a cool silhouette.
In dining spaces, a standout table does the trick. Look for reclaimed wood, concrete, or a glass table with a wild base.
Make sure your statement coffee table works for real life, too. It should look good and be useful.
Arrange other furniture so your focal piece stays the star. Use smaller, simpler pieces around it.
Incorporating Art and Decorative Elements
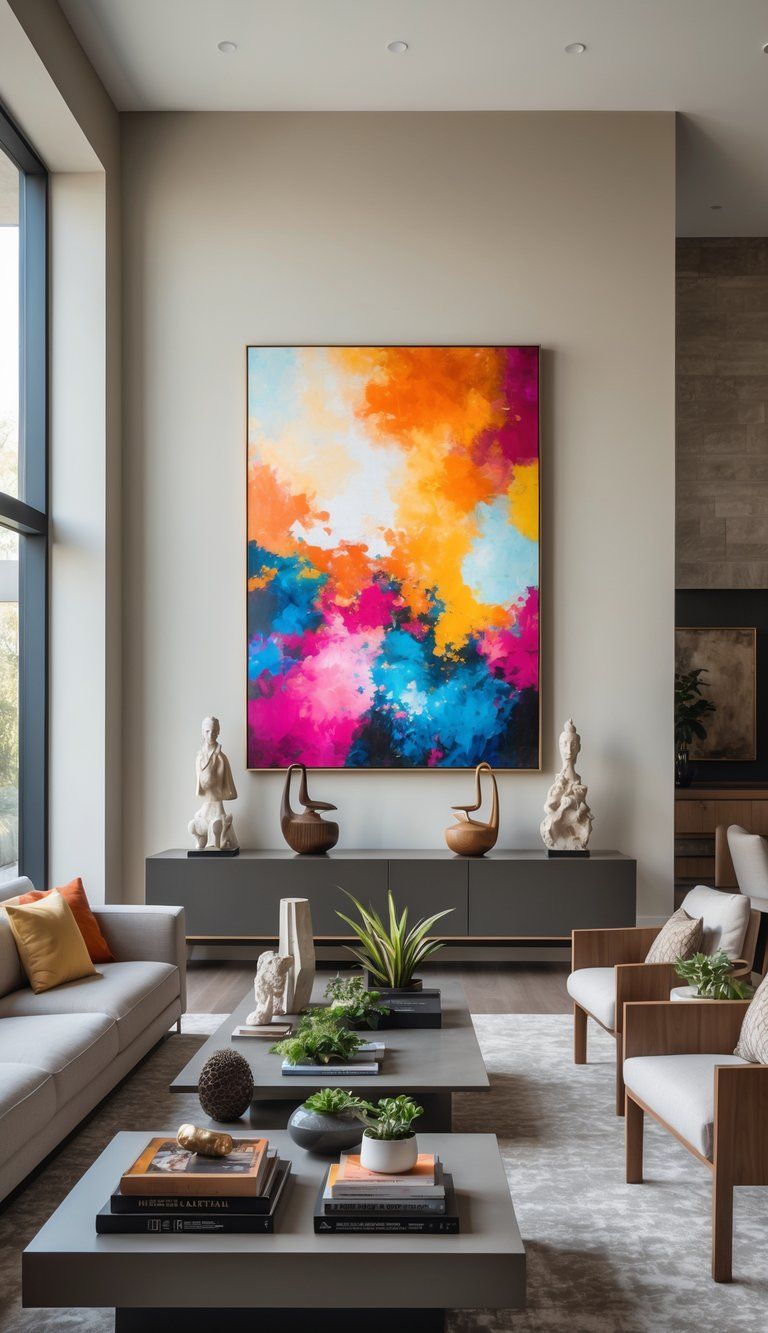
Art and decor can turn a blank wall into a showstopper. You don’t need to knock down walls—just pick the right pieces.
Choosing Impactful Wall Art and Paintings
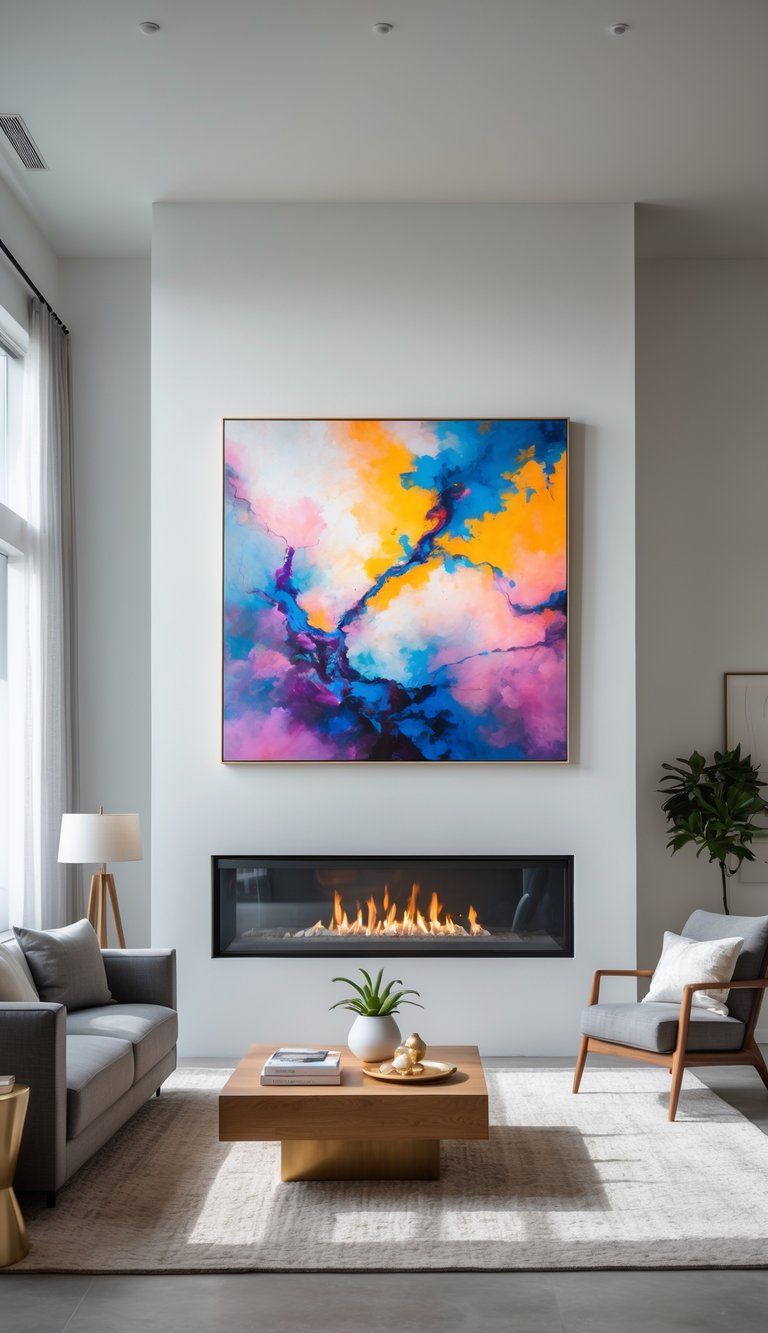
Size really matters when it comes to art. An oversized painting or print that covers most of the wall packs a punch.
Pick artwork that feels like you, but also works with your room’s colors. Grab a couple of shades from the art and use them in your pillows or throws.
Hang your statement art at eye level—usually about 57-60 inches from the floor to the center. It just feels right that way.
Light your art with picture lights or ceiling fixtures if you can. Even simple pieces look more important with good lighting.
Creating Gallery Walls for Visual Interest
Gallery walls are a great alternative if you’ve got a big wall or high ceilings.
Stick to a theme—maybe similar frames, a color palette, or related subjects. That helps everything feel connected.
Layout ideas:
- Grid (neat and tidy)
- Salon-style (a little more wild)
- Straight line (modern and simple)
Lay out your frames on the floor first and snap a few photos to see what works. Try paper templates and painter’s tape on the wall before you start hammering in nails.
Utilizing Mirrors for Depth and Reflection
Mirrors do double duty—they look good and make your space feel bigger. An oversized mirror can be a showpiece and bounce light around the room.
Put mirrors where they’ll catch the light or reflect something nice, like a window. A mirror across from a window can make it feel like you have twice as much sunlight.
Try shapes besides rectangles. Arched, round, or geometric mirrors add some flair.
Go big with a floor-to-ceiling mirror, or group smaller ones for a fun effect. Pick a decorative frame to make your mirror pop.
Enhancing Focal Points with Textures and Patterns
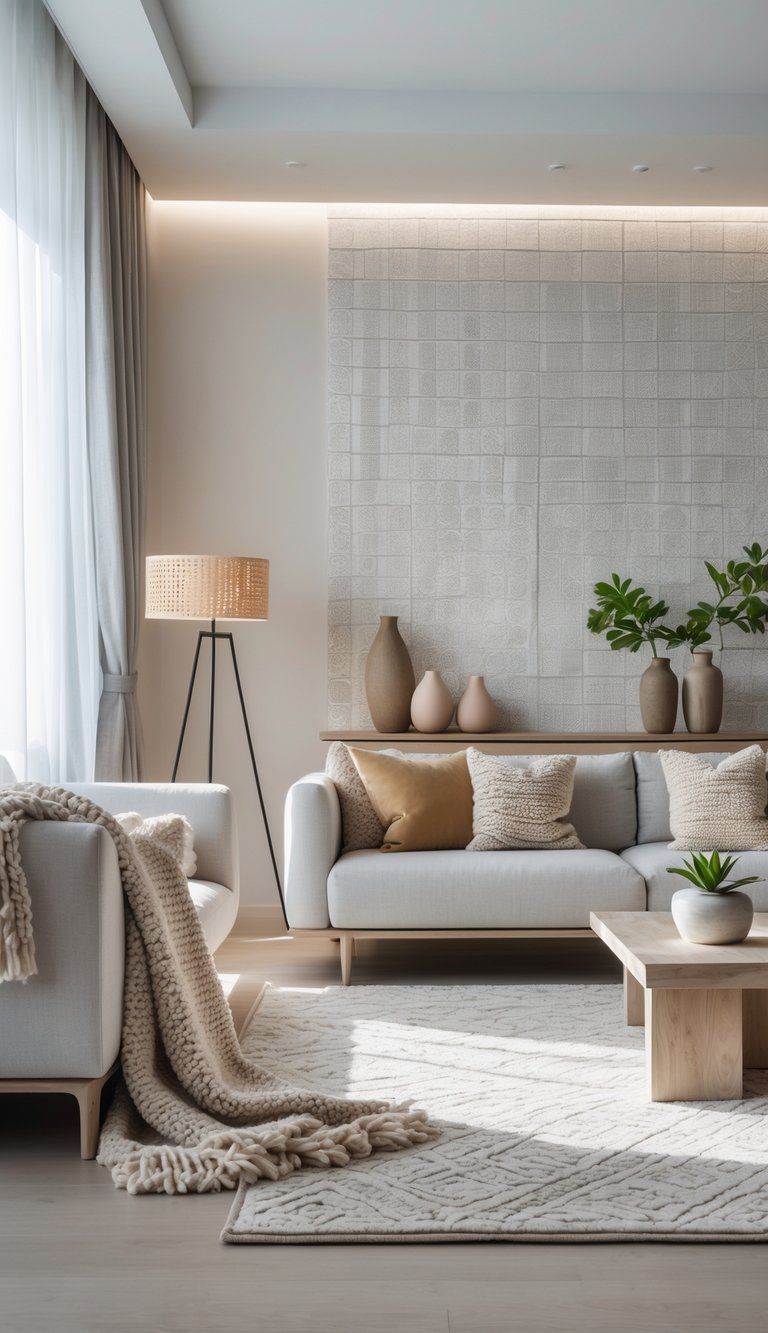
Textures and patterns add depth to your focal point. They turn flat surfaces into features that really grab your attention.
Even if your room doesn’t have much architectural character, you can use texture and pattern to keep things interesting.
Introducing Texture Through Furnishings
Distinctive furniture textures can instantly become the main attraction in a room. Place a velvet sofa in your living room and you’ll notice how it draws people in, tempting them to touch it.
Woven chairs or a bench with bold wood grain can ground a dining area or make an entryway feel special.
Try out these texture-rich options:
- Boucle armchairs—the looped surface just begs you to run your hand over it
- Rattan or cane furniture for a natural, breezy vibe
- Tufted headboards that add dimension and pattern
- Carved wooden pieces for extra visual and tactile appeal
Pick one main textured furnishing as your room’s star. Let it shine, rather than letting too many pieces compete for attention.
Layering Textures for Visual Depth
Mixing textures adds depth and keeps your eyes moving around the room—flat surfaces just can’t compete. This trick works best when you stick to a similar color palette.
Start with something simple, like smooth painted walls. Then, layer in contrast:
- Pair rough with smooth—weathered wood next to shiny metal
- Mix hard and soft—stone features set off by plush fabrics
- Blend natural with manufactured—cotton throws on sleek synthetic upholstery
Walls are a great place to play with texture. Try grasscloth wallpaper behind a bed or use textured paint on an accent wall.
Even beadboard or shiplap can turn a boring wall into something worth looking at.
Adding Pillows, Area Rugs, and Layered Bedding
Textiles are a super easy way to boost texture without making permanent changes. They soften a space and create layers that feel inviting.
Area rugs do double duty: they anchor furniture and add pattern or texture. Go for bold patterns or rich weaves to make them pop.
Put rugs where you want people to notice—right under your main focal point.
Pillows are the quickest way to add texture. Mix chunky knits, faux fur, embroidery, or even a touch of velvet or silk for extra interest.
In bedrooms, layered bedding can make a plain bed feel luxurious. Combine crisp sheets, a quilted coverlet, and a thick throw. Add a mix of shams and decorative pillows for a finished look.
Designing Impactful Walls: Color, Accent Walls, and Feature Walls
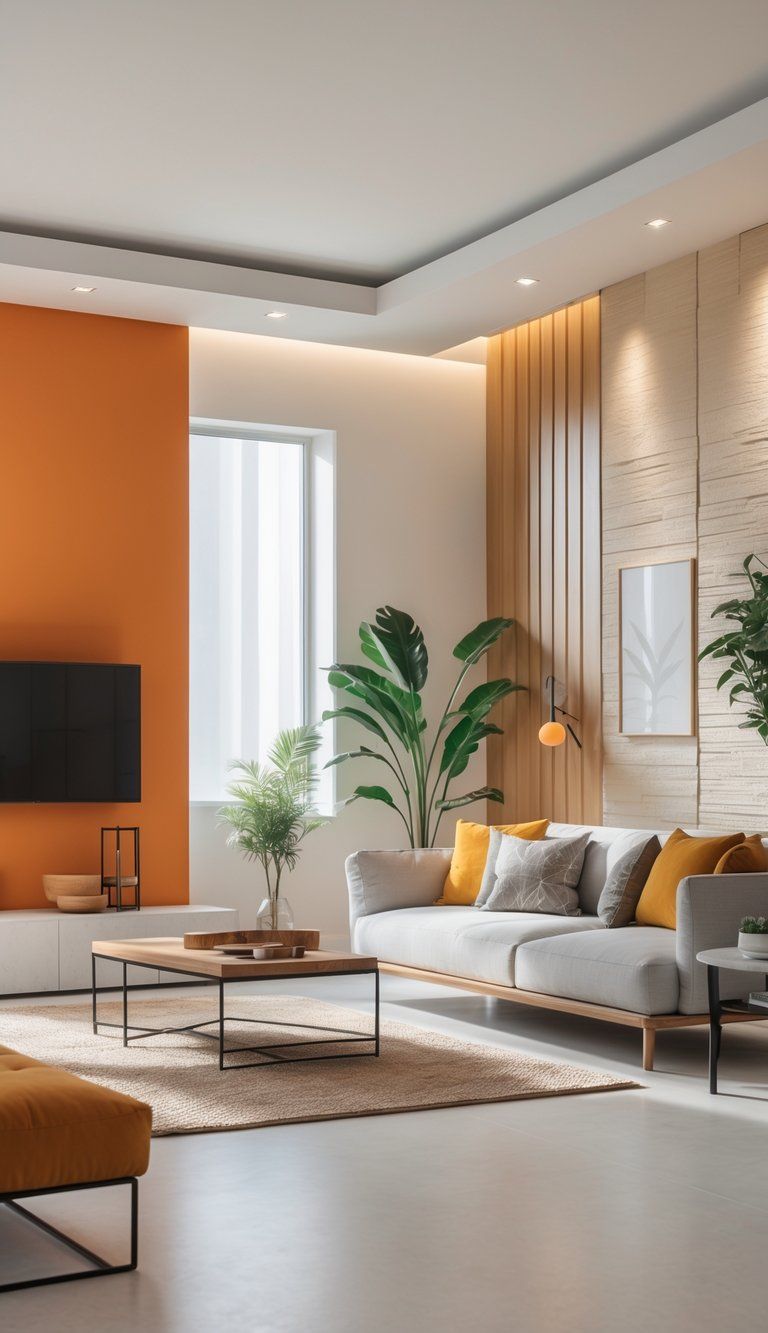
Walls are your biggest canvas—why not make the most of them? The right wall treatment can give a plain space some much-needed personality and visual punch.
Using Bold Colors to Create Emphasis
Bold colors bring instant character, especially if your space doesn’t have much architectural detail. Try following the 60-30-10 rule: 60% dominant color (usually neutral), 30% secondary, 10% accent.
Deep blues, emerald greens, or rich terracottas can add depth and drama. These shades feel cozy and a bit mysterious.
Always test big swatches before painting the whole wall. Light changes everything, and you might be surprised by how different a color looks at night.
In small rooms, use bold colors sparingly. A colorful nook or alcove can create a focal point without overwhelming you.
Designing Accent Walls for Drama
An accent wall can totally change the vibe of a room. Usually, the best wall is the one you see first when you walk in, or the wall behind your bed or sofa.
When you pick your accent wall color:
- Echo a color that shows up somewhere else in the room
- Think about how much sunlight the wall gets
- Make sure the color fits your overall scheme
Accent walls aren’t just about paint. Try wallpaper with a bold pattern, wood paneling, or decorative molding for extra texture.
The accent wall should stand out, but not feel like it came from a different house. Aim for harmony, not chaos.
Incorporating Exposed Brick and Feature Walls
Exposed brick walls instantly add texture and a bit of history to a room. If you’re lucky enough to have brick, you can carefully reveal it by removing plaster or drywall.
No brick? No problem. Try these feature wall ideas:
- Stone veneer—lightweight panels that look like real stone
- Reclaimed wood—brings warmth and a hint of rustic charm
- 3D wall panels—add geometric flair and texture
Pick a feature wall that fits your style. Sleek stone works for modern spaces, while reclaimed wood feels right in farmhouse or industrial rooms.
Keep the other walls simple so your feature wall can really shine. Let it be the star, with everything else playing a supporting role.
Lighting as a Focal Point
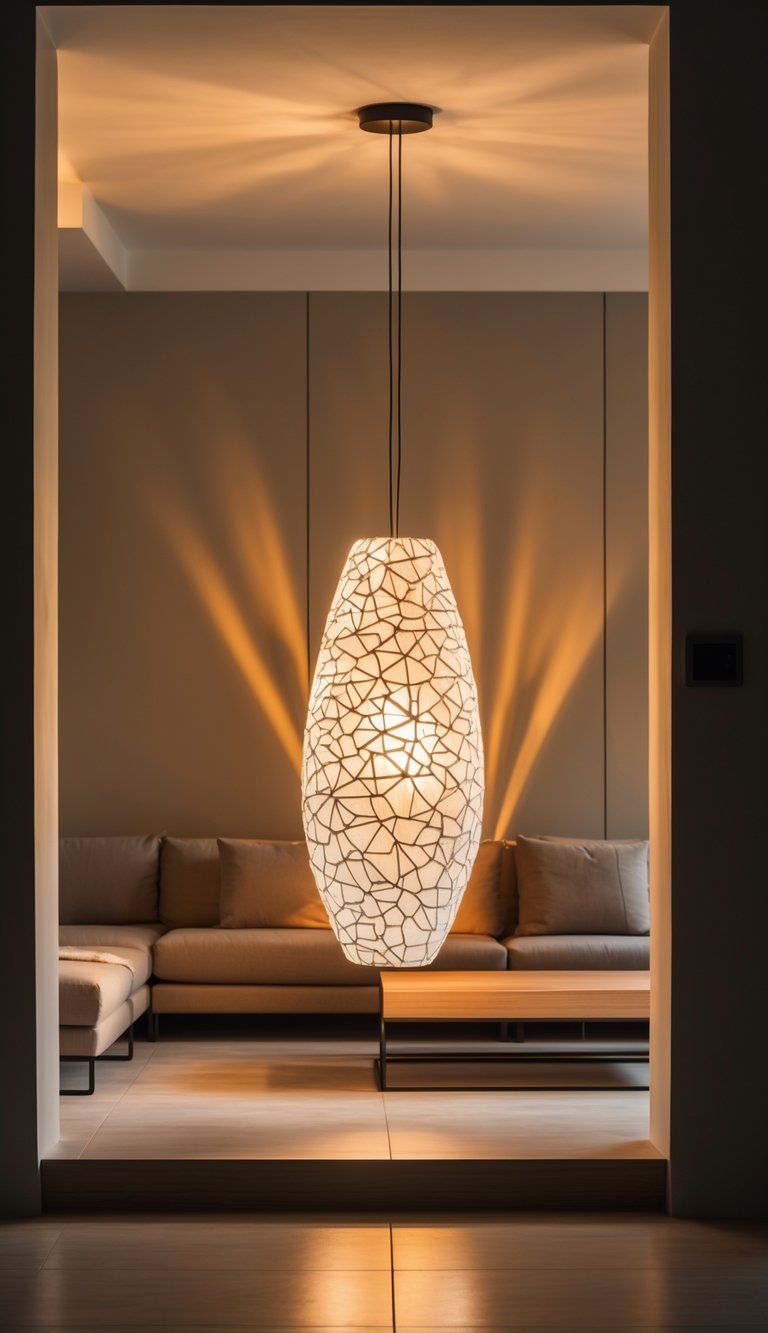
Lighting can totally transform a room, especially when you don’t have much built-in character. With the right lights, you can turn a basic space into something dramatic and welcoming.
Statement Lighting Fixtures
Go big with a statement fixture—it’ll instantly pull focus and give your room a sense of style. Hang a crystal chandelier in the dining area or an oversized pendant above the kitchen island.
Think about these options:
- Chandeliers: Not just for fancy dining rooms—modern ones look great in bedrooms or even bathrooms
- Sculptural pendants: Go for interesting shapes or materials that feel like you
- Oversized floor lamps: An arching lamp can add drama and light to a seating area
Put your statement piece where everyone will notice it. For dining tables, hang chandeliers 30-36 inches above so they’re eye-catching but not in the way.
Layered and Accent Lighting
Layering light gives your room depth and helps you control what gets noticed. Start with general lighting, then add accents to highlight art, shelves, or special corners.
Try these techniques:
- Use track lighting to spotlight art or shelves
- Mount picture lights 6-8 inches above small artworks
- Place uplights in corners for dramatic shadows
- Mix in table lamps at different heights for variety
Contrast matters. A bright reading chair under a focused lamp will stand out more if the rest of the room is softly lit. That’s how you guide attention where you want it.
Maximizing Natural Light
Natural light is always changing, so it keeps things interesting. Use mirrors and shiny surfaces to bounce daylight around and make the space feel bigger.
Hang a big mirror across from your window to double the light and create the impression of another window. It’s a simple trick, but it works.
For window treatments:
- Pick light-filtering curtains instead of heavy drapes
- Try blinds that open from the top and bottom for more control
- Paint window trim a contrasting color to frame the view
Arrange seating to face the windows when you can. A nice view becomes living art, changing with the weather and time of day.
Styling Specific Rooms for Architectural Interest
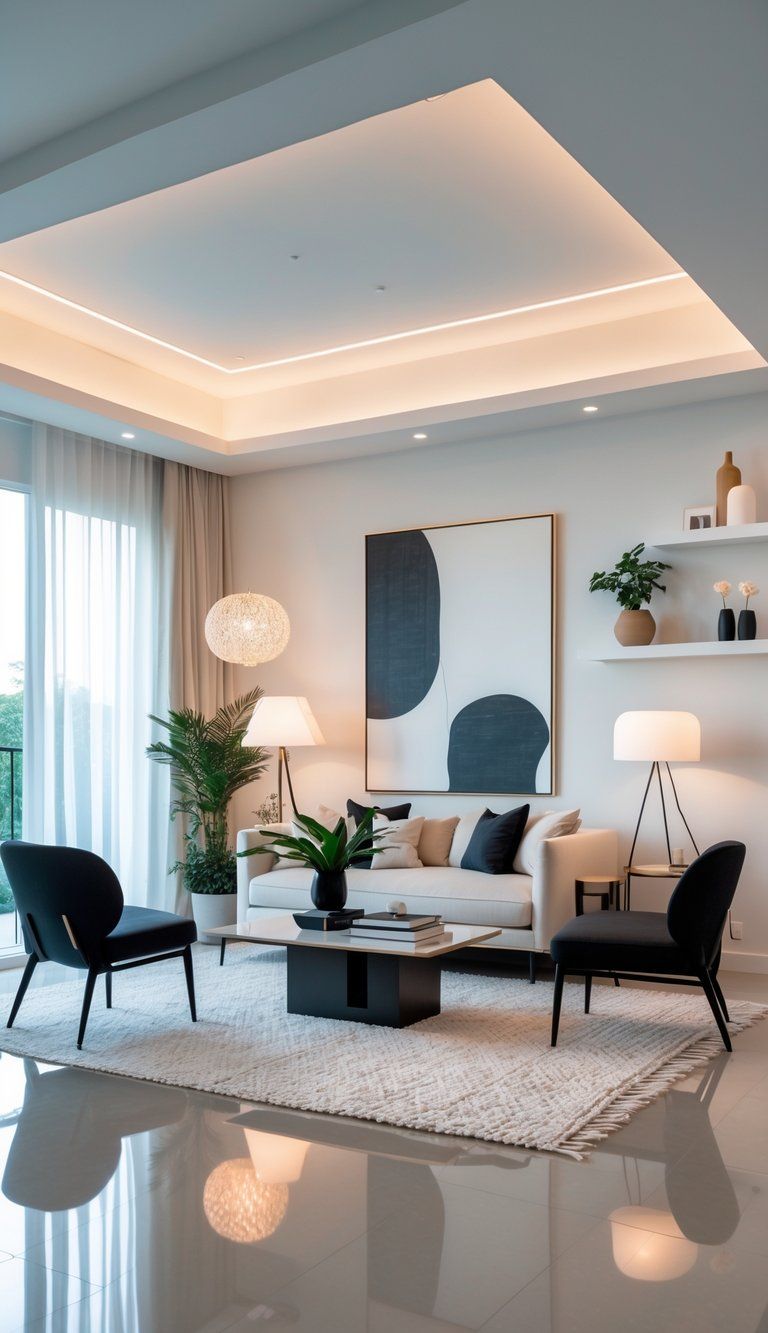
Every room has its own quirks, so you’ll need different tricks to create focal points and highlight features—even in spaces that feel a bit blah.
Living Rooms: Entertainment Centers and Symmetry
Entertainment centers are a great place to start in living rooms. Instead of leaving your TV on a blank wall, build a feature wall with shelves, recessed lights, or textured panels.
Set up symmetry by flanking your focal point with matching chairs or lamps. This frames things nicely and feels intentional.
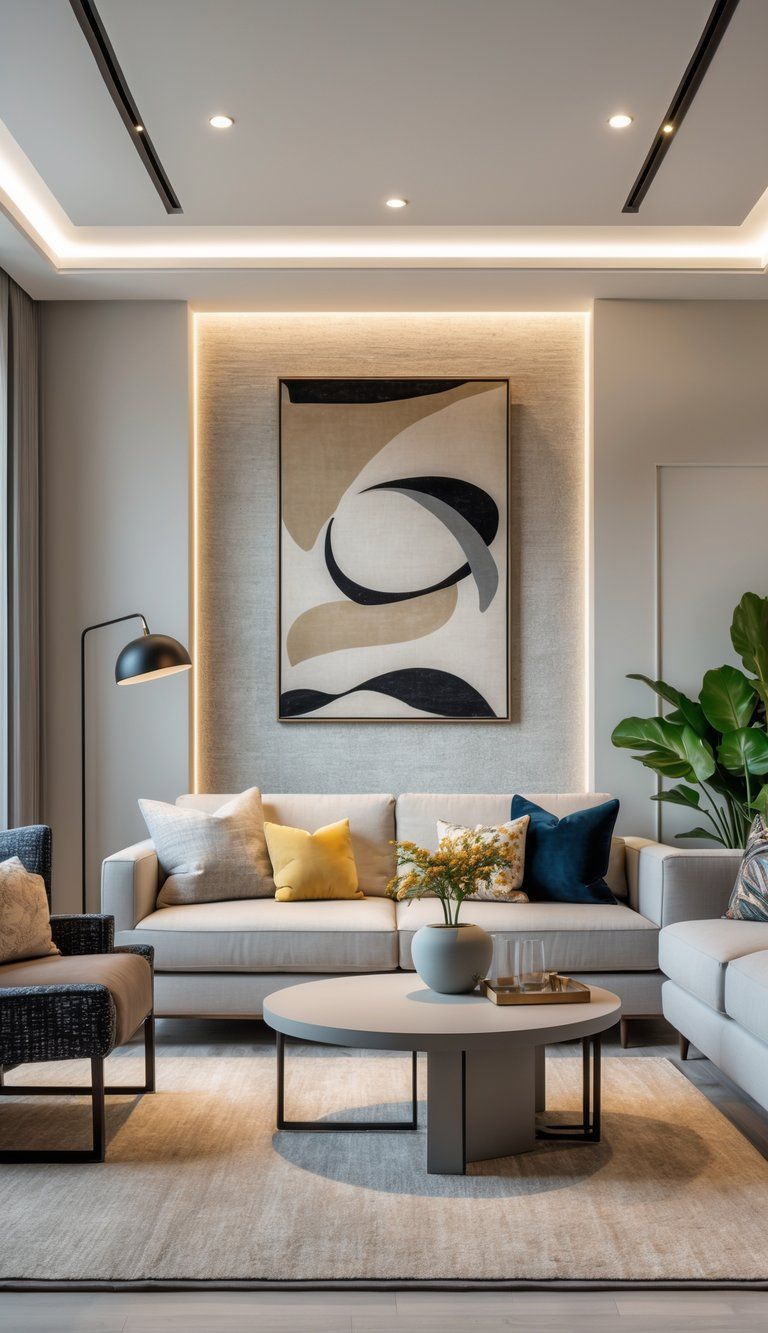
Hang big art or create a gallery wall if you don’t have architectural features. Oversized pieces look especially good in minimalist spaces.
Paint an accent wall behind your seating for quick depth and interest. It doesn’t take much to make a big difference.
Quick tip: Use a mix of floor lamps, table lamps, and sconces to highlight your main focal area.
Bedrooms: Creating a Relaxing Centerpiece
The bed is always the star in a bedroom. Make it pop with a statement headboard—upholstered, wooden, or even a DIY treatment like board-and-batten.
Try hanging curtains from the ceiling or adding a striking light fixture above the bed to create a canopy effect. This draws the eye up and makes the room feel taller.
Balance things out with matching nightstands and lamps on either side of the bed. It makes the space feel more pulled together.
Use removable wallpaper or a special paint technique behind the bed for extra personality. This works without any permanent construction.
Designer tip: Add some architectural molding to plain walls for a surprisingly elegant and inexpensive upgrade.
Kitchens and Dining Rooms: Focal Points With Functionality
Kitchen islands are natural focal points and super practical. If you’ve got the space, add one with a bold countertop or cabinetry in a different color.
Swap out cabinet hardware, update lighting, and add a new backsplash. These simple changes can totally refresh a kitchen.
In dining rooms, pick a statement light fixture for over the table. Let your style lead the way—modern, classic, or something quirky.
Set up a bar or coffee station with open shelves to show off your prettiest glassware or mugs. It’s functional and eye-catching.
Creative solution: Hang a big mirror or bold artwork in a small dining area to reflect light and fake a little architectural drama.
Bathrooms: Accent Pieces and Visual Appeal
The vanity usually takes center stage in bathrooms. Swap out boring mirrors for framed ones, or go for a furniture-style vanity to add charm.
Tile an accent wall behind the vanity or in the shower. Even a small strip of decorative tile makes a big difference.
Upgrade basic lighting with something special. Wall sconces on either side of the mirror or a tiny chandelier can bring in some unexpected style.
Install floating shelves for storage and display. Stack pretty towels, add a plant or two, and show off your favorite soaps.
Budget-friendly option: Replace standard towel bars and toilet paper holders with more decorative hardware that matches your style.
Maintaining Cohesive Design While Accentuating Focal Points
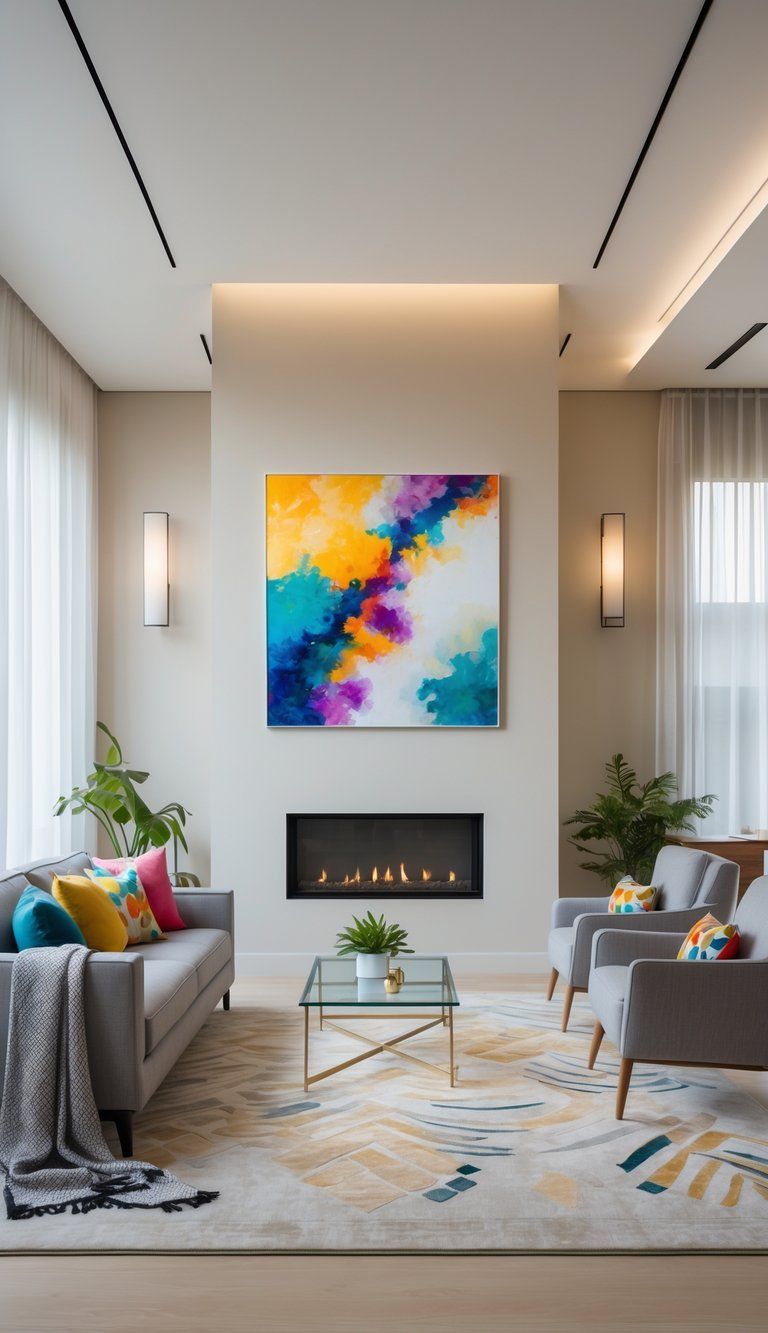
Creating a striking focal point is only half the challenge. The trick is making sure it fits with the rest of your room, so it stands out without feeling out of place.
Balancing Visual Hierarchy and Repetition
Visual hierarchy guides the eye through your space. Let your focal point take the lead, but give supporting elements their own spot.
Start by placing your boldest or biggest piece front and center. Arrange everything else in order of how much attention you want it to get.
Repeat colors or shapes from your focal point in small ways around the room. If you’ve got a vivid blue accent wall, scatter a few blue pillows or art pieces elsewhere.
Avoid letting too many things compete. If a dramatic artwork is your star, keep nearby shelves simple and let the art do the talking.
Cohesion with Color and Decor
Color really is your best tool for tying a room together and making focal points pop. Pick a small color palette—maybe three or four colors—and try to stick with it, though you don’t have to be a total perfectionist about it.
Color Strategy Tips:
- Put your boldest color on your main focal point.
- Use softer or neutral shades from your palette in other areas.
- Sprinkle your accent color in little ways around the room.
Decor should play nice with your focal point, not fight for attention. Got a wall with geometric patterns? Try echoing those shapes in a vase or bookend somewhere else.
Textures play a big part too! If you have a stone fireplace that steals the show, use smoother textures around it, but maybe toss in one or two textured objects to tie it all together.
Effective Use of Negative Space
Negative space isn’t just emptiness—it’s what gives your focal point some breathing room. Without it, even the coolest centerpiece can get lost in the mess.
Let your focal point stand out by clearing the area around it. Sometimes, that means leaving a bit of wall blank next to a bold artwork, or resisting the urge to crowd a statement chair with too many knickknacks.
Arrange your furniture to frame your focal point, not block it. Creating little conversation areas that naturally face the focal feature helps keep eyes where you want them.
Think about sightlines when you lay out your space. You want your focal point visible from where people enter the room. That way, it actually gets noticed.
Honestly, keeping things simple usually makes the biggest impact. If you’re not sure about something, it’s probably better to take it out than to cram it in.
Common Mistakes and How to Avoid Them
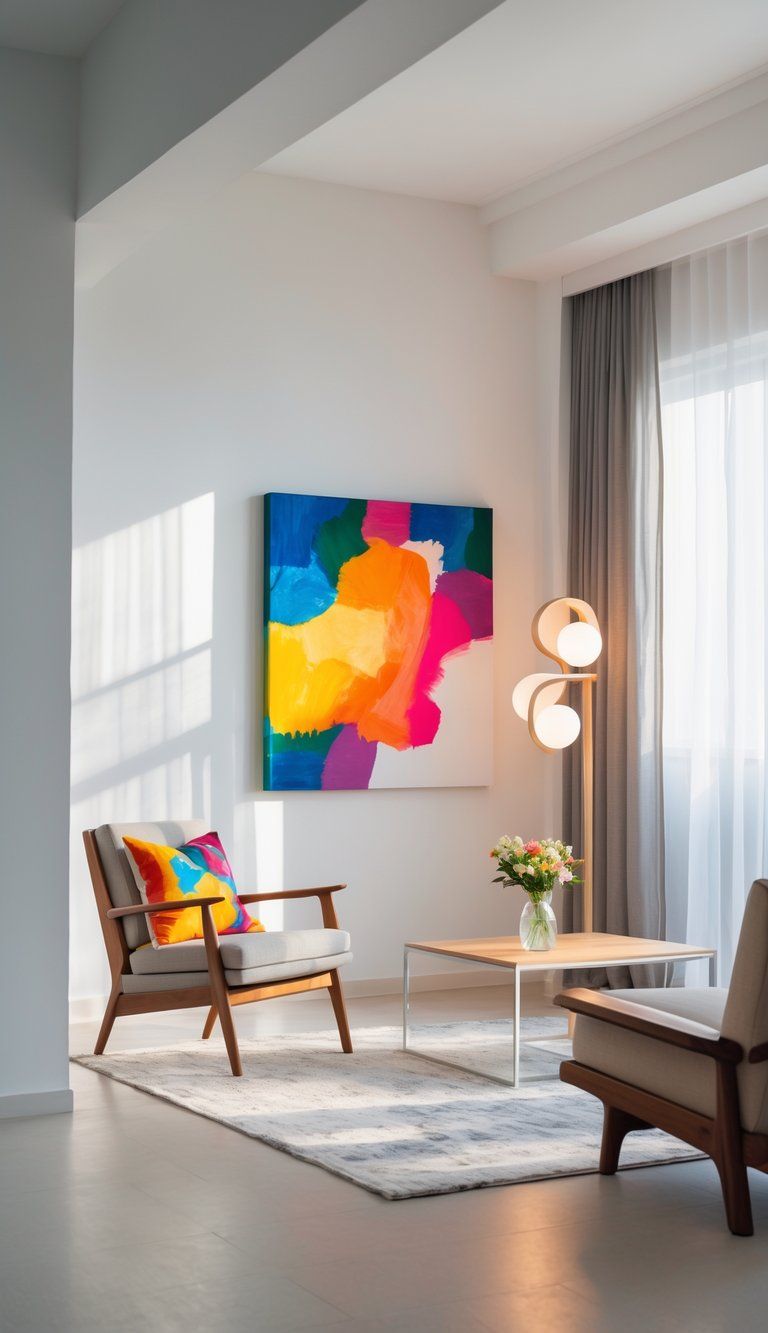
When rooms lack built-in focal points, making one takes some thought. People often slip up and end up with spaces that just don’t feel right.
Overcrowding the Space
Trying to squeeze in too many statement pieces? That’s a classic mistake. When everything shouts for attention, nothing stands out.
Pick just one main focal feature for each room. If you hang a huge piece of art, don’t layer a dramatic accent wall behind it. They’ll just compete.
Give your focal point enough negative space to breathe. That way, people’s eyes go right where you want.
Watch the scale. A giant chandelier in a tiny dining room will swallow it up, while a small painting on a big wall barely registers. Match the size of your focal point to your room.
Neglecting Functional Needs
Sometimes, people set up beautiful focal points that just don’t work for real life. The room might look great in photos, but actually using it feels awkward.
Make sure your focal point doesn’t block how people move through the space. If a coffee table makes everyone walk around it weirdly, it’s just going to annoy you.
Think about how you use the room every day. If you have a fireplace, arrange the furniture so you can actually enjoy it. Don’t put seating with its back to the main attraction.
Form and function need to work together. A gorgeous centerpiece won’t help if it makes the space uncomfortable or hard to use.
Ignoring Lighting and Color Balance
You can pick the perfect focal point, but if you mess up the lighting or colors, it just won’t work. This trips up a lot of people.
Lighting mistakes to watch out for:
- Not enough light, so your focal point sits in the dark.
- Super harsh lights that cause glare on art or screens.
- Flat, even lighting that doesn’t highlight anything special.
Mix ambient, task, and accent lighting. Spotlights or wall washers can really make a feature or artwork pop.
Balance your colors, too. If you go bold on a focal wall, keep the rest of the room in more subdued tones. Otherwise, it can get overwhelming fast.
Lighting shifts throughout the day, so check how your focal point looks in the morning, afternoon, and evening. You want it to look good no matter the time.
Innovative Ideas for Unique Focal Points
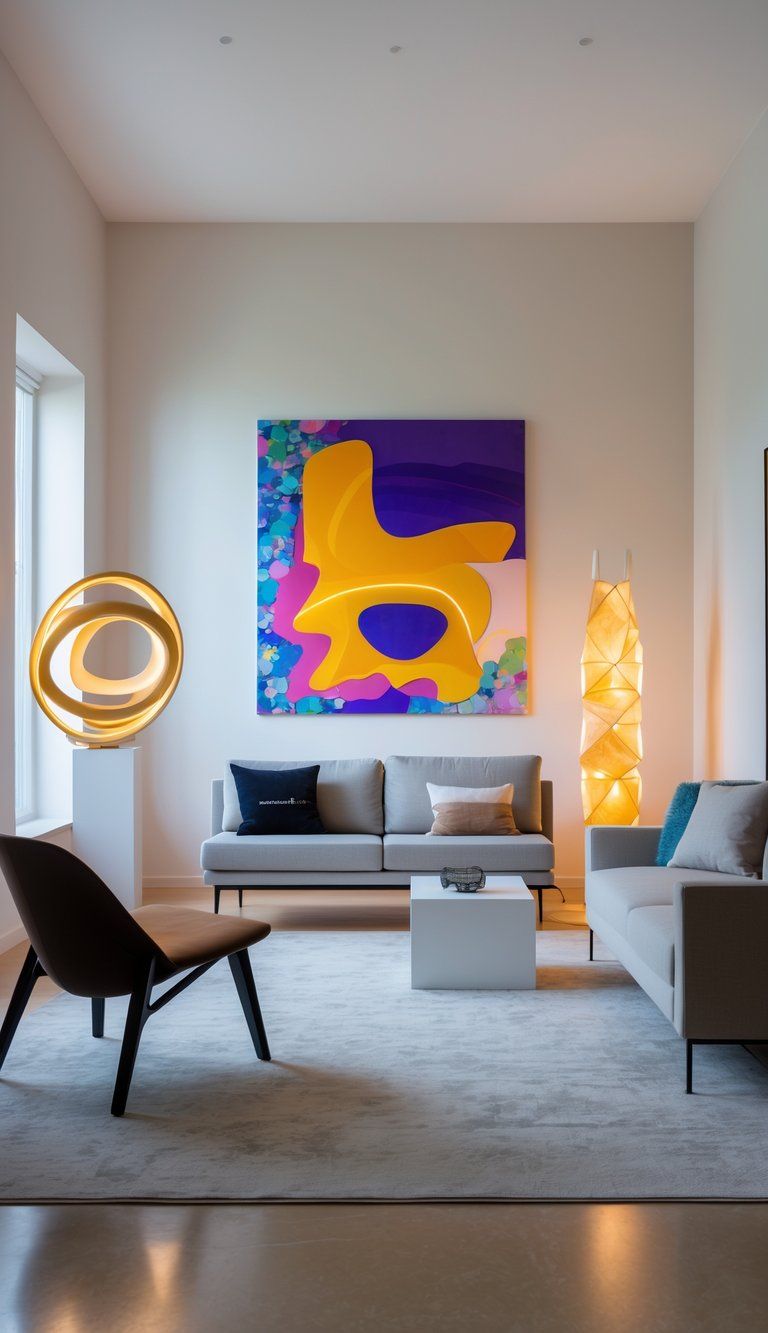
You don’t need fancy architecture to create a great focal point. With a little creativity, you can give any room a strong visual anchor.
Decorating With Mirrors and Gallery Walls
Mirrors work wonders as focal points and make spaces feel bigger and brighter. Hang a large statement mirror above a console or sofa to catch the eye. Pick a frame that pops against your wall color.
If you want something more playful, group smaller mirrors in different shapes. This trick works especially well in narrow spots like hallways or dining nooks.
Gallery walls bring energy and show off your style. Mix photos, art, and maybe a quirky object or two. For a pulled-together look, match frame colors or pick a theme.
Try letting your gallery wall grow out from a central piece. It feels more relaxed and lets you add new finds whenever you want.
Using Negative Space and Minimalism
Negative space can be a focal point if you use it right. Paint one wall a bold color and keep everything else simple and neutral. That punch of color stands out without adding clutter.
You can also use furniture to shape negative space. Arrange seating so it faces an empty wall, drawing attention to its simplicity.
Minimalism is all about “less is more.” Pick one show-stopping piece—maybe a sculptural chair or a wild coffee table—and leave plenty of space around it. That emptiness makes it feel important.
Don’t forget about texture in minimalist rooms. A single textured wall or a chunky woven rug can quietly steal the show without messing up those clean lines.
Incorporating Statement Accessories
Bold accessories can really steal the show without forcing you into any permanent changes. Maybe you hang up an oversized art piece or go for a dramatic pendant light—those will instantly grab attention and ground the whole room.
Large plants? They’re fantastic as living focal points. A tall fiddle leaf fig or a lush, cascading potted plant brings in some organic texture and height just where you need it.
Try putting these plants in empty corners or right next to bigger furniture pieces. It’s a simple move, but it makes a big difference.
Textiles are another solid way to make a statement. Toss down a vibrant area rug or hang up some eye-catching window treatments, and suddenly you’ve got color and pattern defining the space.
Why not play around with unexpected decorating choices too? You could group a bunch of similar objects together—like vintage mirrors clustered on one wall or a lineup of ceramic vessels on a shelf.
That kind of repetition and harmony really catches the eye and keeps things interesting.

