Curtains really can take a room from basic to stunning, and it doesn’t always take much. A lot of people hang their curtains right above the window frame, but doing that actually makes your ceilings look lower and your windows seem smaller.
Remember to repin your favorite images!
For the best effect, mount your curtain rods closer to the ceiling and extend them 6-12 inches past each side of the window.
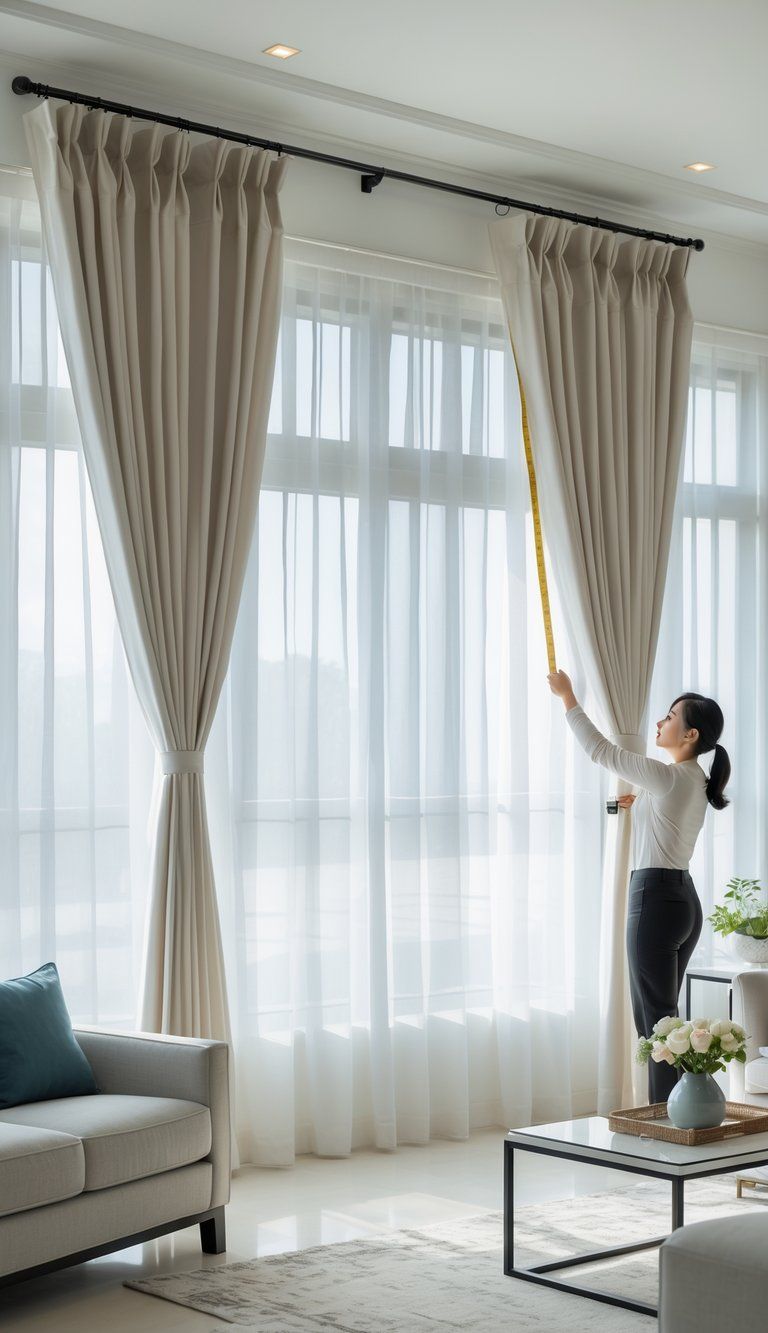
Getting curtain length right matters just as much. Curtains should either just touch the floor or have a little break, kind of like tailored pants.
That little detail gives your space a polished, custom look designers love. If your curtains float too high or puddle way too much, the room can feel unfinished or dated.
You can’t ignore the hardware, either. Pick rods and finials that actually fit your room’s vibe—sleek for modern, ornate for traditional.
Good curtains and hardware make your windows look bigger, ceilings taller, and the whole room more put-together, all without a huge renovation bill.
Choosing the Right Curtains for Your Space
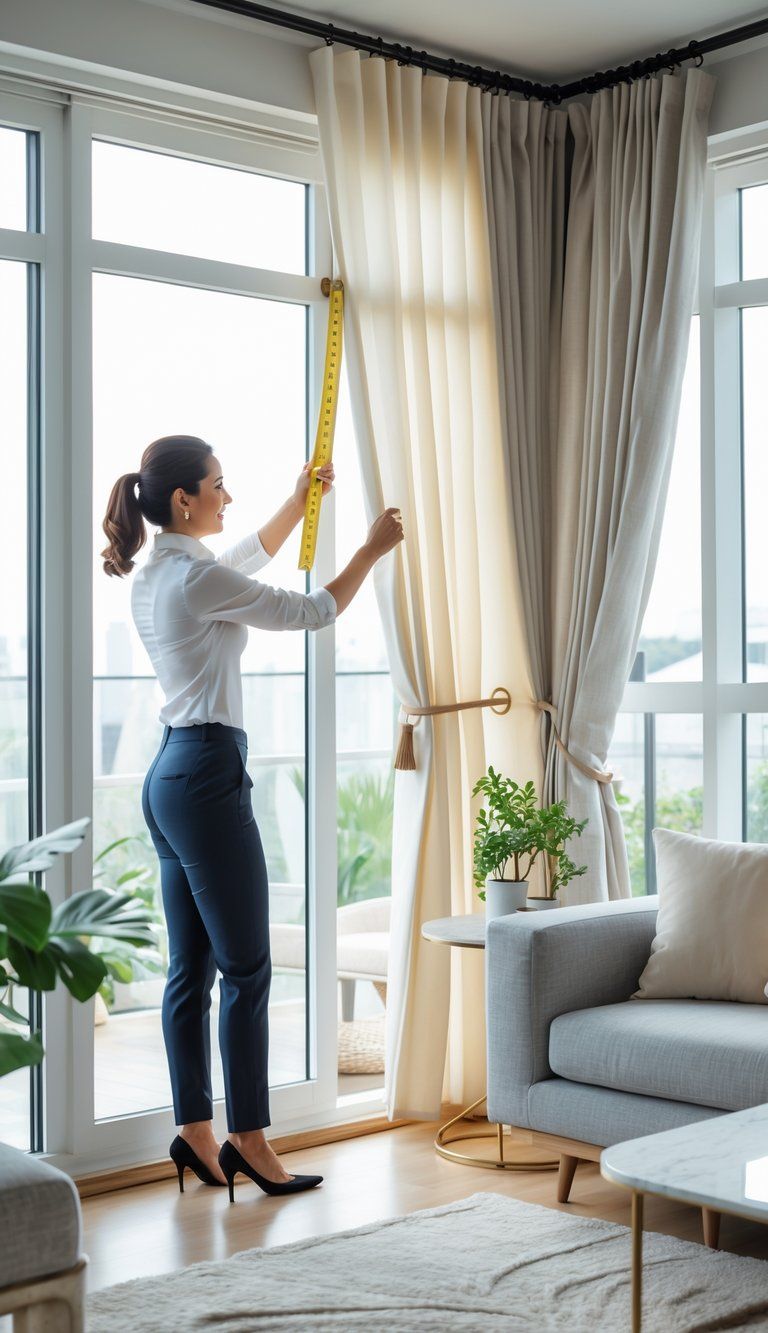
Picking curtains that fit your room is a mix of style, function, and just what you like. The right window treatments really can change a space and give you the privacy and light control you want.
Selecting Curtain Styles
Rod pocket curtains have a sewn-in pocket at the top, so the rod slides right through and creates a gathered look. They’re great for casual spaces, but honestly, they’re a pain to open and close all the time.
Pleated curtains bring a formal, crisp look, with their neat folds hanging nicely. These work best in living rooms or dining spaces.
Grommet curtains have metal rings at the top, which makes the folds even and modern. They’re easy to slide and suit contemporary rooms well.
Roman shades fold up cleanly when you raise them and give a tidy, minimal look. They’re great for smaller windows or if you don’t want anything too fussy.
Layering looks really sharp—think roman shades with curtain panels, or sheers under heavier drapes if you want options.
Determining Curtain Lengths and Widths
Standard Curtain Lengths:
- 84 inches: Just touching the floor with 8-foot ceilings
- 96 inches: For 9-foot ceilings, or if you want a puddle effect with shorter ceilings
- 108 inches: For 10-foot ceilings
- 120 inches: For extra-high ceilings
Hang curtains high—about 4-6 inches above the window frame. This makes the room feel taller and the windows bigger.
For width, make sure your curtains are 2-3 times the width of your window. That way, they drape nicely when closed and stack well when open.
Pick curtain rods that are 8-12 inches wider than your window (4-6 inches on each side). This lets curtains clear the window fully, bringing in more light.
Assessing Privacy and Light Control Needs
Sheer curtains let in light but don’t offer much privacy. They’re perfect if you want soft, diffused daylight all day.
Semi-sheer fabrics give you a bit more privacy while still letting some light through. These work in living or dining rooms where you don’t need complete darkness.
Blackout curtains block all light and give maximum privacy. Bedrooms and media rooms are ideal for these, or anywhere you want total control over the light.
Think about which direction your windows face. South-facing windows get a lot of sun, so UV-resistant or lined curtains can help protect furniture from fading.
Double-rod systems with sheers and blackout curtains give you flexibility—just adjust them as the day goes on.
Accurately Measuring Windows and Curtains
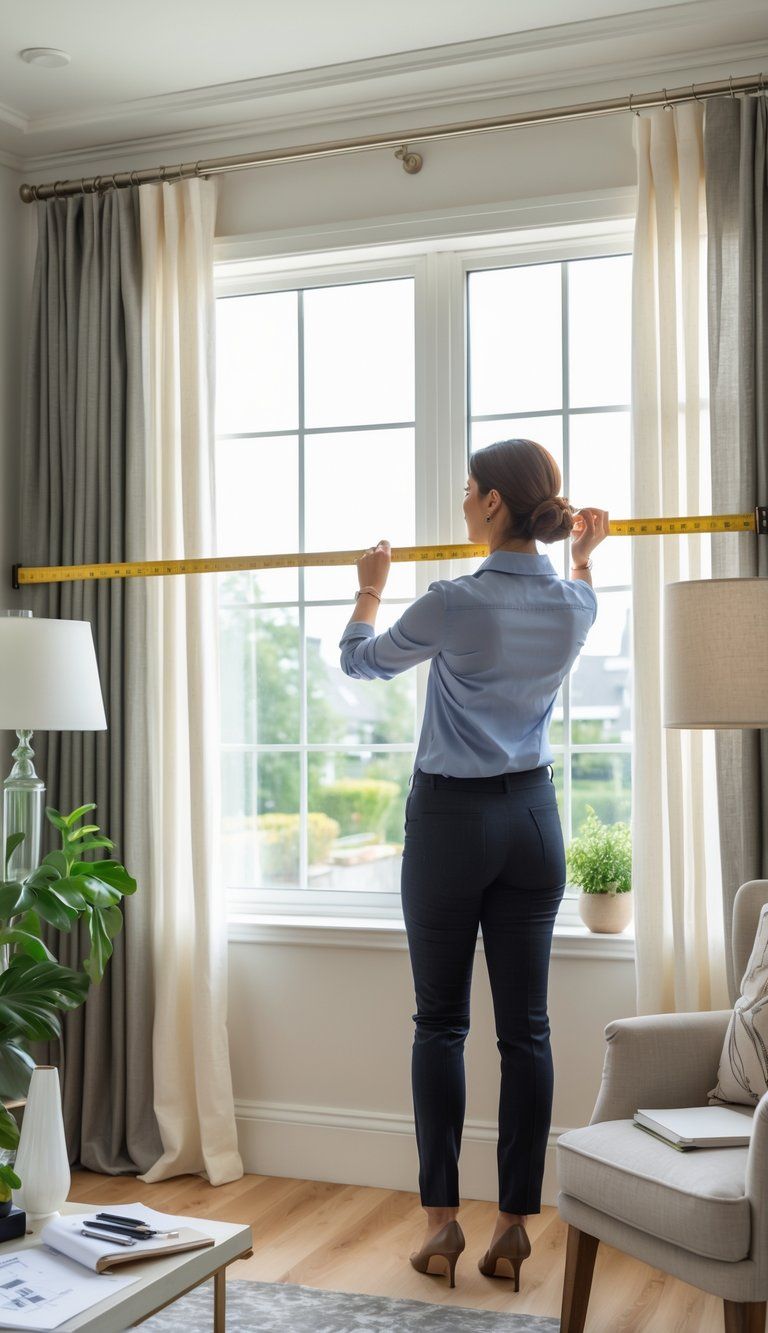
Getting your measurements right is the key to perfectly hung curtains. When you measure accurately, your curtains fit well and give you that designer look.
How to Measure for Curtain Width
Grab a steel tape measure for the most accurate results. Measure your window frame from outside edge to outside edge.
Add 8-12 inches on each side for standard curtains. This extra width lets the curtains stack back when open, so you get the most light.
If you want a luxe look, multiply your window width by 2 or 2.5. That fullness gives you elegant folds when the curtains are closed.
Example Width Calculation:
- Window width: 36 inches
- Add 10 inches each side: 36 + 20 = 56 inches
- For fullness (2x): 56 × 2 = 112 inches total width needed
If your window is wider than 60 inches, try using more than two panels. It makes opening and closing much easier.
Determining Curtain Length Based on Placement
Curtain length depends on your style and where you put the rod. For a designer look, mount the rod 4-6 inches above the window frame.
Common Curtain Lengths:
- Sill length: Ends just above the sill
- Below sill length: 4-6 inches below the sill
- Floor length: Hangs about ½ inch above the floor
- Puddle length: Extra fabric pools on the floor (2-3 inches extra)
Measure from where you’ll install the rod down to where you want the curtain to end. For floor-length, go from the rod to just above the floor.
Don’t forget to account for rings or clips if you’re using them—they add 1-2 inches to the drop.
Selecting and Installing Curtain Rods
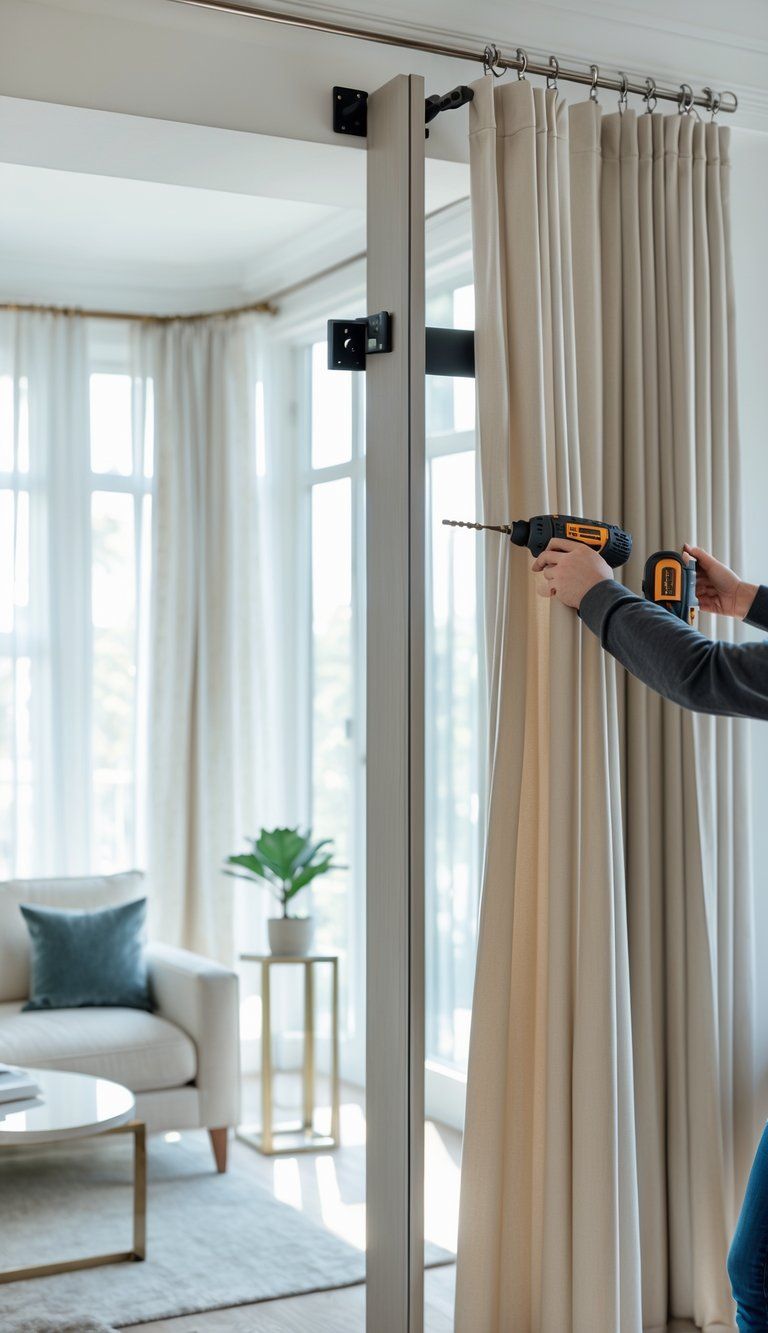
The right curtain rod and a good install job make all the difference. Hardware can either elevate your curtains or just make them look like an afterthought.
Choosing the Best Curtain Rod Type
When you pick curtain rods, think about both function and style. Decorative rods with fancy finials work in traditional or bold rooms, while simple rods fit modern spaces.
Match the rod finish to your existing hardware for a pulled-together look.
Use sturdy metal rods for heavy curtains so they don’t sag. Double rods are handy if you want to layer sheers under drapes. If you’re renting or just want something temporary, tension rods go up without drilling but only work with lightweight curtains.
Rod diameter matters—1 to 2 inches works for most, but big windows need thicker rods for support and balance.
Determining Curtain Rod Placement
Curtain rod placement really changes how the space feels. For height, mount the rod 4-6 inches above the window frame. If your ceilings are low, you can go even higher—up to two-thirds of the way to the ceiling.
Extend the rod about 12 inches past each side of the window frame. That way, curtains stack against the wall instead of blocking light.
For bay or corner windows, try special corner connectors or custom rods so the curtains flow smoothly around the angles.
Essential Tools for Hanging Curtains
Basic Tool List:
- Tape measure
- Level
- Pencil
- Drill with bits
- Screwdriver
- Stud finder
- Step ladder
Start by measuring and marking bracket spots with a pencil. Use a stud finder to find wall studs for secure mounting.
If you can’t hit a stud, use wall anchors that can handle your curtains’ weight.
Keep the brackets level by using a bubble level. If they’re uneven, rods will slide and curtains will hang badly.
If your curtains are heavy or the rod is long, add a center support bracket to prevent sagging.
Adhesive curtain brackets are a good option if you’re renting or don’t want to drill holes, but stick to lightweight curtains.
Techniques for Hanging Curtains Like a Designer
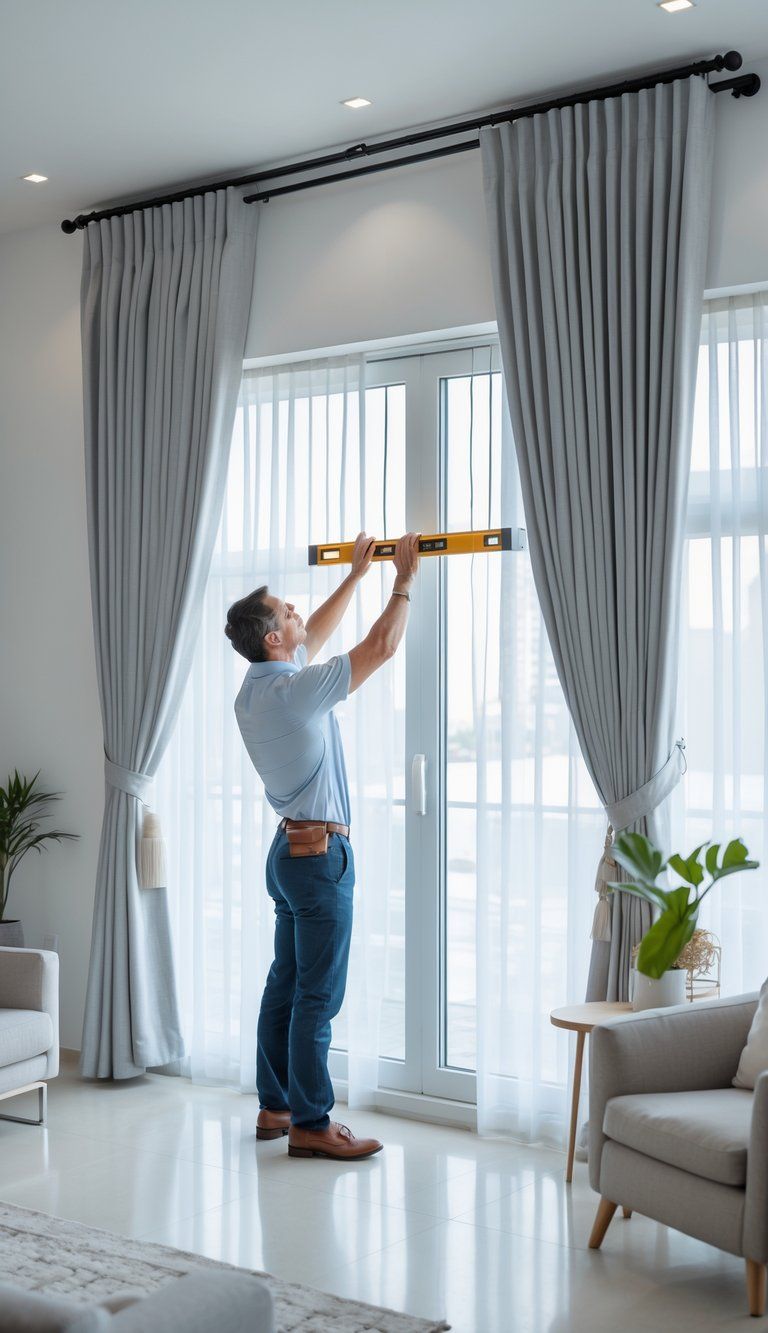
Hanging curtains well can totally change your windows and the feel of the whole room. The right technique really sets apart a pro look from an amateur one.
Professional Tips for Curtain Height and Placement
Always aim to hang your curtain rod 4-6 inches above the window frame. This trick makes your windows and ceilings seem much taller.
For width, extend the rod 8-12 inches past each side of the window. This lets curtains stack beside the window, not in front of it, and makes the window look bigger.
Use a metal tape measure for accuracy. Mark your desired height with pencil marks or removable tape before you drill.
For proper fullness, get curtain panels that are 2-3 times the width of your window. This gives you elegant folds when closed, not that stretched-out look.
Hanging Multiple Curtain Panels
For wide windows, use more than two panels. This balances things out and gives you a designer look.
If you’re layering sheers and drapes with double rods, space the rods about 4 inches apart. Install the back rod for sheers first, then the front rod for your main curtains.
High-quality curtain rings or clips make a difference. Rings slide better than rod pockets and create nice, even pleats.
Hang the sheers first, then the decorative panels for a layered effect and flexible light control.
Tips for Level and Symmetrical Curtain Installation
Use a level when you install curtain hardware. If the rod isn’t straight, it’s obvious and ruins the look.
Mark all screw holes with a pencil before drilling. For heavy curtains, find wall studs or use the right anchors so the hardware stays put.
Install brackets at the same height on both sides. Measure from the ceiling down, not from the window up, for consistency.
Fold curtain panels in half to find the center and line them up with the window’s center. This keeps the coverage balanced on both sides.
If you’re hanging multiple windows in one room, keep rod heights consistent for a cohesive, pro look.
Styling and Finishing Touches
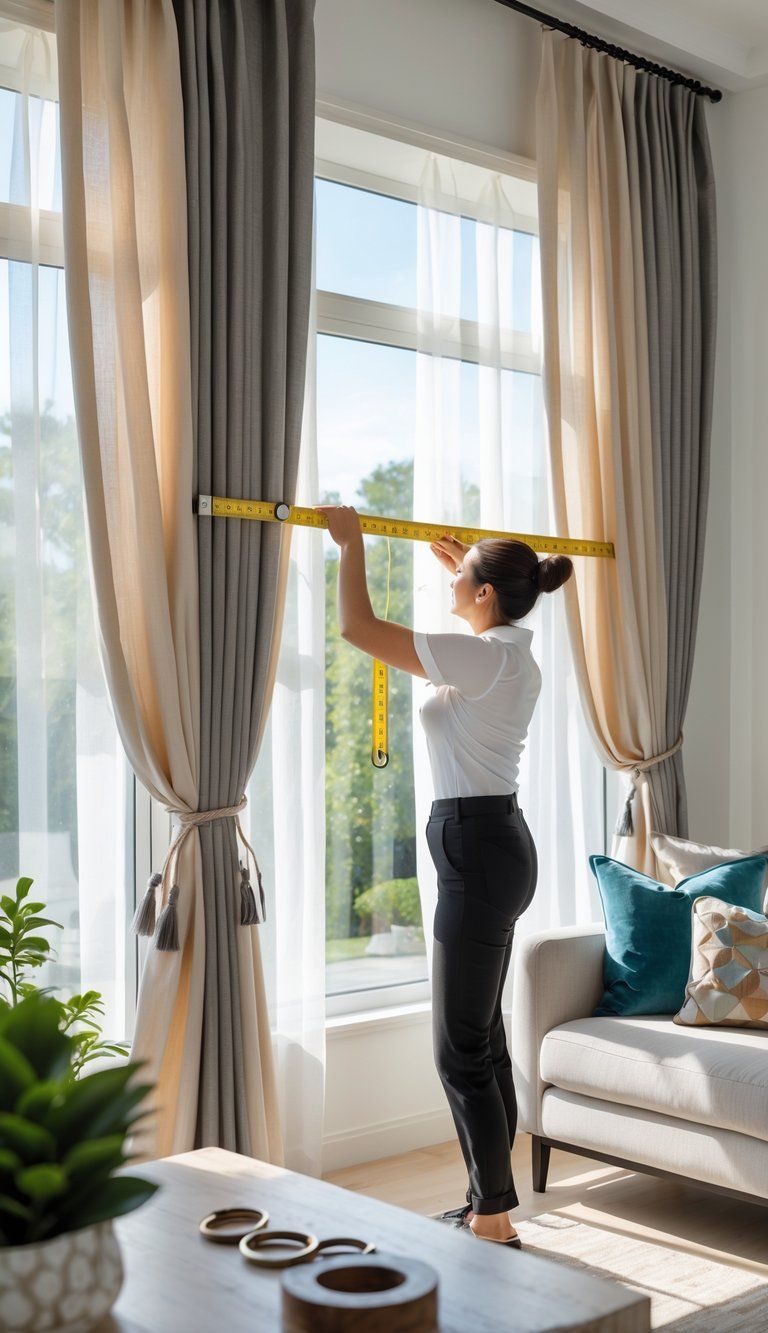
Accessories and little design choices can really make your curtains stand out. These details bring personality and polish to your window treatments.
Incorporating Curtain Accessories and Hardware
Decorative finials add some flair to your curtain rods and keep curtains from sliding off. Pick finials that match your space—crystal for glam, wood for cozy, or metal for a modern feel.
Curtain rings make it easier to open and close curtains, plus they look great. For a designer vibe, try rings with clips so you can adjust curtain height without sewing.
Tiebacks work for both function and style. They hold curtains open to let in more light and show off your windows. You can use fabric tiebacks, decorative hooks, tassels, or even something repurposed and vintage for a unique touch.
If you’re renting or just don’t want to drill, adhesive curtain brackets let you hang lightweight curtains without damaging the walls.
Design Inspiration for Various Rooms
In living rooms, layer sheers under heavier drapes for flexible light and privacy. Floor-to-ceiling curtains in neutral shades add sophistication and make the room look taller.
For bedrooms, blackout curtains with sound-dampening features help create a peaceful retreat. Add a decorative trim or border to basic curtains for a custom look without the custom price.
Kitchens do well with light, washable fabrics like cotton or linen café curtains. These give you privacy but still let in daylight. Patterns that match your backsplash or countertops can tie everything together.
Bathrooms need moisture-resistant fabrics, like polyester blends. Try half-window treatments for privacy while still letting in lots of natural light from the upper part of the window.
Functional Benefits and Advanced Solutions
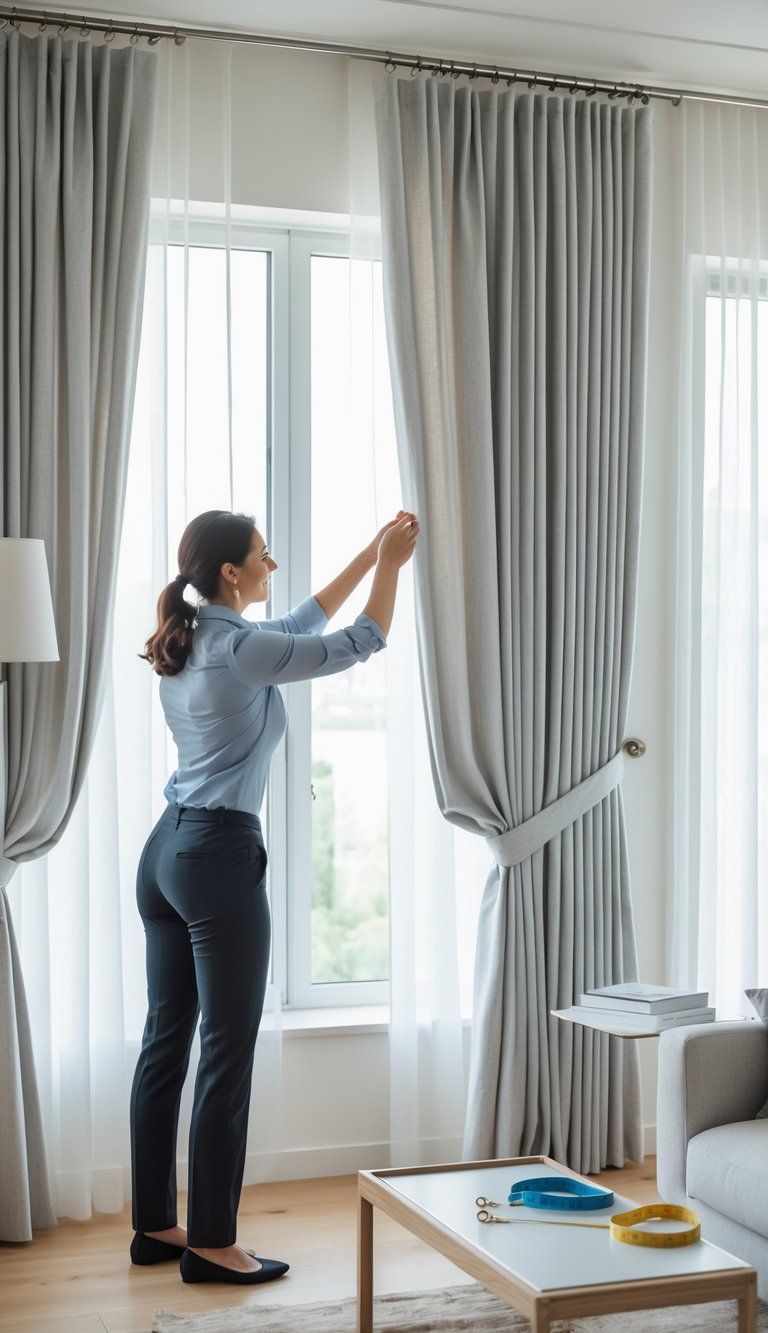
Curtains do a lot more than just look nice. They actually tackle some everyday household issues and make your place feel a lot cozier.
So, how can the right curtains make your home more efficient? Let’s dig in.
Improving Insulation and Energy Efficiency
If you hang your curtains properly, you’ll probably notice a drop in energy bills. Thermal curtains, especially those with a few layers, trap air between the fabric and your window.
That trapped air acts as a barrier, keeping heat and cold where they belong—outside. For the best insulation, grab curtains that stretch at least 4 inches past the window frame on every side.
That way, you block drafts sneaking in around the edges.
Quick energy-saving tips:
- Hang your curtains close to the window, but don’t let them touch the glass.
- Seal the edges with curtain clips or even magnetic strips.
- Pick curtains with a thermal backing or add liners if you want extra warmth.
- When the sun’s out on a winter day, open the curtains and let the heat pour in.
- At night, close them up tight to keep the warmth from escaping.
Blackout curtains aren’t just about blocking light. They’re surprisingly good at insulation.
Some studies even say you can cut heat loss by up to 25% in winter. In the summer, they’ll help keep out that stubborn solar heat too.
Specialty Curtain Types and Uses
Let’s be honest—every room needs its own curtain game plan, depending on what you’re trying to do.
Blackout curtains totally change the vibe in:
- Bedrooms, if you’re after better sleep
- Media rooms, since nobody enjoys screen glare
- South-facing rooms, where you just want to keep things cool
Roman shades are a solid pick when you’re short on space. They stack up at the top when you pull them open, and when you drop them down, you get total coverage.
If you’re chasing energy savings, thermal-lined options are worth a look.
Sheer curtains let in light but still give you privacy. Try layering them with heavier drapes—keep the sheers closed during the day, and pull the heavier curtains at night.
Bathrooms and kitchens need something that can handle moisture, so go for polyester blends or treated cotton. These fabrics fight off mildew and make cleanup a lot easier.

