Designing a kitchen that actually works for your life goes way beyond just scrolling through gorgeous photos. You want a kitchen that fits how you cook and live, not just what looks good or follows the latest trend.
Remember to repin your favorite images!
A lot of people get caught up in design rules and forget to think about their own routines. It’s easy to do, honestly.
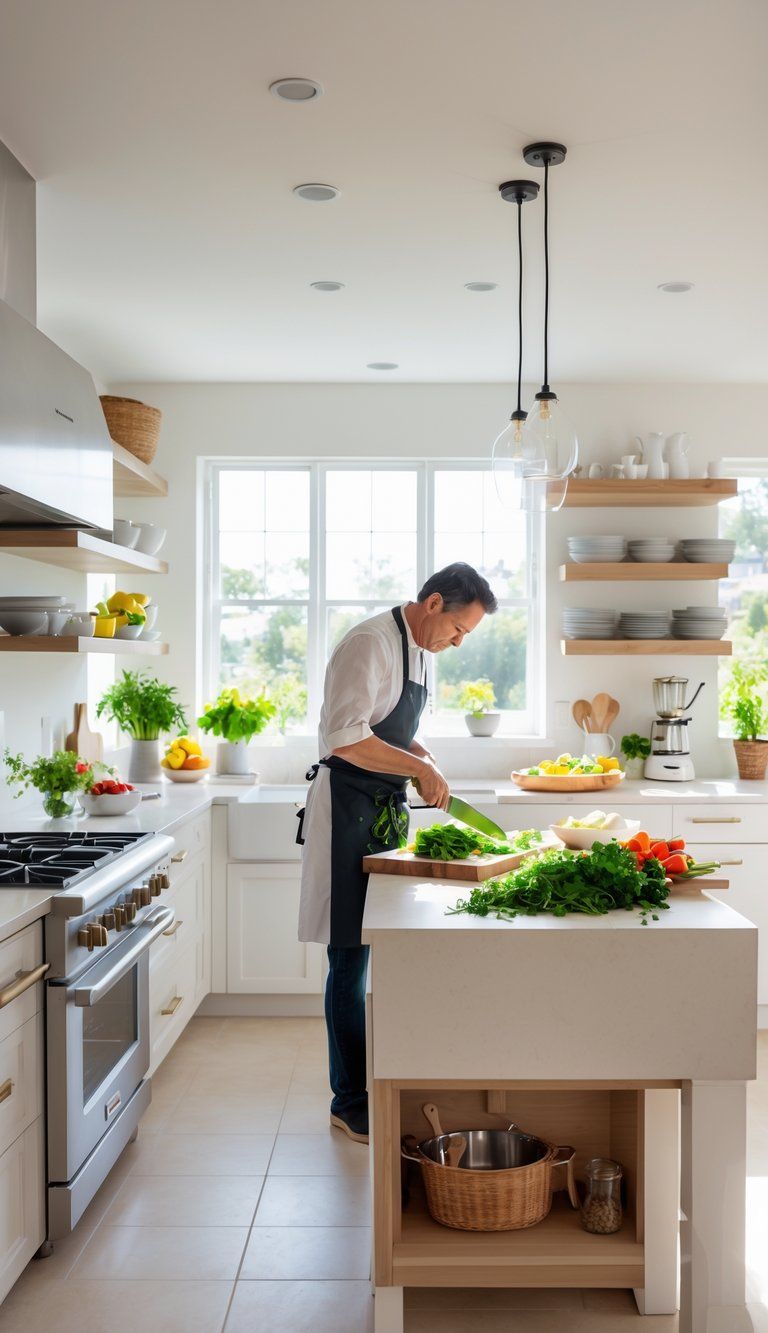
The secret to a successful kitchen layout isn’t just about design principles—it’s about making the space work for your unique cooking style and lifestyle. Maybe you like the classic work triangle, or maybe you need multiple zones because your whole family likes to cook together.
The traditional kitchen triangle works for a lot of people, but you shouldn’t feel stuck with it if it doesn’t fit your vibe.
Start with some honest questions about how you use your kitchen. Do you need extra counter space for baking projects?
Would a second sink help when you’ve got more than one cook in the kitchen? Think about how you move through the space, what you actually cook, and where traffic jams happen.
Your best kitchen layout might be a mashup of different styles that just feels right for you.
Understanding Your Cooking Habits
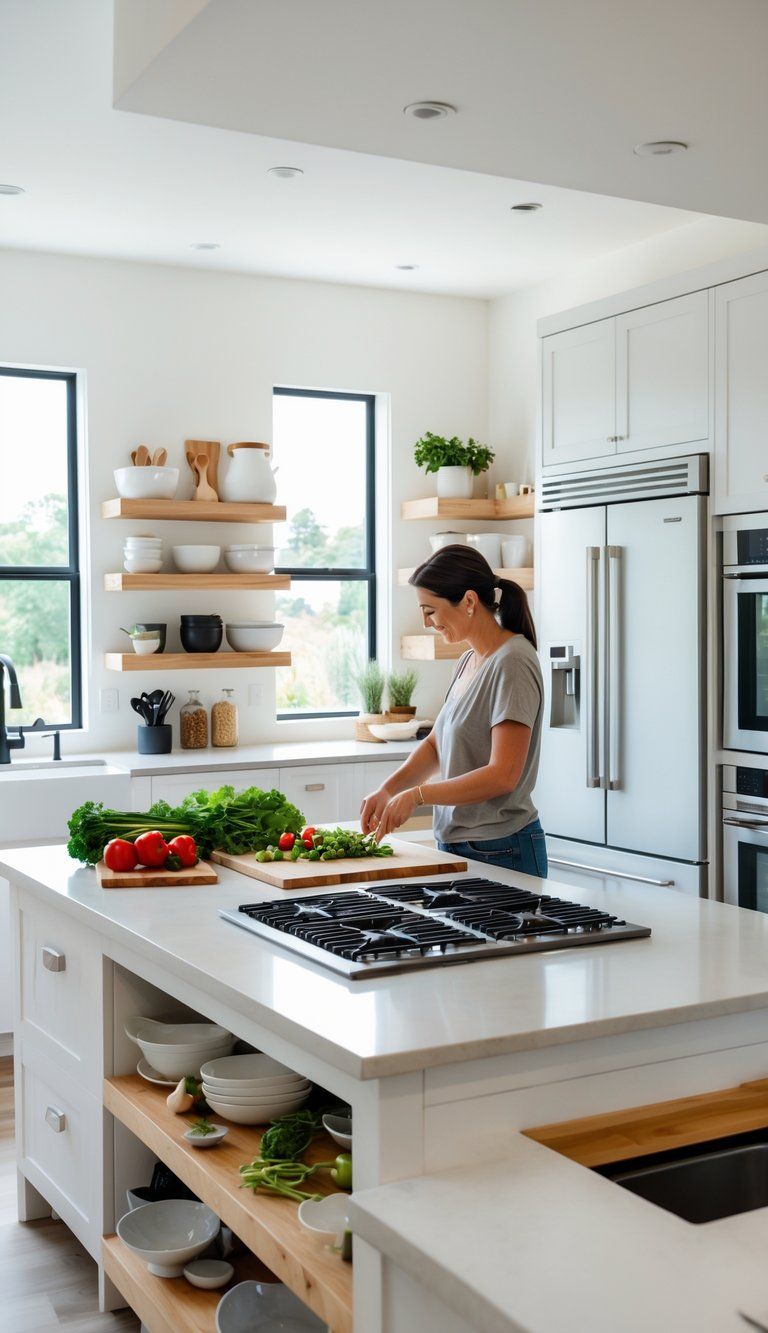
Your layout should fit your real-life habits. Before you pick out countertops or cabinet colors, take a beat and think about your daily routines.
Identifying Your Cooking Style
Are you the type who loves experimenting in the kitchen, or do you mostly reheat leftovers? Your style changes what you need.
If you’re a serious cook, you’ll probably want more counter space, pro-level appliances, and special storage for all those gadgets.
Here’s a quick breakdown:
- Weekend Chef: Needs solid storage, basic appliances, and a bit of prep space
- Daily Home Cook: Wants an efficient layout, good appliances, and plenty of storage
- Gourmet Enthusiast: Needs pro appliances, big prep areas, and special storage solutions
- Minimal Cook: Just needs a simple layout, easy-to-clean surfaces, and the basics
Your experience matters too. If you’re new to cooking, having recipes and tools out in the open helps.
Experienced cooks might set up zones for different techniques—think baking, chopping, or sautéing.
Evaluating Meal Prep Preferences
How do you like to prep meals? That really shapes your kitchen.
Do you chop everything ahead of time, or just wing it as you go? Some folks batch cook on Sundays, others make dinner every night.
Ask yourself:
- Do you batch cook on weekends?
- Do you cook daily?
- How many dishes do you juggle at once?
If you batch cook, you’ll want bigger counters and storage for all those containers. Daily cooks get the most out of a tight work triangle.
Storage is different for everyone. If you use a food processor or stand mixer a lot, keep it handy. Otherwise, stash it out of the way.
The right setup makes meal prep way less stressful.
Factoring in Family and Entertaining Needs
Kitchens aren’t just about food—they’re social spaces too. How many people are in your kitchen at once? Do you throw parties, or is it just family?
Think about:
- How many cooks work at the same time
- If kids need easy snack access
- Whether you need a spot for homework or working from home
For parties, do guests always end up in the kitchen? Do you host big holiday meals or casual brunches?
If you’ve got multiple cooks, go with wider walkways and more than one work zone. Families might want a snack drawer or fridge section that kids can reach.
If you love entertaining, an island with seating or a peninsula where people can gather is a game changer. Open layouts keep the conversation flowing.
Essential Kitchen Zones for Efficiency
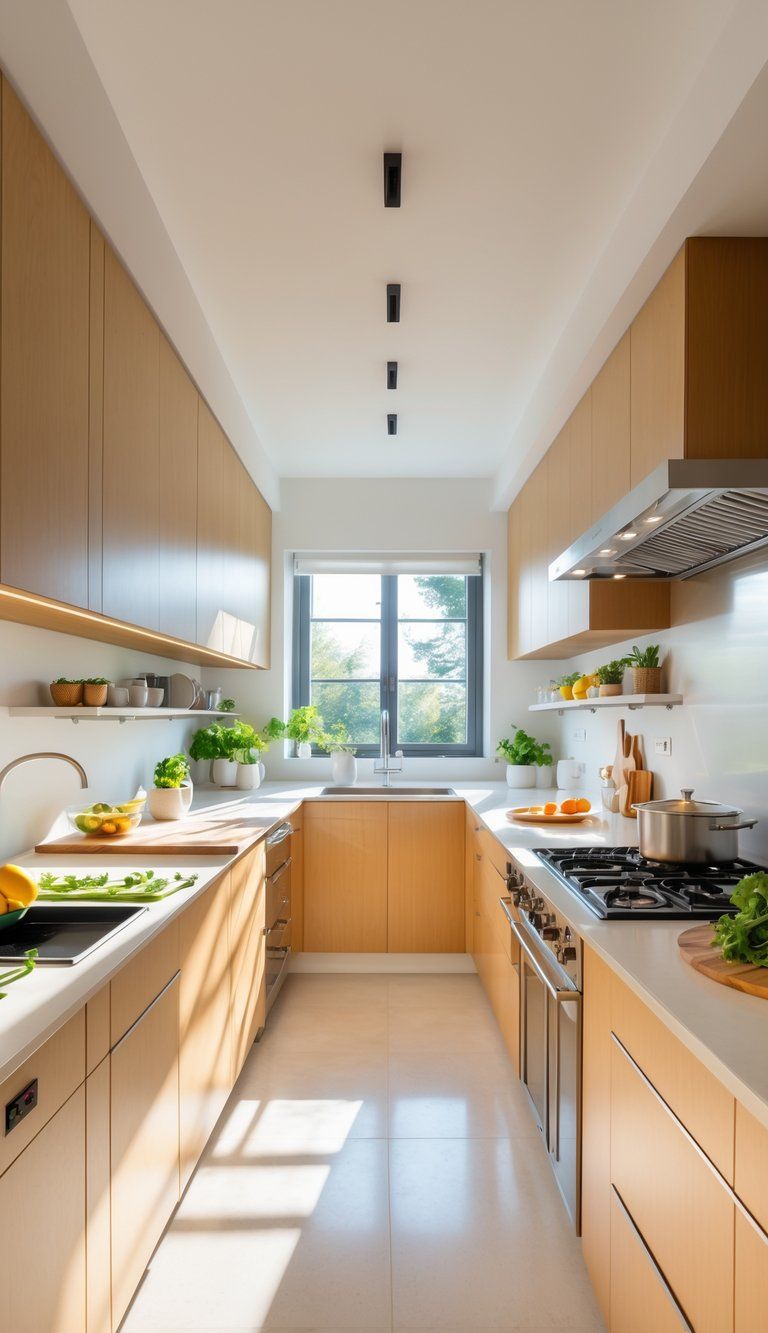
Breaking your kitchen into zones just makes sense. It helps you move around easily and keeps things where you actually need them.
A smart kitchen splits up tasks—like prepping, cooking, and cleaning—so you’re not running in circles.
Defining the Work Triangle
The work triangle is all about connecting your fridge, sink, and stove. This idea has been around forever, and honestly, it works for a reason.
You want those three spots close enough to save steps but not so close that you’re bumping elbows. The triangle should add up to 12–26 feet total.
Each side should be between 4 and 9 feet. Too tight, and you’ll feel boxed in; too far, and it’s just tiring.
For example:
- Fridge to sink: 4–7 feet
- Sink to stove: 4–6 feet
- Stove to fridge: 4–9 feet
A lot of modern kitchens go beyond the triangle and use five main zones:
- Cooking zone (stove, oven)
- Prep zone (main counter space)
- Cleaning zone (sink, dishwasher)
- Consumables zone (fridge, pantry)
- Non-consumables zone (dishes, utensils)
Understanding Kitchen Essentials Placement
You’ll cook faster and easier if you keep stuff where you use it. No one wants to cross the kitchen for a spatula.
Keep knives, cutting boards, and bowls in your prep zone, right by the sink if you can. You’ll want plenty of space to spread out.
Store pots, pans, and utensils near the stove, maybe in a drawer underneath or on a rack above. Spices should be right where you cook, not across the room.
Keep trash and cleaning supplies by the sink. Dishes should go between the sink and the dining area.
Organize food by what you use most. Put breakfast stuff together, stash baking supplies in one spot, and keep everyday ingredients handy.
Optimizing Counter Space
Counter space is gold in any kitchen. Try to get at least 36 inches for prep, and keep it close to the sink.
Make little zones on your counters:
- Main prep area: Keep it clear for daily use
- Appliance spot: For things you use all the time
- Landing zones: 12–15 inches by the fridge and stove
Try these tricks to save space:
- Magnetic knife strips on the wall
- Hanging pot racks
- Pull-out cutting boards
- Under-cabinet garages for appliances
If your kitchen is tiny, a rolling cart can be a lifesaver. It adds workspace and storage, and you can tuck it away when you don’t need it.
Clear off stuff you barely use. If your stand mixer only comes out for holidays, just put it in a cabinet.
Choosing the Right Kitchen Layout
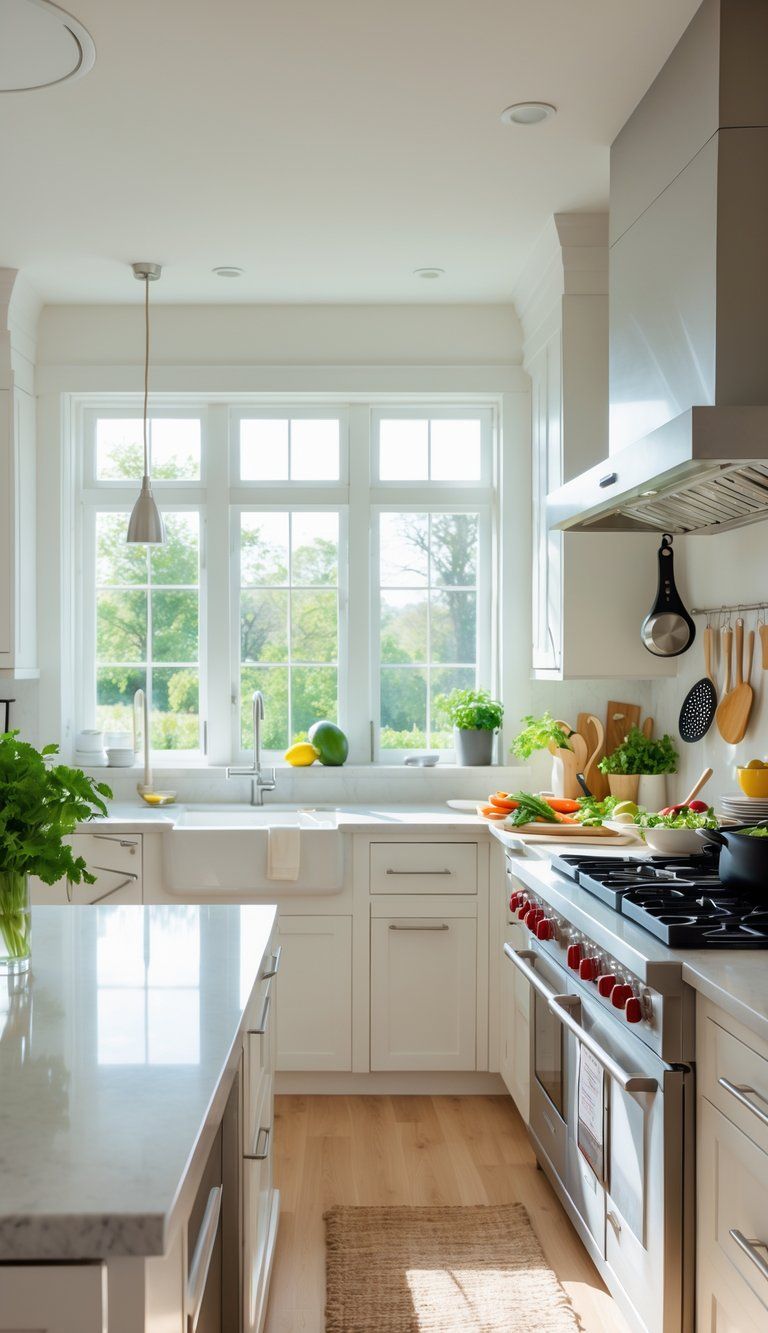
Your kitchen’s layout changes everything—how you cook, how you move, and how much you can store. Pick a design that matches your habits, your space, and your family.
Galley Kitchen Considerations
Galley kitchens run with two counters facing each other and a walkway in between. They’re awesome for small homes.
Why people love them:
- Super efficient—you barely have to move
- You get a clear work triangle
- Makes the most of limited space
Keep the walkway at least 4 feet wide so you’re not bumping into anyone. Try to put the sink and stove on the same side so you’re not walking around with hot pans.
Storage is a big deal in galley kitchens. Go for tall cabinets to use every inch, and try pull-out pantries for those skinny spaces.
If the space feels tight, use light colors and good lighting. Open shelves instead of upper cabinets on one side can make it feel bigger.
L-Shaped Layout Insights
L-shaped kitchens use two walls that meet at a corner, giving you a flexible, open workspace.
Who should consider it:
- Medium-sized homes
- Open layouts
- Families with more than one cook
The L-shape naturally sets up a work triangle. Put the fridge at one end, the sink in the corner, and the stove on the other side for smooth flow.
Use the corner space wisely. Lazy Susans or pull-out cabinets can turn that awkward spot into something useful.
If you’ve got room, add an island. Ten feet in both directions is a good minimum. Islands bring more prep space and a spot for people to hang out.
U-Shaped Layout Strategies
U-shaped kitchens wrap three walls with counters and cabinets—tons of space and storage.
Why go U-shaped:
- Loads of counter space
- Easy workflow—everything’s close
- You can separate cooking from prep areas
Ten to twelve feet between opposite walls is ideal. If the kitchen is bigger, stick an island in the middle so you’re not running laps.
Spread out your appliances. Fridge at one end, sink in the middle, stove on the side. This setup keeps you moving efficiently.
Lighting really matters here. Under-cabinet lights kill shadows, and pendant lights over work areas help you see what you’re doing.
U-shaped kitchens are great for families or anyone who cooks with others. Everyone gets their own space.
Incorporating Kitchen Islands and Peninsulas
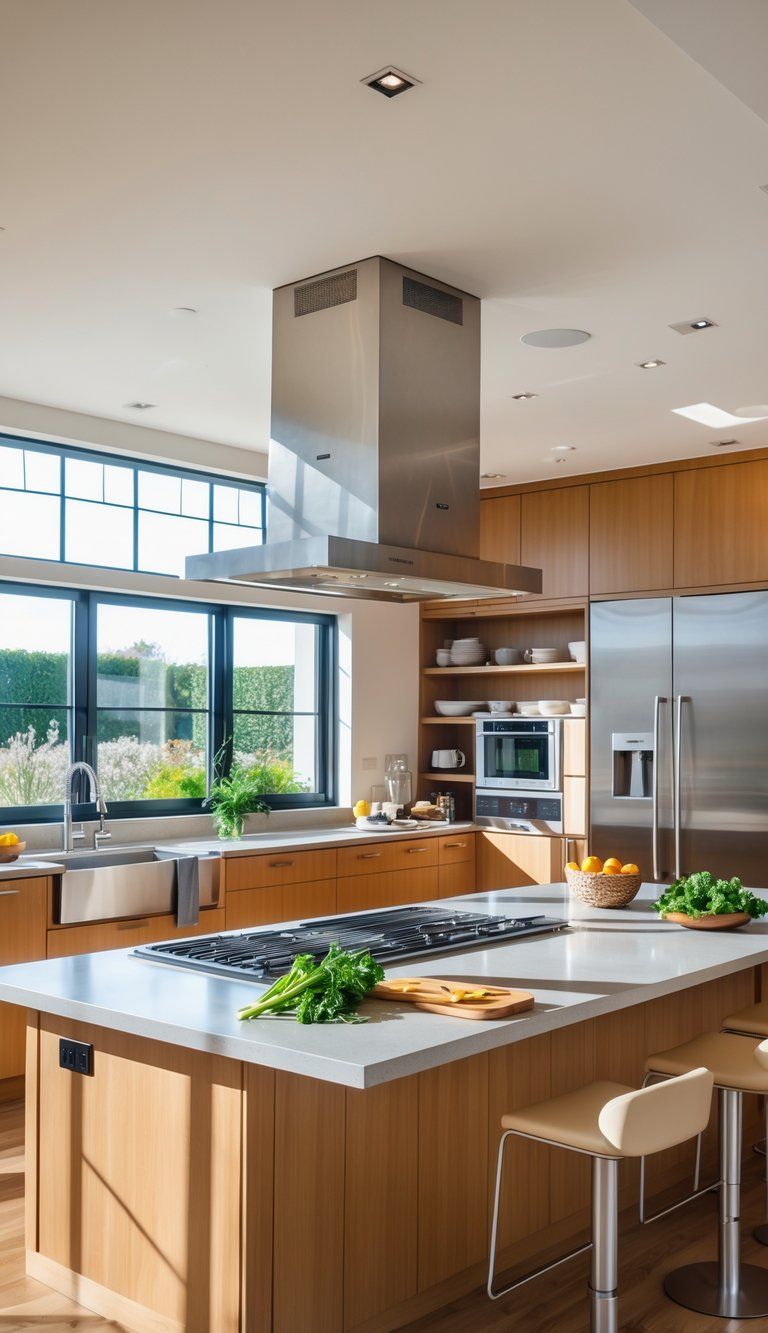
Islands and peninsulas can totally change your kitchen. They add workspace, storage, and a spot for friends to hang out.
The right choice depends on your space and how you use your kitchen.
Space Planning for Islands
Islands need room. Give yourself at least 42 inches on all sides so you can move freely and open everything without hassle.
If your kitchen is under 150 square feet, try a rolling island. Medium kitchens (150–350 square feet) can handle a fixed island, around 3 by 5 feet.
Put your island where it helps your workflow. You want it to fit into the triangle between sink, stove, and fridge.
Islands work best in open layouts, square kitchens, or L-shaped spaces with a roomy middle.
Don’t forget—plumbing and electrical matter. Plan for those early on.
Advantages of Peninsula Layouts
Peninsulas attach to a wall, so they’re perfect when an island just won’t fit. You get the perks of an island but save floor space.
Peninsulas naturally separate the kitchen from living or dining areas without closing things off. Great for open plans.
L-shaped kitchens especially benefit from peninsulas, turning the space into a practical U-shape and maximizing corners.
With a peninsula, you get:
- More storage on both sides
- Extra counter for prepping
- Casual seating that doesn’t mess up your flow
- Clear kitchen boundaries without walls
For the best setup, add a countertop overhang for seats and outlets for appliances. It’s the little details that make a big difference.
Island Layouts for Multi-Functionality
Modern kitchen islands do so much more than just provide a spot for cooking. Before you lock in your design, really think about how you want to use that space.
Cooking islands usually include cooktops and definitely need good ventilation. Leave at least 12 inches of workspace on each side of the cooktop. You might want to add a slightly lower section if you like rolling dough or prepping food.
Entertaining islands work best with:
- Wider countertop overhangs (12-15 inches)
- Built-in beverage fridges
- Storage just for glasses and serving pieces
- Power outlets for gadgets
Families often add homework spaces to islands, complete with charging stations and storage for school supplies. Just keep that area away from the cooking zone for safety.
Two-tier islands break up cooking and dining areas. The higher counter hides kitchen messes from guests—a real bonus if you entertain.
Smart Storage Solutions
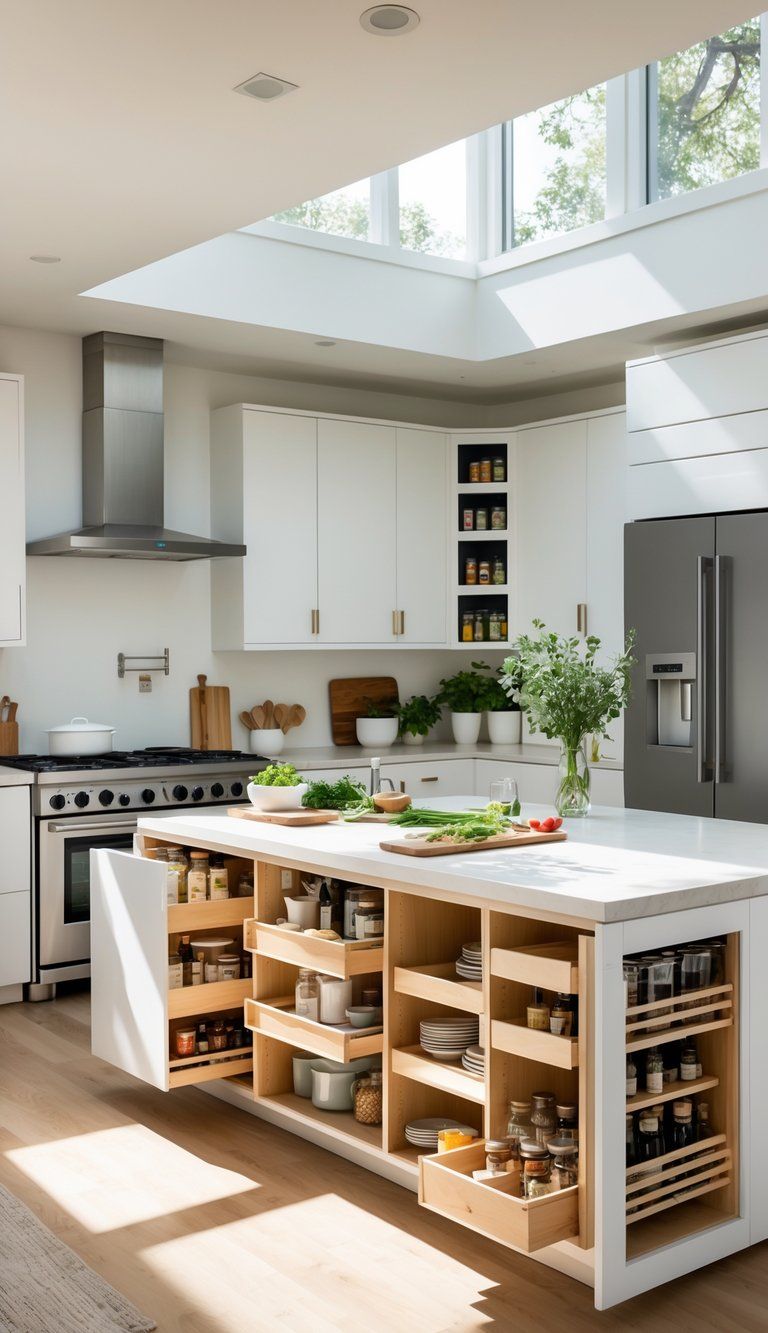
Efficient storage really makes a kitchen work. The right ideas can take your space from cluttered chaos to something that just feels easy and streamlined.
Utilizing Vertical Storage
People often ignore wall space in kitchens. Try open shelving above countertops for your daily go-to items. You’ll keep them handy and free up cabinet space.
A ceiling-mounted pot rack saves space and adds a little flair. Your cookware becomes part of the look, and you can grab pots and pans without digging.
Mount magnetic knife strips on the wall to keep sharp tools safe and easy to reach. Honestly, they’re safer than bulky knife blocks hogging your counters.
Add vertical dividers in cabinets for baking sheets, cutting boards, and trays. You’ll never need to unstack everything just to get one item.
Integrating Pull-Out Shelves and Lazy Susans
Pull-out shelves make deep cabinets actually usable. You won’t lose stuff in the back anymore. Retrofit your existing cabinets with these slides and you’ll wonder why you waited.
Lazy Susans are perfect for those awkward corner cabinets. Spin them around to find spices or small appliances without a fuss.
Pull-out trash and recycling bins tuck these essentials away but keep them easy to reach. It’s a lot cleaner than having bins out in the open.
Drawer dividers organize utensils and small gadgets. Custom dividers fit your stuff, so you can finally avoid the dreaded junk drawer.
Maximizing Storage Space
Look for sneaky storage spots in your kitchen. The gap between your fridge and the wall is perfect for a slim rolling pantry. Store spices, cans, or baking supplies in there.
Under-cabinet space often goes unused. Hang mugs, add racks for wine glasses, or install pull-down spice racks.
Toe-kick drawers make use of the space under your lower cabinets. They’re shallow but great for baking sheets or platters you don’t use every day.
Stacking shelves or risers inside cabinets double your storage. Suddenly, you’ve got two levels for dishes or pantry items instead of just one.
Key Appliances and Fixture Placement
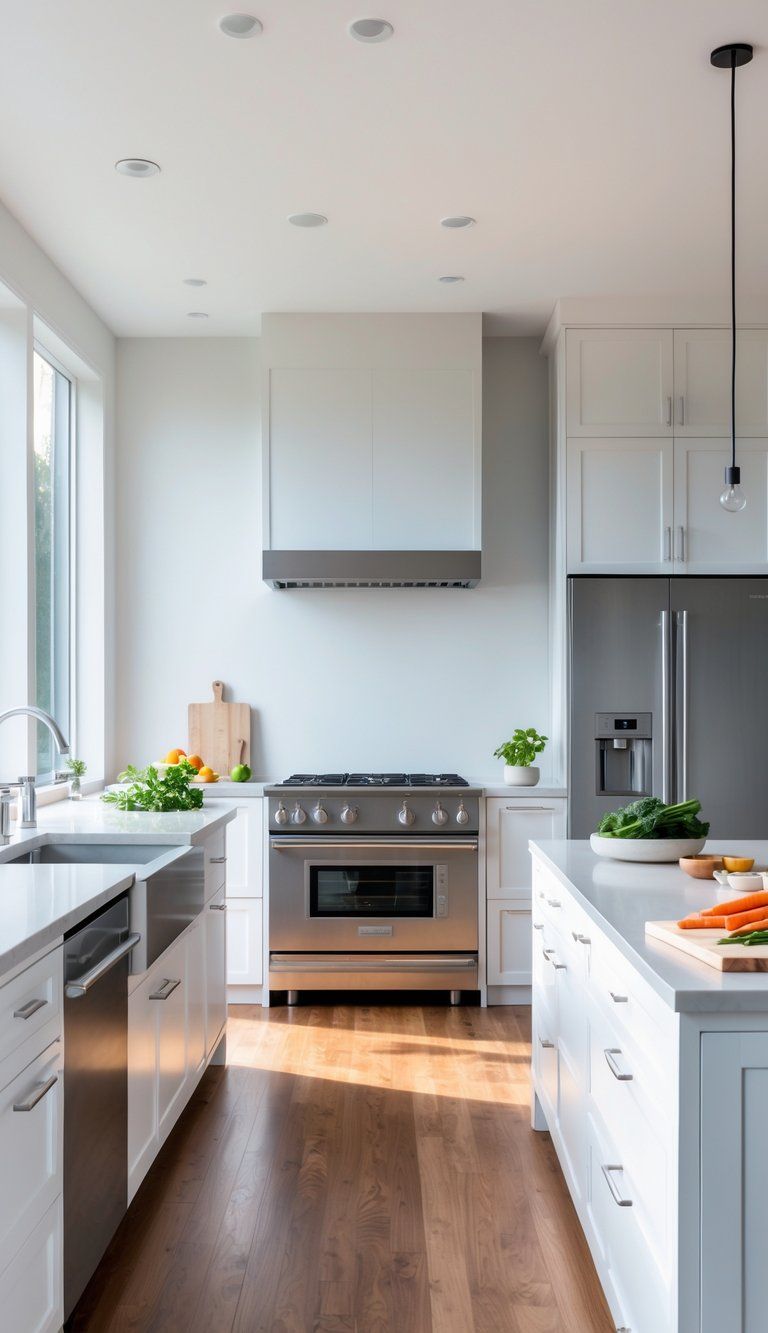
Where you put your appliances and fixtures can make or break your cooking experience. Smart placement means fewer wasted steps and a kitchen that feels like it’s working with you, not against you.
Stove and Oven Positioning
The stove really sits at the center of cooking activities. If you have kids, put the stove along a wall instead of on an island to lower accident risks.
Give yourself 15-18 inches of counter space on each side of the stove. You’ll need the room for hot pots and prepping ingredients.
Think about ventilation needs too. A hood that’s just a bit wider than your cooktop does a better job catching smoke and smells.
If you cook with family, a wider range (36-48 inches) lets everyone join in. Wall ovens separate from the cooktop also help split up cooking tasks.
Sink Location and Styles
The sink gets the most action in any kitchen—some say up to 60% of your time. Place it between the fridge and stove to create a natural work triangle.
Go deeper than the usual 8-inch sink if you often wash big pots. Ten inches or more keeps splashing down and gives you more space.
Undermount sinks let you sweep crumbs right in without a rim in the way. It’s a small detail but makes cleanup a breeze.
Double sinks are handy—one side for washing, one for rinsing. If you’re short on space, a big single basin with a fitted cutting board and colander works too.
Refrigerator Access and Placement
Put your fridge somewhere both cooks and snackers can reach it without getting in the way. The edge of your main work area usually works well.
Check for door clearance in your plan. French door or side-by-side models need less space in front than old-school full-width doors.
Set a bit of counter space next to the fridge—at least 15 inches is ideal. You’ll want a landing spot for groceries or leftovers.
Keep the fridge away from heat sources like ovens and sunlight. This helps it run efficiently and could save you up to 10% on energy.
Make sure the doors open toward your workspace, not away. It sounds obvious, but it makes grabbing ingredients so much easier.
Angled Corner Sink Integration
An angled corner sink can turn a dead spot into something useful. You’ll get more counter space and a workspace that actually feels comfortable.
Go for a 45-degree angle with corner sinks. It just feels more natural than a tight 90-degree corner.
Install task lighting right above the corner sink to chase away shadows. Under-cabinet lights work well here since overhead lights often miss the spot.
Plan your storage around the corner sink. Pull-out drawers or lazy Susans below make that space usable.
Choose a slightly smaller sink (21-24 inches) for the corner so you keep enough counter space for prep and cleanup.
Optimizing Workflow and Movement
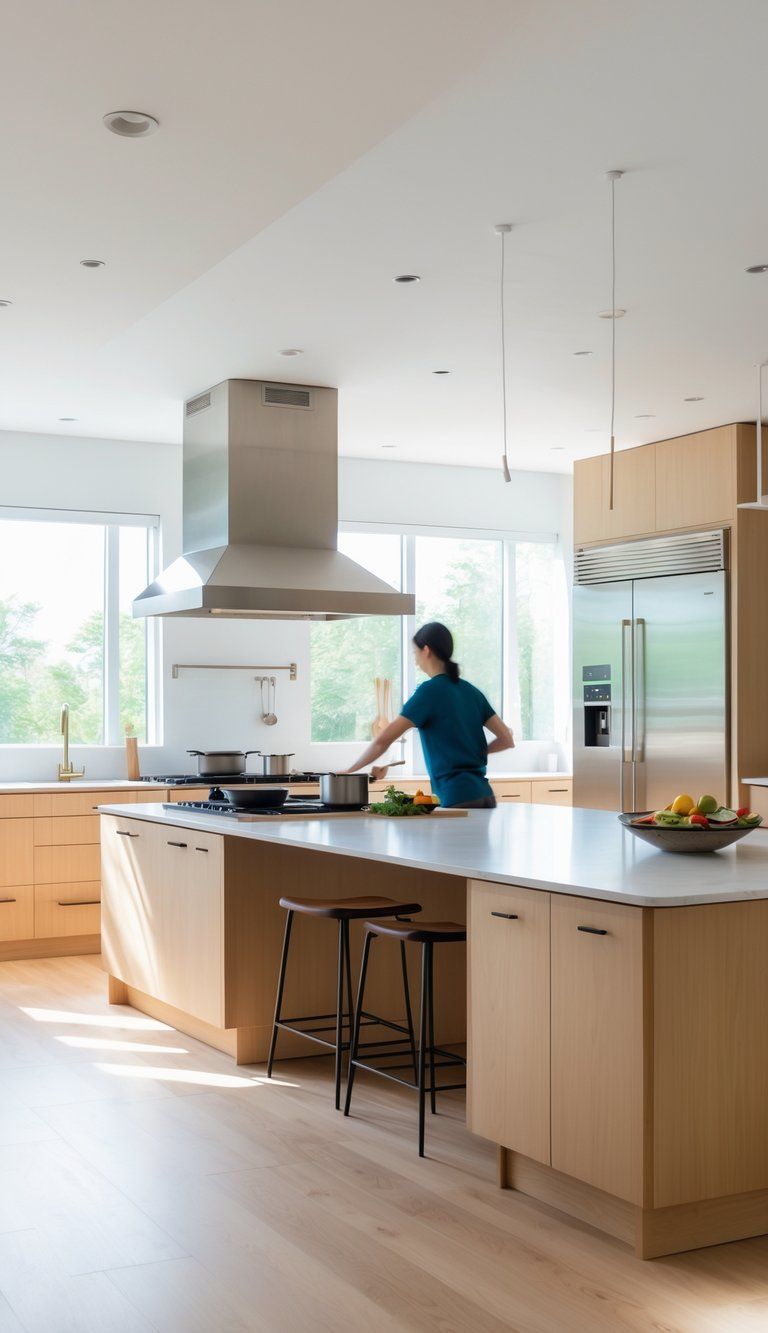
A functional kitchen is all about how easily you can move while cooking. The right layout saves you steps and keeps frustration at bay.
Traffic Flow and Safety
Traffic flow in the kitchen matters for both safety and speed. The classic work triangle—linking fridge, sink, and stove—still works for most people. Keep these spots 4-9 feet apart for a good balance.
Think about who uses the kitchen and how. If you cook with others, make pathways at least 42 inches wide to avoid bumping into each other. Solo cooks can get by with 36-inch paths.
Keep busy walkways away from the main cooking area. Kids and guests should be able to pass through the kitchen without cutting across your workspace.
Store frequently used items near where you use them. Pots by the stove, cutting boards by the prep area—it just makes sense and makes life easier.
Ergonomic Design Principles
Ergonomics means designing your kitchen to fit your body, not the other way around. Standard counters are 36 inches high, but adjust that if you’re taller or shorter.
Use lower counters (34 inches) for kneading dough. Taller folks might want higher counters for comfort.
Hang cabinets at accessible heights—15-18 inches above the counter is the sweet spot. Pull-out drawers and shelves mean less bending and reaching.
Put appliances where you use them most. Keep the fridge and microwave outside the main cooking zone, and store heavy stuff at waist height to avoid strain.
Good lighting is a must for safety and speed. Install task lights under cabinets to brighten up your work areas.
Design Finishes and Functional Touches
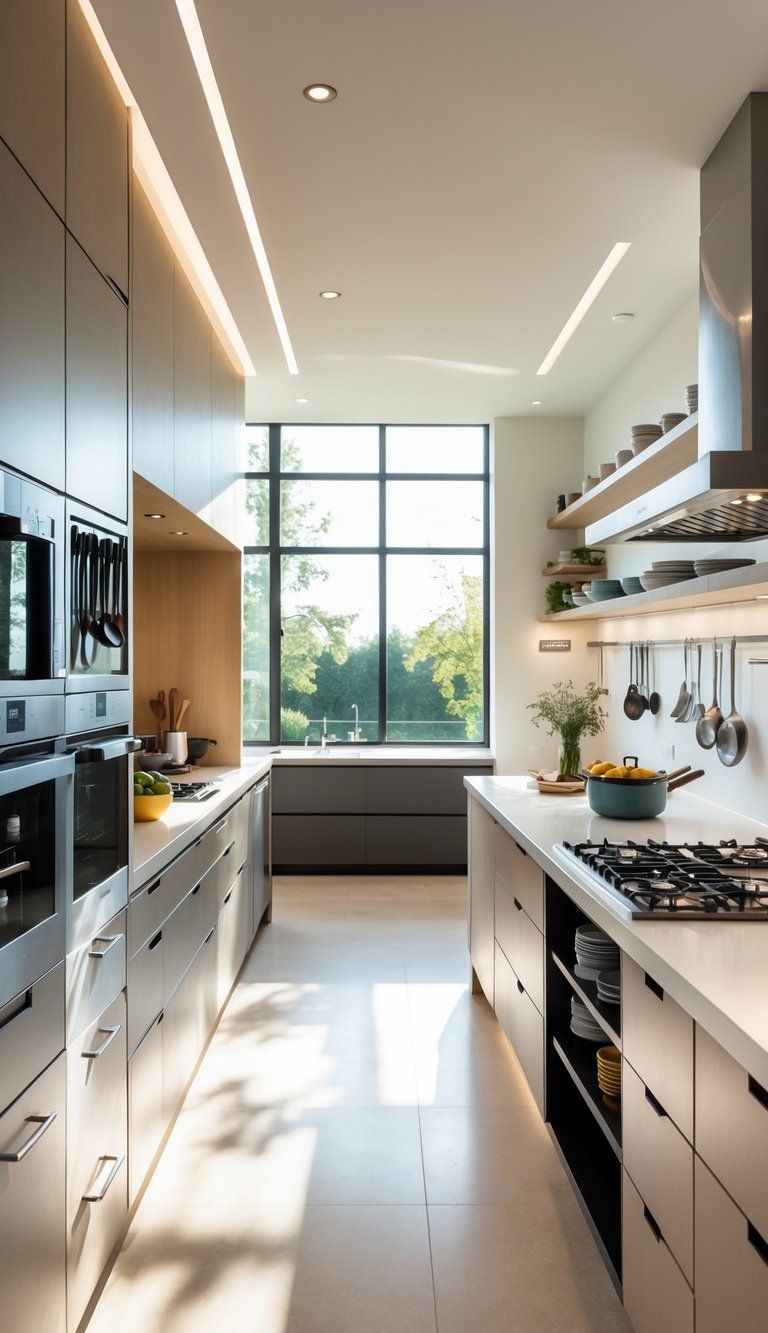
The right finishes and details take your kitchen from just functional to a space you actually enjoy using. These touches look good and make working in your kitchen feel better.
Backsplash Choices
Backsplashes keep your walls safe and add some personality. If you cook a lot, go for glass, porcelain, or ceramic tiles—they’re stain-resistant and easy to clean.
If you’re not a fan of scrubbing grout, large tiles or solid surfaces mean fewer lines for dirt to collect. Some smart choices:
- Subway tiles: Classic, with endless color options
- Quartz: Seamless look if you match it to your counters
- Stainless steel: Tough and heat-resistant behind the stove
For the most protection, run your backsplash all the way to the bottom of your cabinets. It makes cleaning up splatters a breeze.
Enhancing Kitchen Lighting
Good lighting makes everything easier and safer. You’ll want three types in your kitchen:
- Task lighting: Under-cabinet LED strips light up your counters, so no more chopping in the shadows.
- Ambient lighting: Recessed or flush-mount ceiling lights fill the whole room with even light.
- Accent lighting: Pendants over islands add style and extra light for prepping or eating.
Put in dimmer switches so you can set the mood. Early mornings might call for softer light, but you’ll want it bright for serious cooking.
Think about color temperature too. Warm lights (2700-3000K) feel cozy, while cool lights (3500-4000K) help you see details.
Ventilation and Air Quality Considerations
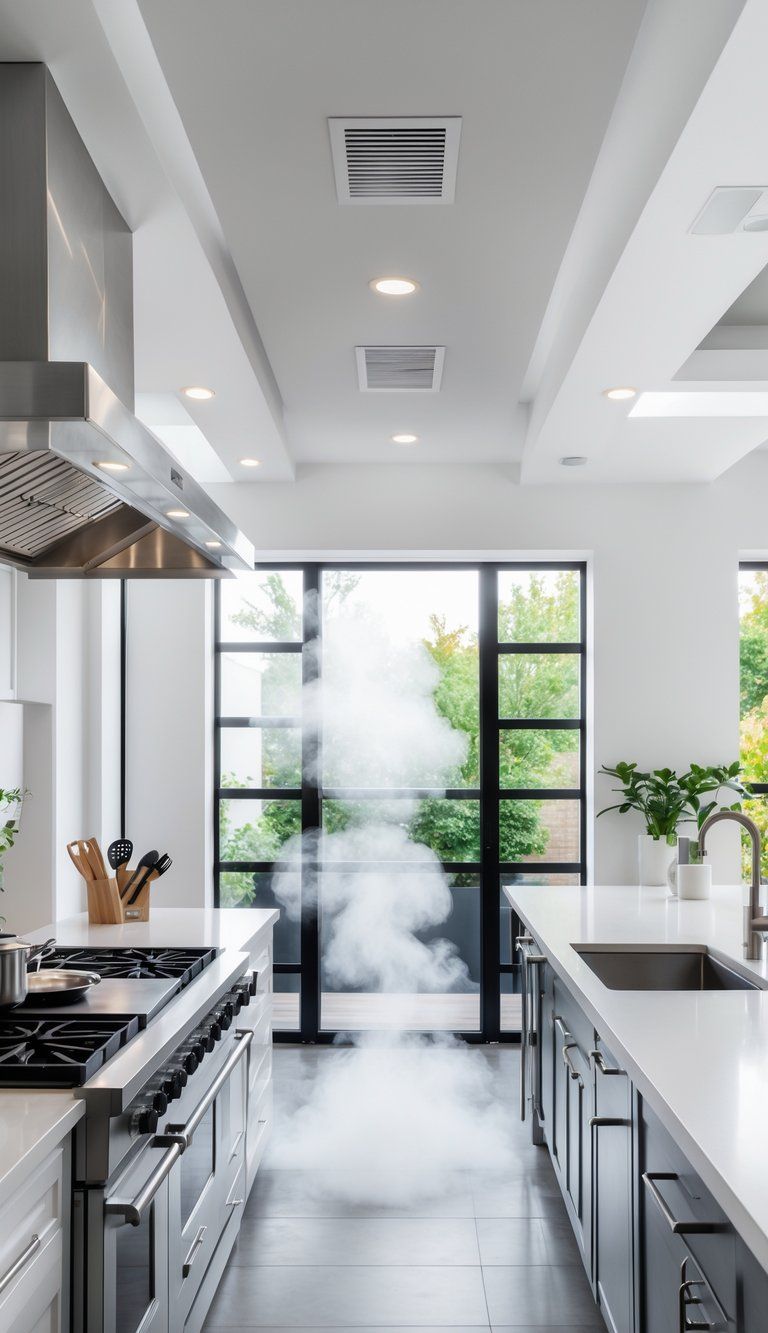
Good kitchen ventilation isn’t just about clearing out smells. It’s about making your kitchen healthy and pleasant for cooking.
A smart kitchen layout helps air move better. When you’re planning, think about how air will flow through the space. Proper ventilation gets rid of smoke, grease, moisture, and cooking odors that otherwise drift through your house.
Don’t skimp on your ventilation hood if you cook a lot. A powerful hood clears the air and keeps your kitchen comfortable.
Placement counts! Put your hood right above the heat source. Most need to be 24-30 inches above the cooktop, but always check your model’s manual.
Ventilation options include:
- Range hoods: The gold standard, venting air outside
- Microwave hood combos: Save space, but not as powerful
- Downdraft systems: Handy for island cooktops
- Ceiling-mounted hoods: Good for island setups
Open-concept kitchens need stronger ventilation since cooking byproducts travel farther.
If you skip proper ventilation, you’ll notice more than just lingering smells. Food particles end up all over your surfaces and in the air.
Where you put big appliances also matters for airflow. Keeping ovens away from fridges helps keep things cool and improves air movement.
Planning for Kitchen Renovations
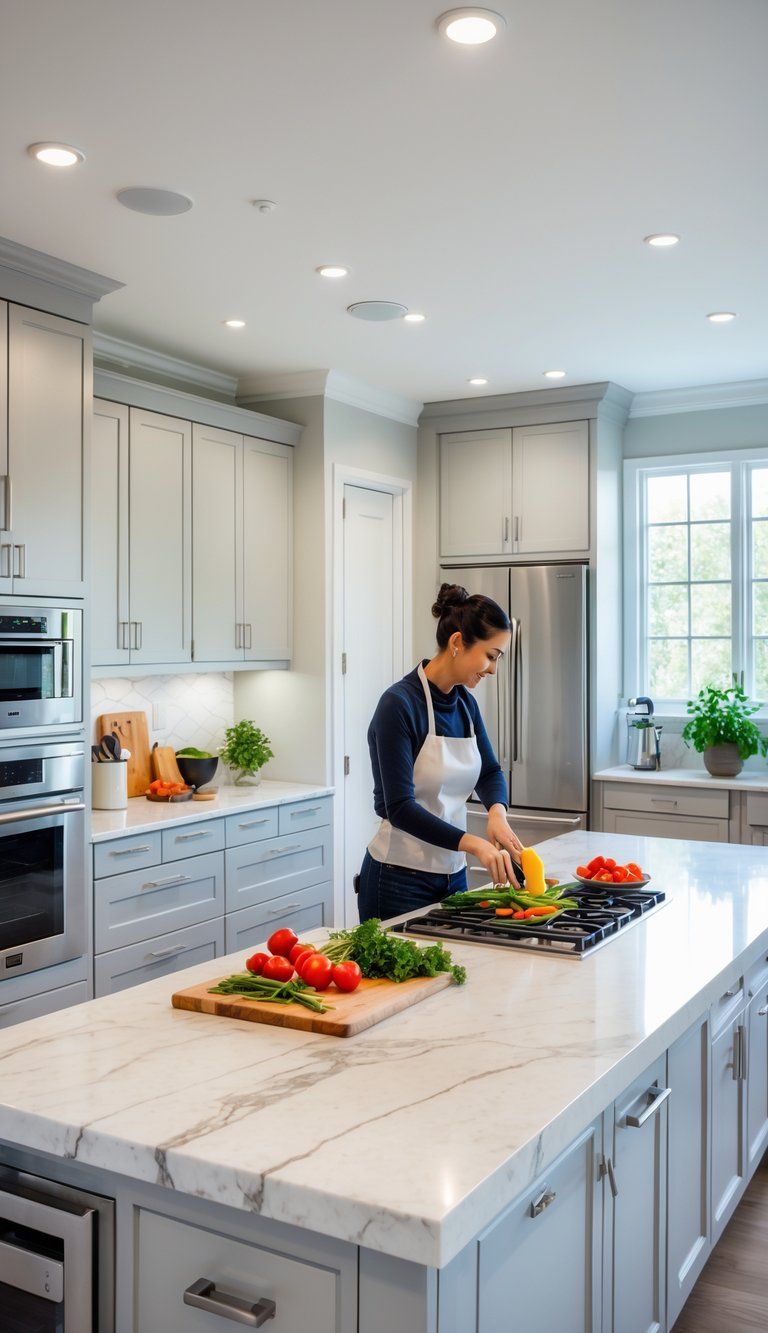
Starting a kitchen renovation can feel like a lot, honestly. If you break it down into steps, though, it doesn’t seem as scary.
Set a budget you know you can stick to, and leave a 10-15% buffer for those sneaky, unexpected costs. It’s not fun, but surprises happen.
Measure your space with care before you plan anything. Jot down where the doors, windows, and any permanent fixtures are.
These little details will decide where you can actually put cabinets, appliances, and work areas.
Take a second to think about how you use your kitchen day to day. Do you bake every weekend? Love hosting dinner parties? Maybe you cook with a partner?
Let your answers shape how you design the layout.
Timeline Considerations:
- Planning and design: 1-2 months
- Ordering materials: 4-8 weeks
- Demolition: 1 week
- Construction and installation: 3-6 weeks
- Finishing touches: 1-2 weeks
Most kitchens need updates every 10-15 years. So, if you can, invest in quality for things that are tough to swap out later.
Here are some kitchen layout ideas that people seem to love for different spaces:
- L-shaped – Awesome for open floor plans and corners
- U-shaped – Gives you tons of storage and counter space
- Galley – Super efficient if your space is narrow
- Island – Adds a place to work and hang out
Lighting matters more than people think. Mix up task lighting, ambient lighting, and a bit of accent lighting to make the space both useful and welcoming.
Future-Proofing Your Kitchen Layout
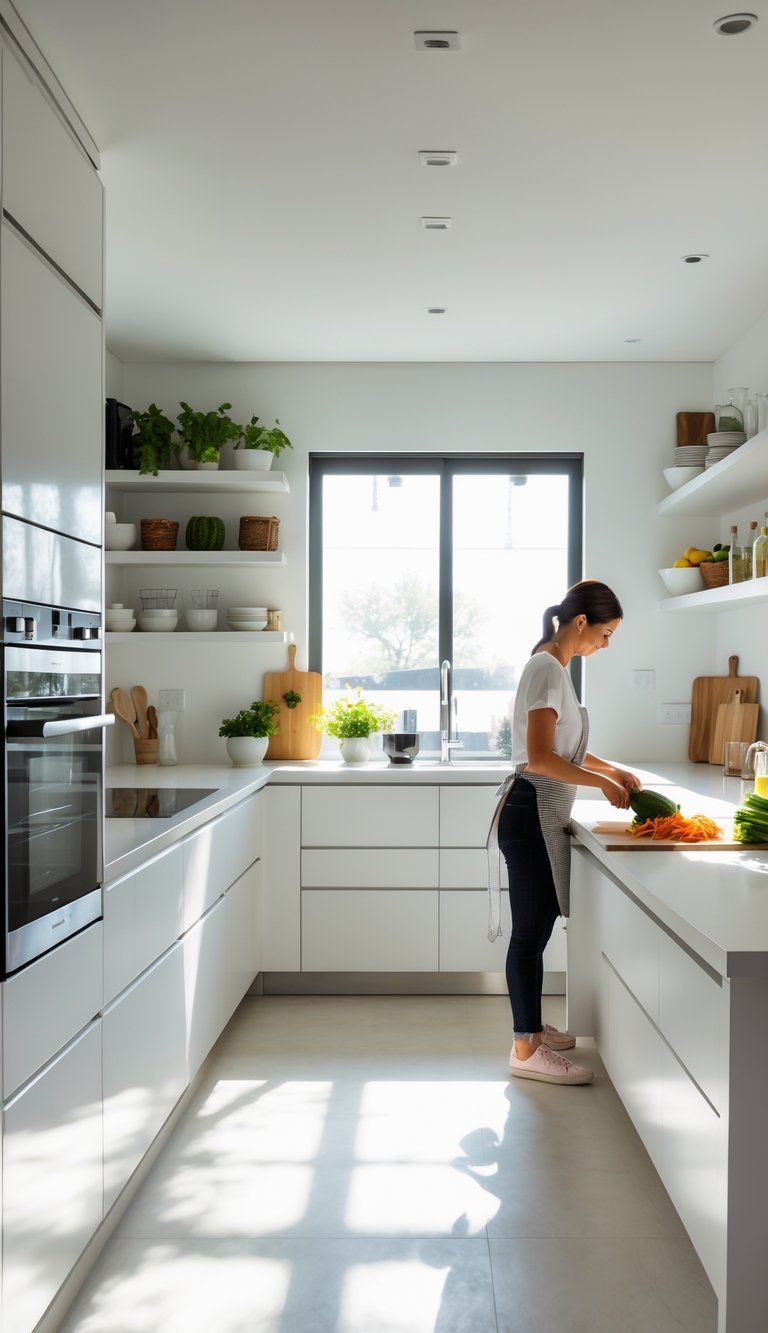
A good kitchen design should work for you now and way down the road. If you plan smart, you can dodge expensive changes later and keep your kitchen working as your life shifts.
Flexible Layouts for Lifestyle Changes
The secret to a future-proof kitchen is flexibility. Open-plan designs can change with you.
A kitchen island on wheels is a lifesaver in a one-wall kitchen. You can roll it out when you need extra space and tuck it away when you don’t.
Think about the “kitchen work triangle.” It’s all about the flow between your stove, prep area, and fridge.
This classic rule keeps things efficient, no matter your kitchen’s shape.
If you want more storage, run cabinets up to the ceiling. It gives you loads of room for essentials and keeps counters clear.
Set up zones that can do double duty. A breakfast bar could easily become a homework spot or even a mini office if you need it.
Incorporating Advanced Kitchen Technologies
Today’s kitchen tech can really boost how your space works—and maybe even save you headaches down the road.
Think about adjustable-height countertops. You can raise or lower them depending on who’s cooking or what you’re doing.
Smart appliances? They’re already super handy, and honestly, they’ll probably become must-haves before long. You might want to check out fridges that track what’s inside, ovens you can preheat with your phone, or faucets you don’t have to touch.
Don’t forget about power outlets. You’ll probably need more than you expect. It’s smart to add USB ports and maybe even wireless charging pads right in the counters.
Leave some room for tech you haven’t even thought of yet. If you add extra conduit in the walls now, running new wires later won’t be a pain. A dedicated tech drawer can help you keep all those little gadgets charged and out of sight.
If you’re working with a one-wall kitchen, modular components might be the way to go. You can move things around as your needs—or the tech—change.

