Starting a home renovation? It can feel overwhelming, honestly. But if you break it into steps, things get a lot more manageable.
Remember to repin your favorite images!
Every good renovation starts with clear goals and some careful planning. Before you dive in, pause and think about what you want to change—and why.

Creating a detailed budget and sticking to it is the most important step in any successful home renovation project. List out materials, labor, permits, and don’t forget a cushion for those unexpected “oh no” moments.
A lot of people forget that cushion and get stressed when surprises pop up. Trust me, they always do.
You’ll need patience and flexibility on this journey. Gather inspiration, look for the right pros, and get ready for the construction chaos.
It’s smart to have a Plan A and a Plan B, because, let’s be real, things rarely go exactly as planned. In the end, the process is worth it—your home will fit your needs better.
Defining Your Home Renovation Goals

Clear goals help you create a real roadmap for your renovation. If you know what you want, you’ll make better decisions about your budget, timeline, and what takes priority.
Clarify Your Vision
Think about why you want to renovate in the first place. Are you fixing old problems, updating a tired look, or craving more space?
Jot down exactly what you want to accomplish. Don’t just keep it in your head.
Make a checklist that captures all your ideas. Throw in your must-haves, nice-to-haves, deal-breakers, and what kind of timeline you expect.
Gather images that show your style. Magazines, websites, and social media are packed with inspiration.
These visuals make it so much easier to communicate your vision to contractors and designers. Your goals should be specific and measurable.
Swap out “update the kitchen” for “install new countertops, replace cabinet doors, and add a kitchen island with seating for four.” See the difference?
Evaluate Functionality and Aesthetics
Your space should work for your life and look good doing it. Ask yourself how you actually use each room day-to-day.
Think about these questions:
- Do you need more storage?
- How many people use the space, really?
- What do you do in this room?
- Any traffic flow issues that bug you?
Find the sweet spot between function and looks. A beautiful room that doesn’t work well will just frustrate you.
At the same time, a super practical room that looks dull won’t make you happy either. Try rating changes on a simple 1-10 scale for both function and looks.
That way, you’ll know what deserves your budget and energy. Focus first on improvements that score high in both areas.
Planning and Preparation

Solid planning and prep lay the groundwork for a smooth renovation. Get these early steps right, and you’ll save yourself a lot of headaches.
Create a Detailed Renovation Plan
List out every space you want to renovate and what you want to change. Focus on both practical upgrades and style updates.
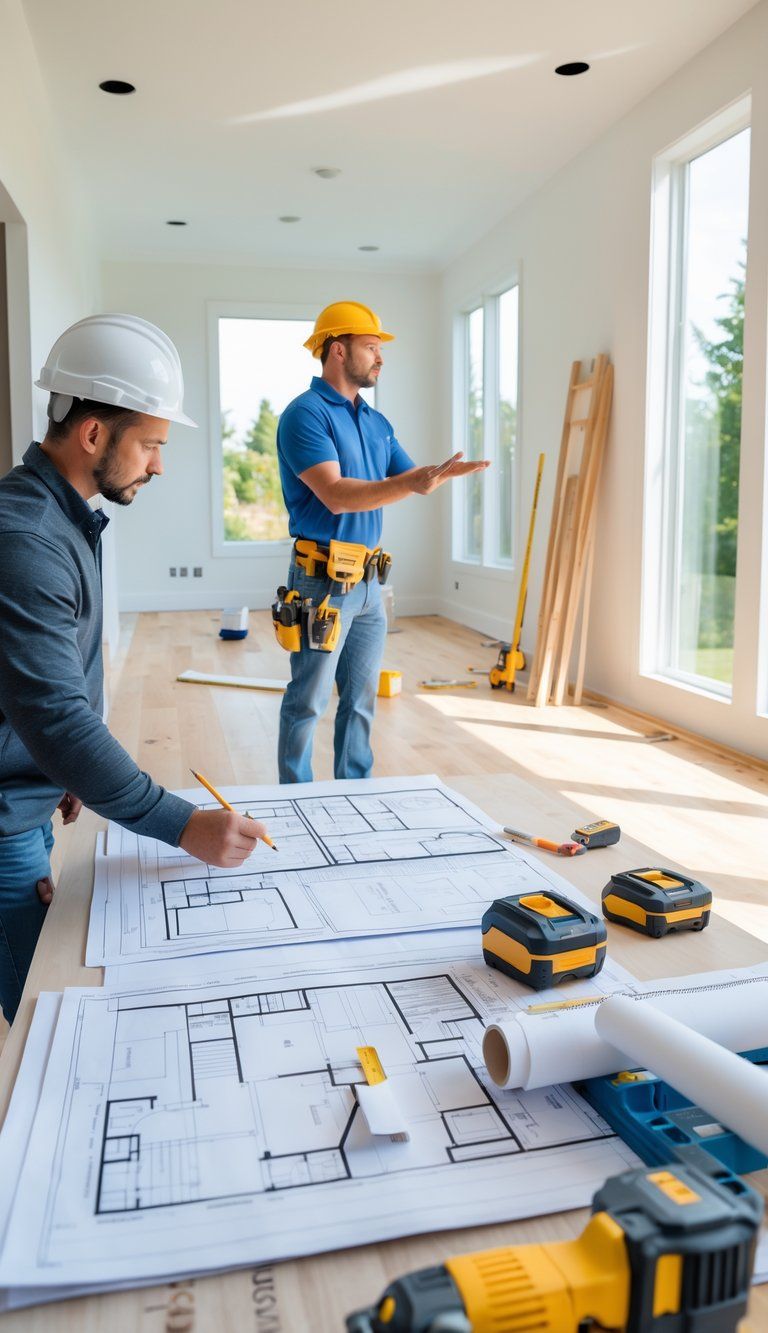
Think about how you use each space and what’s not working now. Sketch your ideas or use an app to help you visualize.
Measure everything. Note where outlets, plumbing, and load-bearing walls are hiding.
Prioritize projects like this:
- Urgent repairs (leaky roof, foundation issues)
- Big-impact changes (kitchens, bathrooms)
- Nice-to-have upgrades (cosmetic stuff)
Pull inspiration from everywhere—magazines, websites, social feeds. Throw together a vision board with colors, materials, and styles to help explain your ideas to pros.
Set a Realistic Budget and Contingency Fund
Look up typical costs for what you want to do. Kitchens can run $25,000-$40,000. Bathrooms? Usually $10,000-$15,000.
Break your budget into chunks:
| Category | Percentage of Budget |
|---|---|
| Materials | 40-50% |
| Labor | 30-35% |
| Permits/Fees | 5-10% |
| Contingency | 15-20% |
Set aside at least 15-20% for surprises. Hidden problems like water damage or electrical issues show up once work starts.
Get a few quotes from contractors so you know the real price range. If an estimate seems too good to be true, it probably is.
Establish a Renovation Timeline
Map out a schedule for each phase:
- Planning/design (2-4 weeks)
- Permits (2-8 weeks, depending on your area)
- Demolition (1-2 weeks)
- Structural work (1-3 weeks)
- Plumbing/electrical/HVAC (1-2 weeks)
- Insulation/drywall (1-2 weeks)
- Flooring/tile (1-2 weeks)
- Cabinets/countertops (1-3 weeks)
- Painting/finishing (1-2 weeks)
Pad your timeline. Materials get delayed, schedules slip, and renovations almost always take longer than you expect.
Develop a Renovation Checklist
Make a master checklist to keep you on track.
Pre-Construction:
- Get permits
- Lock in contractor start dates
- Order materials with long lead times
- Set up temporary living if needed
- Pack and protect your stuff
During Construction:
- Walk through with your contractor regularly
- Track deliveries
- Snap photos of progress
- Keep a log of any changes
Inspection Points:
- Plumbing/electrical rough-in
- Insulation
- Drywall
- Final inspection
A detailed checklist keeps you organized and stops important things from slipping through the cracks.
Assembling Your Professional Team

The people you hire can make or break your renovation. Choose your team wisely—they’ll bring your vision to life (or not).
Hire an Architect and Interior Designer
An architect draws up the structural plans and makes sure your renovation is safe and legal. When you’re interviewing, ask to see similar projects and check their references.
Interior designers add the creative touch. They’ll help with space planning, picking materials, and making your home feel pulled together. Sometimes designers have vendor hookups that can save you money.
Bring these pros in early. Let the architect and designer team up from the start, so you don’t have to redo things later.
Homeowners often get better results when their pros already know how to work together. It just makes everything smoother.
Select a General Contractor and Specialists
The general contractor runs the day-to-day show. They line up subcontractors, pull permits, and make sure the work is top-notch.
Look for contractors who are licensed, insured, and have good reviews. Get at least three detailed bids.
Check references. Confirm their license and insurance. Ask about their usual timeline.
Specialists like plumbers, electricians, and HVAC techs handle the tricky stuff. Your general contractor usually manages them, but it’s good to know who’s coming into your home.
Good communication with your contractor is huge. Set expectations for work hours, cleanup, and how you’ll handle changes.
Put everything in writing. It’s just safer that way.
Obtaining Permits and Meeting Building Codes

Before you start swinging hammers, you need to deal with the permit process and building codes. These steps protect your investment and keep everything above board.
Identify Necessary Permits
Most renovations need permits from your city or county. Projects like these usually require them:
- New builds or additions
- Structural changes (walls, roofs, floors)
- Major electrical, plumbing, or HVAC work
- Building a deck
- Changing window or door openings
Contact your local building department to find out what you need. They’ll tell you exactly which permits apply.
Have detailed plans ready for your application. Permit approval can take 2-4 weeks, but it depends on your area and the complexity.
Budget for permit fees—they can run from $100 up to $2,000 or more.
Understand Local Building Codes and Inspections
Building codes are rules for safety—covering structure, fire, energy, and accessibility.
Your renovation has to meet these standards. Before you start, review local codes and know any zoning rules that might limit your plans.
Find out when inspections will happen. Key stages usually include foundation, framing, electrical, plumbing, and the final walk-through.
Schedule inspections ahead of time so you’re not held up. After you pass, you’ll get a Certificate of Occupancy or Completion.
That paper proves your project is safe and legal.
Design and Material Selection

With your plan set, it’s time to make design choices that shape your home’s vibe. The design phase is where your ideas finally start to feel real.
Choose Materials and Finishes
Start with a mood board. Digital works (Pinterest, Houzz), or go old-school with magazine clippings and samples.
Focus on high-impact areas first:
- Flooring: Think about durability, upkeep, and how rooms connect
- Countertops: Weigh beauty against practicality (marble is dreamy, but stains easily)
- Cabinetry: Custom, semi-custom, or stock? Each has pros and cons
- Backsplashes and tile: Go bold or keep it subtle—it’s up to you
Pick materials with long-term value in mind. Neutral, classic choices usually hold up better if you ever sell.
Ask for samples and check them in your home’s lighting. Set aside 10-15% of your budget for material surprises or price hikes.
Material selection often takes a few weeks, so don’t rush it.
Select Furnishings and Décor
Furnishings and décor are where your personality shines. Start with a floor plan so you know what fits.
Measure twice—seriously. Nothing’s worse than furniture that won’t fit through the door.
Consider these:
- Anchor pieces: Splurge on sofas, beds, dining tables
- Lighting: Mix ambient, task, and accent
- Window treatments: Think about privacy, light, and style
- Accessories: Art, pillows, and little touches make a space feel yours
Don’t rush to buy everything at once. Collecting quality pieces over time makes your space feel more authentic.
Try grouping décor in threes for visual interest. And don’t overstuff—white space matters.
Preparation for Construction

Before construction kicks off, good prep can save you from a world of stress. Get your home ready with a solid plan and a few key steps to keep things running smoothly.
Site Preparation
Move all furniture, personal items, and decorations out of the renovation area. Toss plastic sheets over anything nearby to shield it from dust.
You’ll want to protect your stuff and give the crew space to work, so don’t skip this. If your kitchen’s getting a makeover, set up a mini-kitchen somewhere else with a microwave, coffee maker, and fridge.
For bathroom projects, figure out another bathroom to use—maybe a neighbor’s if you have to.
Make sure workers have clear paths through your home. Take anything fragile or in the way out of hallways and entryways.
Use tape or signs to mark off-limits areas and help avoid accidents.
Protect your floors with heavy paper, plastic sheeting, or plywood in busy spots. This step saves you from scratches, dents, and stains while the work’s going on.
Demolition and Initial Works
Demolition kicks off your renovation. Before anyone knocks down a wall, shut off water, electricity, and gas in the work area.
Rent a dumpster for all the debris. Place it somewhere that doesn’t block neighbors or traffic.
Sort recyclable materials if you can—some demo waste doesn’t have to go to the landfill.
If you’re making structural changes, your contractor should put up temporary supports before removing any load-bearing walls. Don’t skip this; safety comes first.
Check for hazardous stuff like asbestos or lead paint before starting demo. Certified pros should handle and dispose of these materials.
Testing costs a bit, but it keeps everyone safe and avoids legal headaches.
Snap some “before” photos for your records and insurance. These pictures can help if there’s ever a dispute later.
Managing the Construction Phase

Now the renovation starts to actually look like something. This phase needs you to pay attention if you want quality work and things done on time.
Renovation Process and Oversight
Check in with your contractor every day. Ask for a weekly progress report that shows what’s done and how it matches your schedule and budget.
This way, you’ll spot delays before they snowball.
Set up a communication plan. Decide if you’ll text, email, or meet in person.
Clear communication saves you from expensive mistakes.
Keep a renovation journal. Snap daily photos, especially before walls get closed up.
It’s a lifesaver if something goes wrong later.
If something looks off, ask about it. It’s so much easier to fix things now than after everything’s finished.
Plumbing and Wiring Upgrades
Do plumbing and electrical work early, before walls and floors are finished. Have your plumber check old pipes for leaks or corrosion before putting in new fixtures.
In older homes, replacing plumbing might be worth it. PEX tubing is flexible, tough, and usually cheaper than copper.
Plan electrical upgrades carefully. Map out where you want outlets, switches, and lights.
Think about adding USB outlets where you’ll actually use them. Make sure you have enough circuits for big appliances.
Always hire licensed pros for plumbing and electrical. Cutting corners here can lead to water damage or even fires—not worth the risk.
Quality Checks and Inspections

You need regular checks to make sure your renovation meets your standards. This process helps you catch problems early and keeps your project on track.
Interim Inspections and Compliance
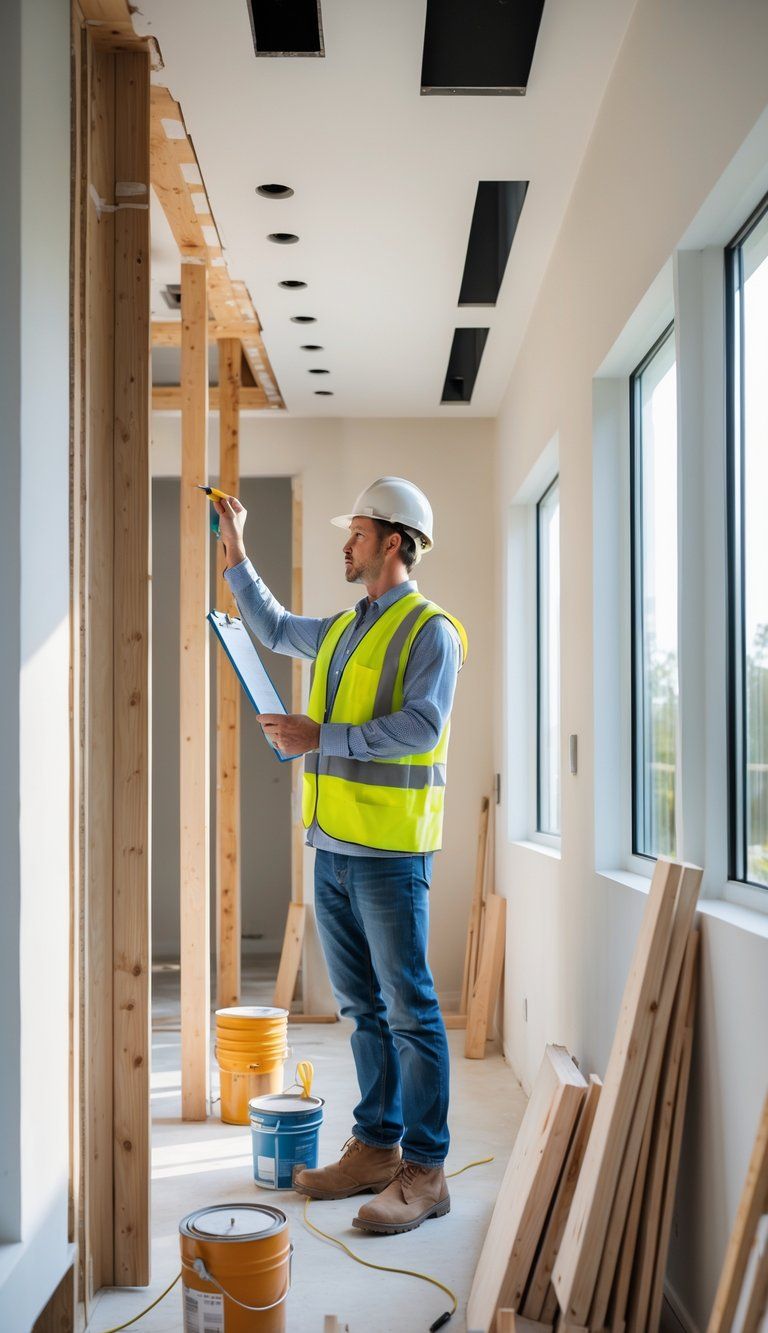
Inspections happen at key stages during renovations. Local building departments usually require checks after framing, electrical, plumbing, and HVAC work.
Schedule these inspections right away so you don’t get held up. Your contractor should know when to call for them, but it’s smart to keep track yourself.
Do your own walk-throughs, too. Visit the site often and look for:
- Properly installed materials
- Fixtures in the right spots
- Solid workmanship
- Following your design plans
Take photos every time you visit, especially if you spot issues.
Addressing the Punch List
A punch list tracks anything unfinished or not quite right near the end of your renovation.
Walk through your place with your contractor and write down what needs fixing. Be as specific as you can:
- Paint drips or rough spots
- Doors or windows that stick
- Trim that isn’t finished
- Fixtures that aren’t installed right
- Appliances that don’t work
Set deadlines for these fixes. Most contractors expect a punch list and will come back to handle it.
Keep the list updated as things get done, and don’t pay the final bill until you’re happy with everything.
Final Touches and Completion

Now you finally get to see your space come together. These last steps turn your construction site into a real home.
Apply Finishing Touches
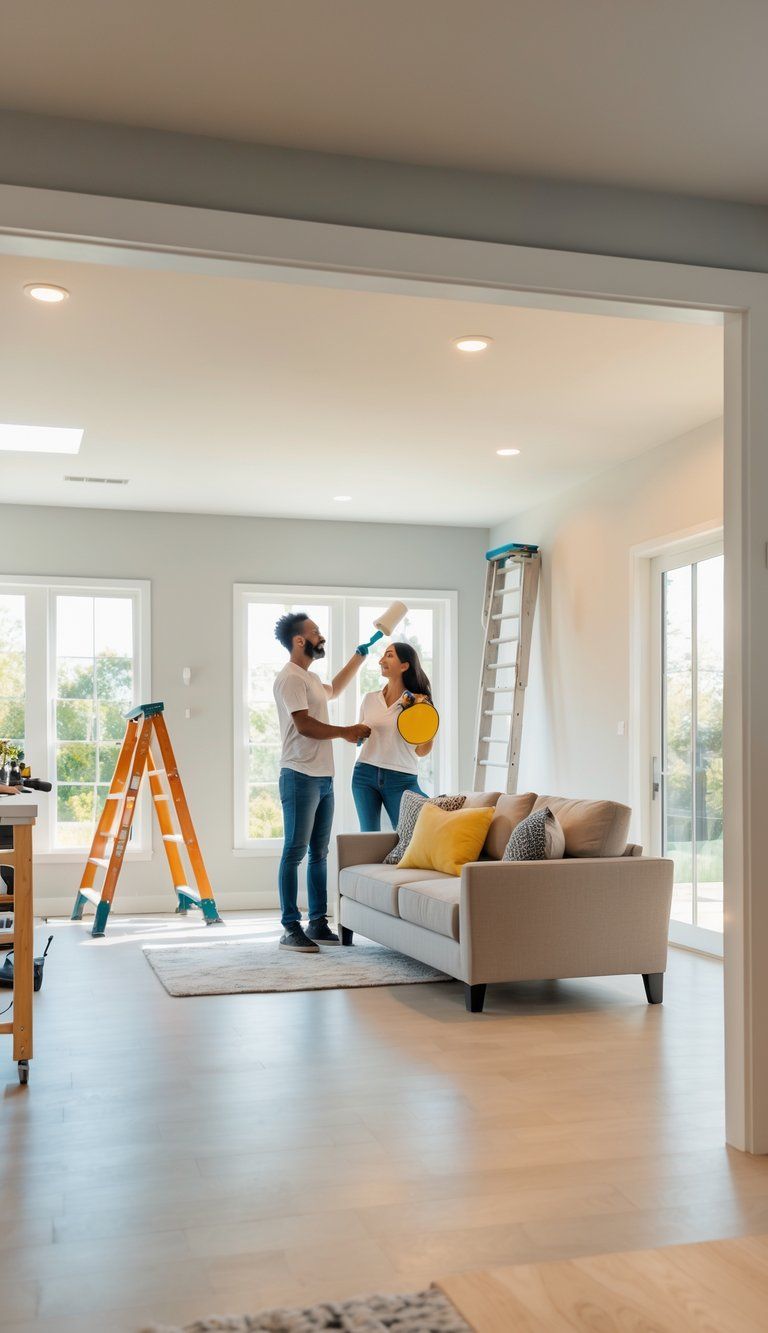
After the big stuff is done, focus on details that make your house feel like yours. Start with final paint coats on walls and trim.
Pick good paint that can handle cleaning and daily life.
Install light fixtures, cabinet hardware, and any decorative touches you picked out. Sometimes it’s these little things that really make the space pop.
For a bathroom redo, put in shower doors, mirrors, and towel bars. Add caulk around tubs, sinks, and toilets to prevent water damage and give everything a clean edge.
When all that’s done, clean the place top to bottom. Construction dust gets everywhere—wipe surfaces, vacuum vents, and wash the windows.
If you’re tired (and who wouldn’t be?), maybe bring in a cleaning crew that specializes in post-renovation mess.
Final Inspections and Handover
Set up a walkthrough with your contractor. Walk through the space together and spot any issues that still need fixing.
Jot down a “punch list” of things that aren’t quite right before you pay the final bill. Maybe it’s a paint spot here or a cabinet that needs a tweak—look for anything unfinished.
Try out every system yourself. Flip every light switch, test each faucet, and plug something into every outlet. Don’t forget to flush all the toilets and run the showers. If you’ve got new mechanical systems, turn them on and make sure they actually work.
If your project needed permits, schedule final inspections with your local building department. Inspectors will check that the work follows building codes and safety rules. Hang onto copies of any approvals—they might come in handy later.
Ask your contractor for all the warranty info, operation manuals, and any maintenance instructions. Keep these documents somewhere safe, just in case. Knowing how to take care of your new features can really help them last.

