Wood finishes aren’t just about looks. They protect wood from moisture, heat, and the wear and tear of daily life.
Remember to repin your favorite images!
If you skip the right finish, wooden pieces might crack, swell, or just fall apart faster than you’d expect.
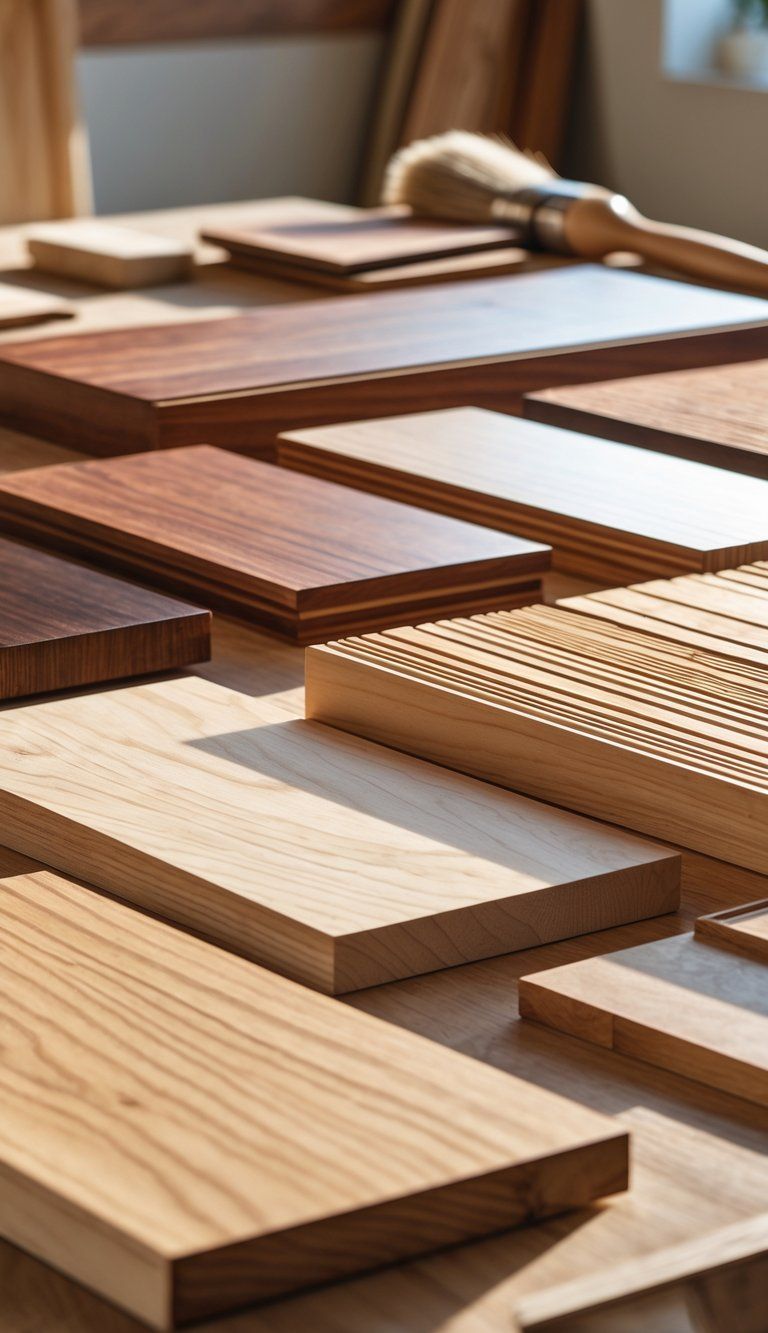
Choosing the right wood finish really comes down to how you’ll use the piece, where it’ll live, and what kind of vibe you want. Each finish—whether it’s oil-based polyurethane, shellac, or some new water-based option—brings its own benefits. Some finishes are all about protection, while others just make the wood grain pop.
Let’s dive into the seven main types of wood finishes you’ll find in 2025. You’ll see when to use each one, how to apply them without too much hassle, and what kind of results to expect.
Maybe you’re refinishing a vintage table. Or maybe you’re sealing up a brand new deck. Either way, knowing your options helps you make the right call for your project.
Understanding Wood Finishes
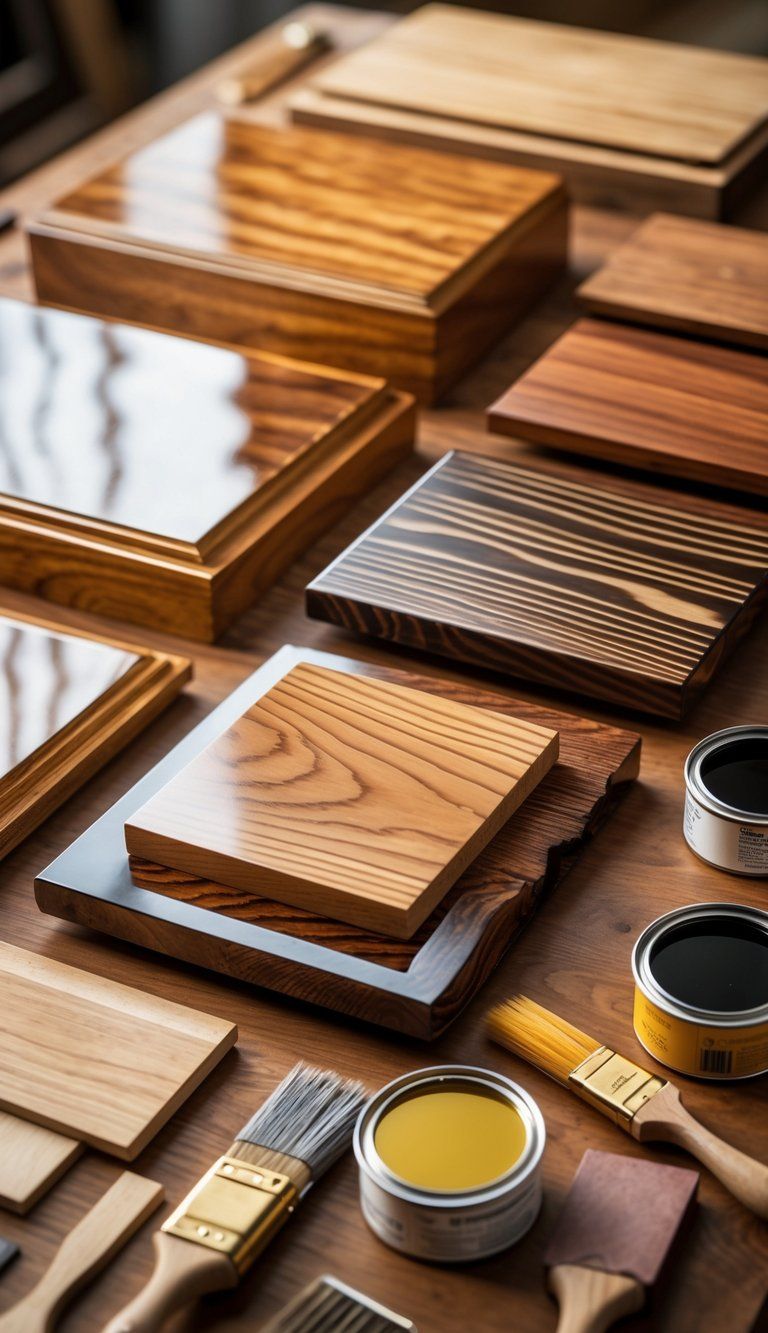
Wood finishes do two big things: they protect the surface and bring out the wood’s natural beauty.
You’ll find a bunch of different types, each with their own quirks. Some finishes make the grain stand out, others just hold up to rough use.
The right finish can really highlight the wood and give you the durability you need.
What Is a Wood Finish?
A wood finish is basically a protective coat you put on wood to keep it safe and improve how it looks.
Finishes help in a few ways:
- Protection: They keep out moisture, dirt, scratches, and even sunlight.
- Enhancement: They show off the natural color and grain.
- Durability: They make your wood stuff last longer.
You’ll run into oils, varnishes, lacquers, shellacs, and polyurethanes. Some soak in deep, others just sit on top.
Pick your finish based on how you’ll use the wood. Floors need tough, scratch-resistant finishes.
Decorative pieces? They might just need something that lets the wood shine.
Types of Wood and Their Impact on Finishing
Different woods take finishes in their own way, depending on density, grain, and natural oils.
Hardwoods like oak, maple, and mahogany usually have tight grain patterns. That makes for smoother, more even finishes.
Oak’s open grain might need a filler before you start. Maple, with its closed grain, takes finishes well but can get blotchy if you’re not careful.
Softwoods—think pine or cedar—soak up finishes more unevenly. Pre-treating them with a wood conditioner helps keep things even.
The wood’s color also changes how the finish looks. Dark woods like walnut or mahogany often look great with just a clear coat.
Lighter woods might need a stain to really stand out.
Engineered woods (like plywood) can be tricky. The veneer layers might react differently than solid wood, so test your finish first.
Fundamental Finishing Techniques
How you apply the finish matters—a lot.
Here are a few basics you’ll want to keep in mind:
-
Surface Prep: Sand the wood well, starting with rough and moving to fine sandpaper (120 to 220 grit works for most). Always get rid of dust between coats.
-
Application Methods:
- Brushing: Great for big areas and oil-based stuff.
- Wiping: Use a cloth for thin, even coats.
- Spraying: Gives the smoothest finish, but you’ll need the right gear.
-
Layer Up: Most finishes work best with several thin coats. Don’t try to glob it on all at once.
Give each coat enough time to dry before doing the next one.
Temperature and humidity can mess with your results. Try to work in a space between 65-75°F and 50-65% humidity.
Test your finish on a scrap piece first. You’ll spot any weirdness—like blotching or unexpected colors—before it’s too late.
Surface Preparation Essentials

Before you even think about finishing, you’ve got to prep the wood.
A smooth, clean surface is the secret behind a finish that actually looks good and lasts.
Sanding and Smoothing
Sanding is where it all starts. Begin with coarse sandpaper (60-80 grit) to knock down rough spots or old finishes.
This matters a lot if you’re using reclaimed or rough-cut lumber.
Move up to medium grit (100-150) to smooth things out. Hardwoods like oak or maple may need a bit more elbow grease here.
Finish off with fine sandpaper (180-220 grit) for that silky feel. If you want an extra-smooth surface or you’re using oil-based finishes, you can go as high as 320 grit.
Tip: Always sand with the grain. Going against it leaves scratches that’ll show up once you add finish.
For curves or details, grab a sanding sponge or a contour sander that bends to fit the shape.
Cleaning and Dust Removal
Dust ruins a good finish every time. After sanding, vacuum the whole surface, using a brush attachment to get into corners.
Then, wipe things down with a tack cloth. Go in one direction so you don’t just spread the dust around.
For tricky spots, blast out dust with compressed air. It’s a lifesaver for carved or detailed pieces.
Don’t use water-based cleaners before oil-based finishes—leftover moisture can cause problems. Instead, wipe with mineral spirits on a lint-free cloth.
Try not to touch the prepped wood with your bare hands. The oils from your skin can mess with how the finish sticks.
Dealing With Open Grain
Open-grain woods like oak, ash, and walnut have big pores. That changes how your finish turns out.
If you want a glassy-smooth look, use grain filler before finishing. Work it across the grain to fill up the pores, then wipe off the extra with the grain.
Let it dry fully between coats.
Wood Grain Types:
- Closed grain (maple, cherry): Usually don’t need filler.
- Open grain (oak, mahogany): Filler helps get a smooth finish.
- Very open grain (walnut): Sometimes needs more than one round of filler.
If you’re after a more natural or rustic vibe, just skip the filler and let the wood’s texture show.
Test your approach on scrap wood to see what you’re getting into.
Stains and Their Applications
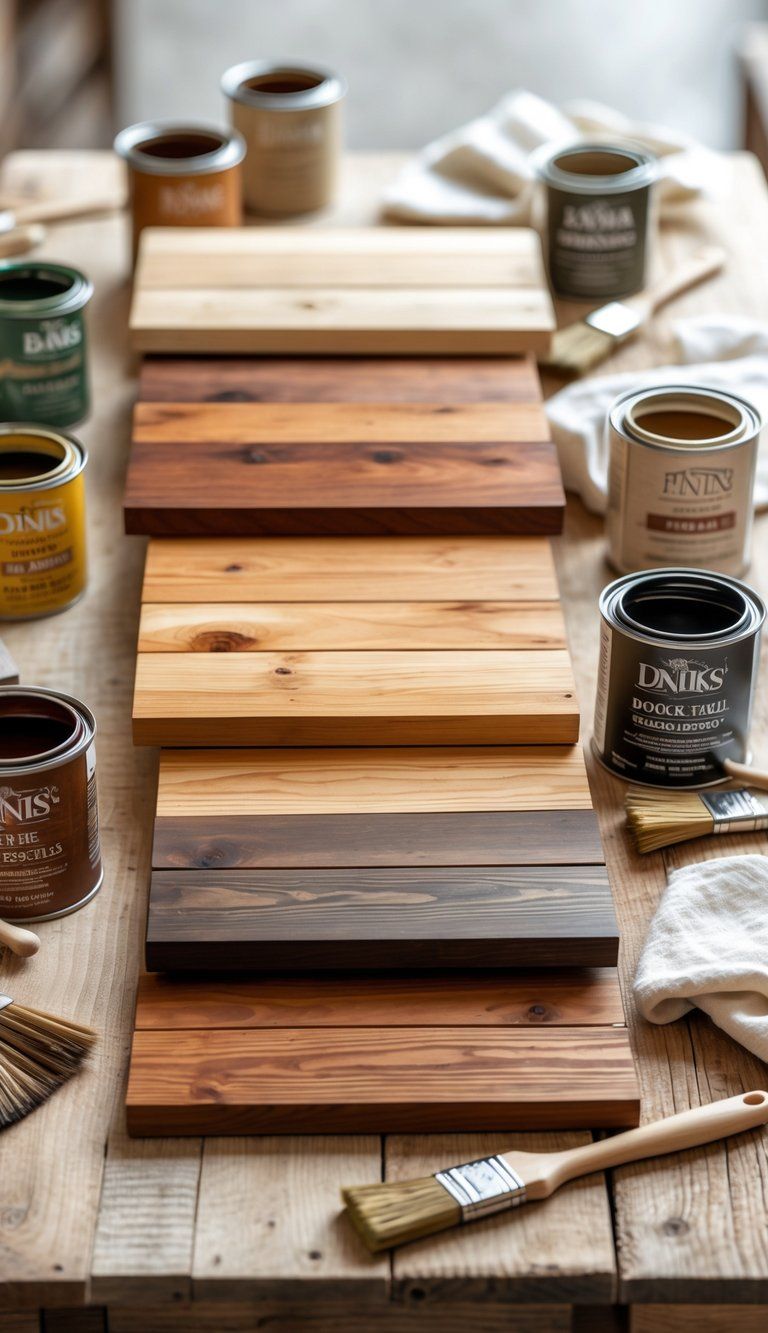
Stains bring out wood’s beauty and add color, too. You’ll find different types and ways to apply them, depending on the look you’re after.
Types of Wood Stains
Stains come in a few main styles, each with its own strengths:
-
Penetrating Stains: These soak into the wood and really show off the grain. They’re great for furniture or anything where you want the wood’s character front and center.
-
Gel Stains: Thicker, so they mostly stay on the surface. They’re awesome for woods that stain unevenly, like pine or maple.
-
Pigment Stains: These use color particles that settle into the grain. You get strong color and control, which is handy if you want a big change.
-
Dye Stains: These dissolve all the way and soak deep into the wood. They create rich, transparent colors—perfect for fancy furniture or even guitars.
Pick your stain based on what you want and what wood you’re working with.
Color Selection and Effects
Color can totally change the feel of your finished piece. Keep these things in mind when picking stain colors:
Wood Species Influence: Some woods, like oak and ash, take stain easily. Others, like maple or cherry, can get blotchy if you’re not careful.
Testing is non-negotiable: Always try your stain on a scrap piece first. The same stain can look totally different on pine vs. oak.
Layering: You can layer stains for custom colors. Start light, then go darker if you need.
Special effects:
- Pickling: That whitewashed, beachy look.
- Weathered finish: Makes new wood look old.
- Two-tone staining: Use different colors to highlight details.
Remember, the wood’s natural color will always play a role, especially with lighter stains.
Water-Based Versus Oil-Based Stains
The base of your stain changes how you use it and how it performs.
Water-based stains:
- Low odor and less harsh chemicals
- Dry super fast (1-2 hours)
- Clean up with just soap and water
- Don’t yellow as much over time
They’re great for indoor projects or if you’re in a hurry.
Oil-based stains:
- Soak deeper into the wood
- Give you more working time (good for big projects)
- Add rich, warm color
- Easier to use on tricky woods
Both can look great. Water-based stains have gotten a lot better lately, so they’re a solid pick for most jobs.
If you’re new to this, water-based stains are usually more forgiving and easier to clean up.
Staining Techniques
How you apply stain makes a big difference.
Start by prepping:
- Sand the wood, moving through 120, 150, then 180 grit.
- Remove every bit of dust with a tack cloth.
- Use pre-stain conditioner on woods like pine and maple to avoid blotching.
Applying the stain:
- Wipe-on, wipe-off: Rub stain on with a cloth, then wipe off the extra before it dries.
- Brush: Good for getting into corners and details.
- Spray: Best for big areas or a pro-level finish.
Timing: Let the stain sit according to the directions and how dark you want it. The longer it sits, the deeper the color.
Thin coats with thorough wiping look more natural. For bold color, let it sit longer before wiping.
Work in a spot with good airflow and follow safety tips from the stain’s label.
Top Protective Finishes
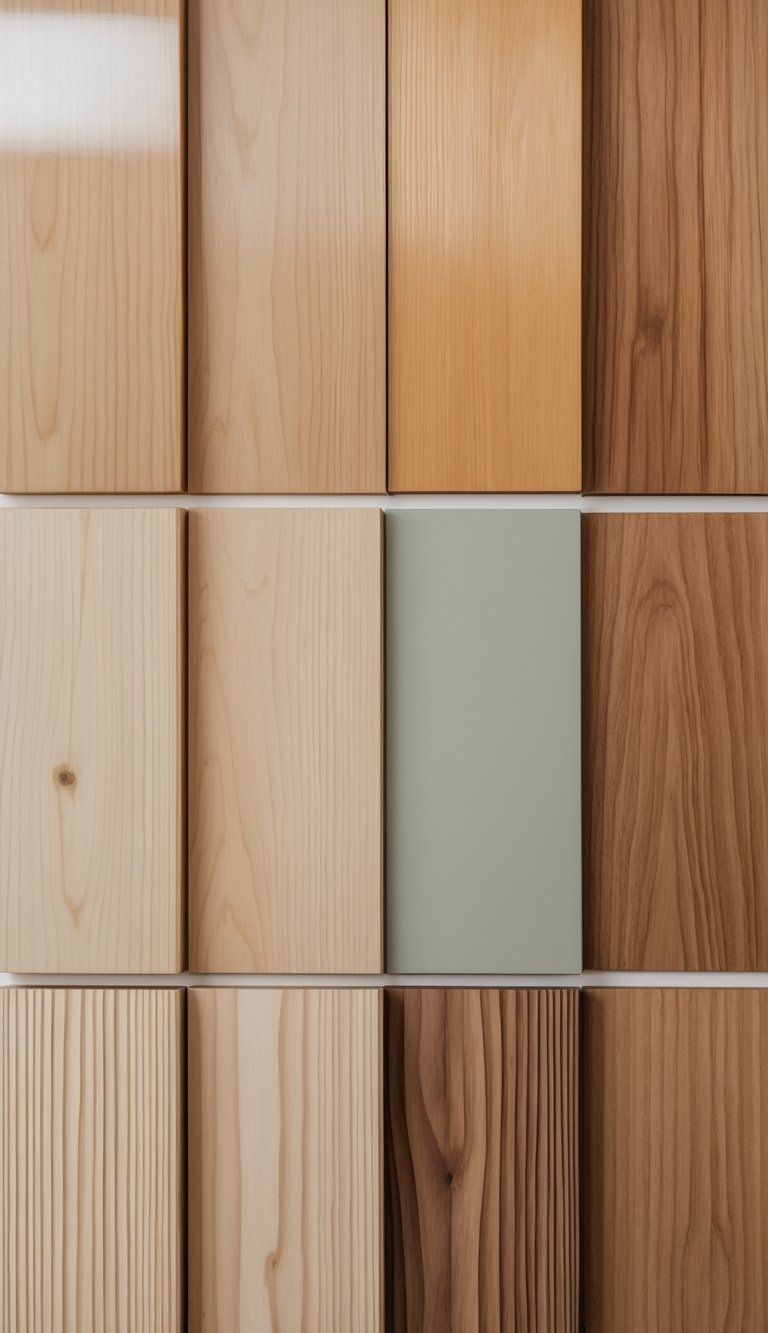
When you want to protect your wood, a few finishes stand out.
These are the go-to choices for durability, looks, and ease of application.
Polyurethane Overview
Polyurethane is a favorite for indoor wood. It forms a tough, scratch-resistant layer that also shrugs off heat and water.
You’ll find both oil-based and water-based versions.
Oil-based polyurethane gives a warm, amber tint and holds up really well, especially on floors or heavily used furniture.
It does take its sweet time to dry—sometimes up to 48 hours between coats—but the protection is worth it.
Water-based polyurethane dries clear and doesn’t yellow, so it keeps the wood’s true color. It’s much quicker to dry (usually in a few hours) and has less odor.
Apply polyurethane with a good brush or foam pad in thin coats. Sand lightly between coats for the smoothest finish.
Varnish Advantages
Varnish is tough against moisture, sunlight, and big temperature swings.
It’s a top pick for outdoor projects or anything that faces the elements.
Spar varnish—a marine-grade type—works best for outdoor furniture, boats, or exterior doors. It includes UV blockers and stays flexible as wood moves with the weather.
Applying varnish takes patience. Go for 3-5 thin coats, never one thick one.
Let each coat dry fully (usually about a day), and sand between coats with fine sandpaper.
You can pick from matte, satin, semi-gloss, or high-gloss to match your style.
Lacquer Characteristics
Lacquer gives wood a beautiful, crystal-clear finish and dries incredibly fast. Many professional woodworkers love it for furniture and decorative pieces that need that smooth, flawless look.
It dries in just 15-30 minutes between coats, so you can actually finish a whole project in a single day. The self-leveling quality really helps hide brush marks and little mistakes.
Lacquer forms a hard, durable surface that resists scratches and water damage. You can find it in all sorts of sheens, from flat to super glossy.
Spraying usually works best for applying lacquer, but you can find brush-on versions too. Make sure to work in a well-ventilated space since the fumes are no joke.
Each fresh coat melts into the previous one, so you end up with a single, seamless layer of protection.
Natural Oil Finishes
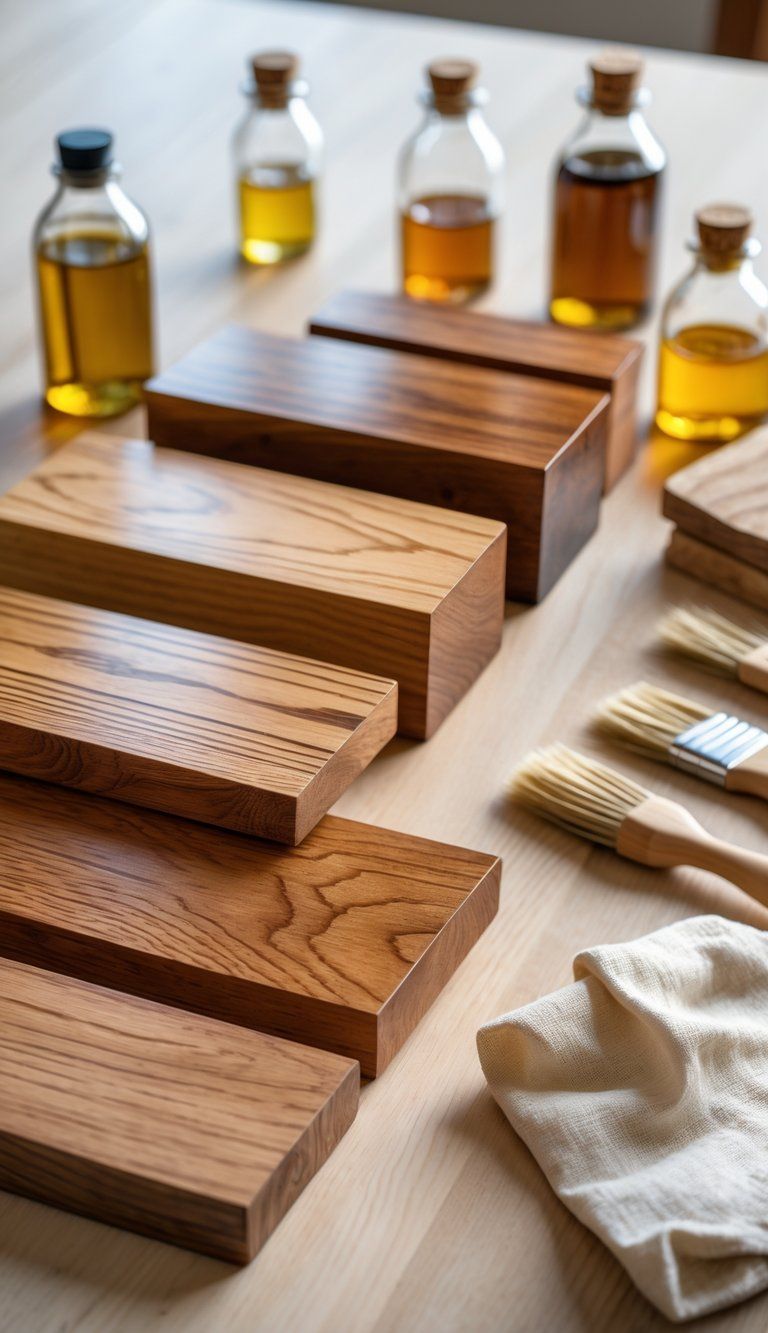
Natural oil finishes really bring out the wood’s natural beauty and offer decent protection. They soak deep into the wood fibers, not just sitting on top, which highlights the grain and gives a warm, rich vibe.
Linseed Oil
Linseed oil, pressed from flax seeds, has been a classic wood finish for centuries. You’ll see two main types: raw and boiled.
Raw linseed oil dries painfully slowly—sometimes it needs weeks between coats. Boiled linseed oil (BLO) has added drying agents, so it cures much faster.
To use linseed oil:
- Sand your wood to 180-220 grit.
- Wipe on oil generously with a cloth.
- Let it soak for 15-20 minutes.
- Wipe off every bit of excess.
- Wait 24-48 hours between coats.
- Apply 3-5 coats for solid protection.
Linseed oil darkens wood a lot and brings out those rich amber tones. I’d stick with it for interior furniture and decorative stuff. Just remember, you’ll need to reapply every 6-12 months to keep things looking good.
Tung Oil
Tung oil, squeezed from tung tree seeds, creates a more water-resistant finish than linseed oil. Pure tung oil dries to a soft satin sheen and doesn’t darken wood as much.
Watch out: many “tung oil finishes” at the store actually have varnish or other stuff mixed in. Pure tung oil takes longer to cure, but you get a more natural effect.
For tung oil:
- Wipe on thin coats (dilute the first coat with mineral spirits if you want).
- Remove all excess oil after 10-15 minutes.
- Wait 24-72 hours between coats.
- Plan on 5-7 coats for max protection.
Tung oil’s great for kitchen things like cutting boards and countertops since it’s food-safe once cured. It handles water better than linseed oil, so it works well for bathroom surfaces too.
Choosing Oils for Different Woods
Different woods react in their own ways to oil finishes. Dense, tight-grained hardwoods like maple and cherry need thinned first coats so the oil can soak in. Open-pored woods like oak and walnut just drink up the oil.
For hardwood floors, go for modified oil finishes with extra hardeners for better durability. These hybrid products give you the look of oil but hold up better to scratches.
Some wood-oil combos to try:
- Walnut: Tung oil brings out its chocolatey tones.
- Cherry: Linseed oil deepens the natural reddish color.
- Oak: Either oil works, but tung oil is better for moisture.
- Maple: Thinned tung oil helps avoid blotching on dense maple.
Always test oil on a scrap piece first. Some woods get much darker with oil, which isn’t always what you want.
Stick with thin coats for the most natural finish.
Shellac and Specialty Finishes
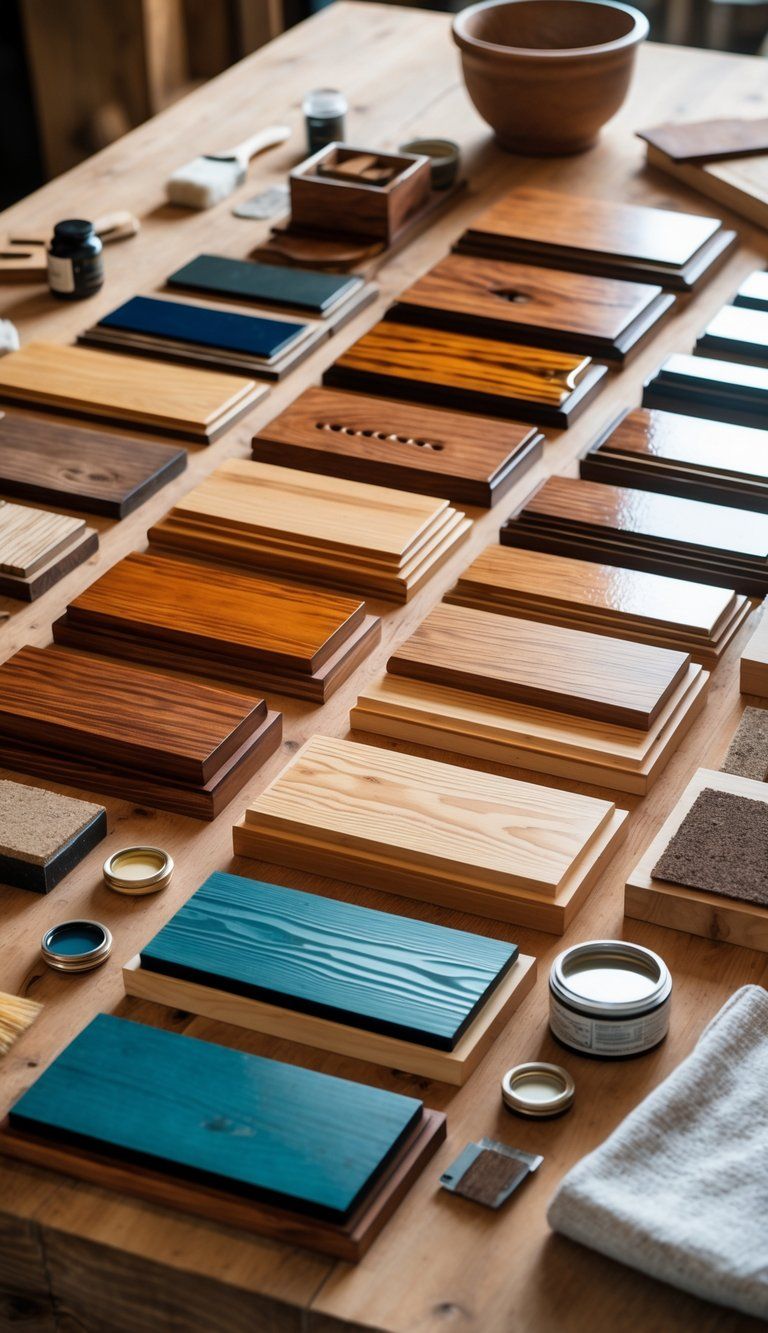
Shellac has a long history as a wood finish, and people still love it for its warm glow and natural feel. It isn’t as common as polyurethane or lacquer these days, but it’s got its own charm.
Shellac Benefits and Drawbacks
Manufacturers make shellac from natural resin left by the lac bug, then dissolve it in alcohol. You get a non-toxic finish that’s safe for toys and food surfaces.
Shellac gives wood a beautiful amber glow and really brings out the grain.
Shellac seals wood well, blocking odors and stains—great for antique restoration. It dries fast, usually within 30 minutes, and you can recoat without sanding.
There are a few downsides, though. Shellac isn’t water-resistant, so water rings show up quickly. Alcohol will dissolve it in seconds. It’s best for furniture that won’t see heavy use or lots of moisture.
French Polishing Method
French polishing is an old-school way to use shellac for a super smooth, high-gloss finish. This method goes back to the 18th century and still pops up on antiques and musical instruments.
You apply lots of thin shellac coats with a “rubber”—basically a cotton pad wrapped in linen. Move the pad in circles or figure-eights, slowly building up the finish. Let each layer dry, and sometimes give it a light sanding between passes.
French polishing gives wood a deep, glowing luster that almost looks like it’s shining from inside. It takes time and patience, but for heirloom pieces, it’s hard to beat.
If you try this, work somewhere clean and well-lit so you can see how the finish is coming along.
Application Methods for Wood Finishes
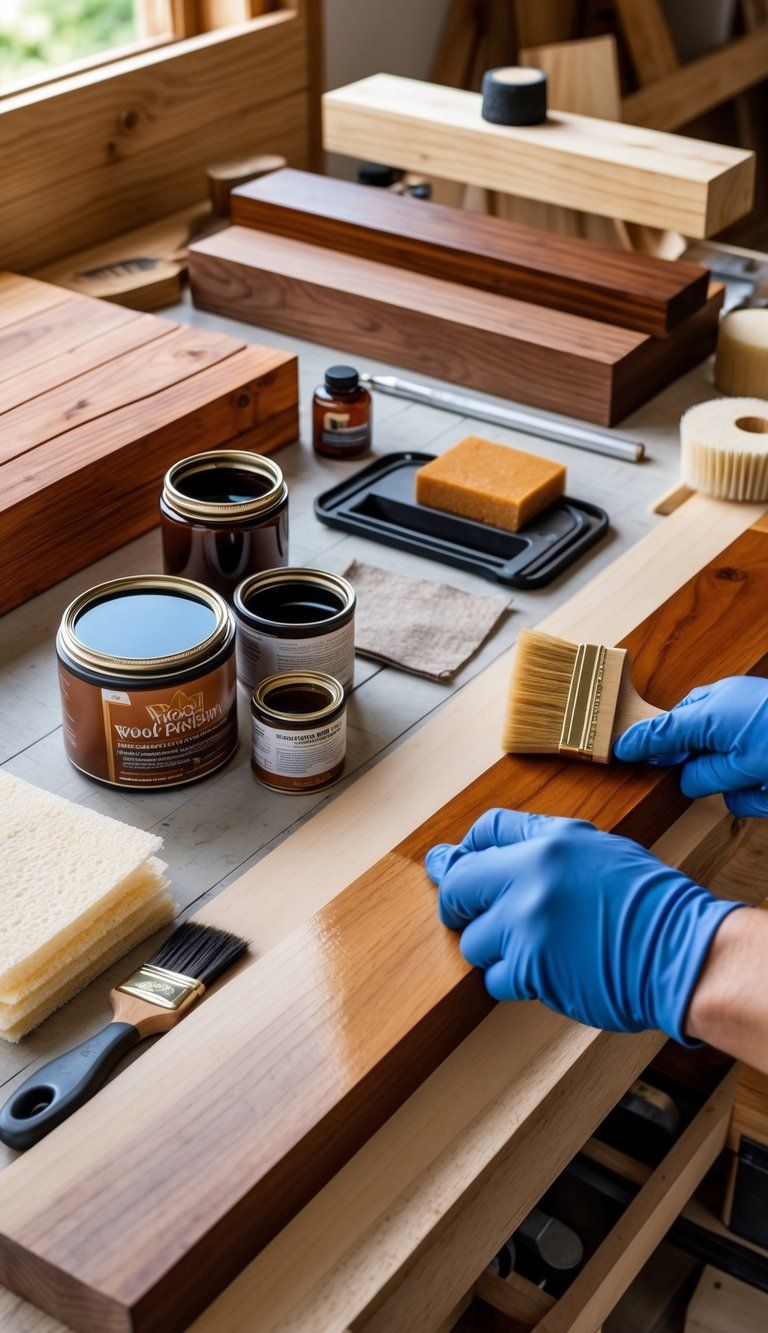
How you apply a wood finish matters as much as the finish you pick. The method affects how it looks, how long it takes to dry, and how tough it’ll be.
Brushing
Brushing is probably the most common way to apply wood finishes. You don’t need much gear, and you get decent control.
For oil-based finishes, grab natural bristle brushes. They hold more finish and spread it better. For water-based products, synthetic brushes are the way to go—they won’t lose their shape.
Always brush with the grain. This helps avoid streaks and brush marks. Use thin coats, not thick ones—thin coats dry faster and leave fewer bubbles or drips.
Sand lightly with fine-grit sandpaper (320-400 grit) between coats to knock down dust nibs and keep things smooth.
Clean your brushes right after you’re done. Use mineral spirits for oil-based stuff, and warm soapy water for water-based.
Spraying
Spraying gives you the smoothest finish, no brush marks at all. It’s fast for big projects, but you’ll spend more time setting up and cleaning up.
You’ll need a spray gun, and there are three main types:
- HVLP (High Volume, Low Pressure): Great for beginners, not a ton of overspray.
- Airless sprayers: Fastest for big surfaces.
- Compressed air sprayers: More pro-level, lots of control.
Thin your finish as the manufacturer suggests—usually 10-30% for spraying.
Always spray in a well-ventilated area and wear a respirator. Overspray isn’t something you want to breathe.
Hold the gun 6-8 inches from the surface and move in steady, overlapping passes. Don’t stop in the middle of a panel or you’ll get heavy spots.
Wiping Techniques
Wiping on finishes gives you a lot of control and is pretty forgiving for beginners. It’s slower, but you’ll run into fewer problems.
For oil finishes like tung or Danish oil, pour it on with a lint-free cloth. Let it soak for 5-15 minutes, then wipe off every bit of excess. If you leave oil on the surface, it’ll just get sticky.
For wiping varnishes and polyurethanes, fold a lint-free cloth into a pad and use long strokes with the grain. Let each coat dry before adding another.
French polishing with shellac is a special wiping method and takes patience, but the results can be stunning.
Always lay oil-soaked rags flat to dry or toss them in a water-filled metal container so they don’t catch fire.
Sealing and Protecting Wood Surfaces
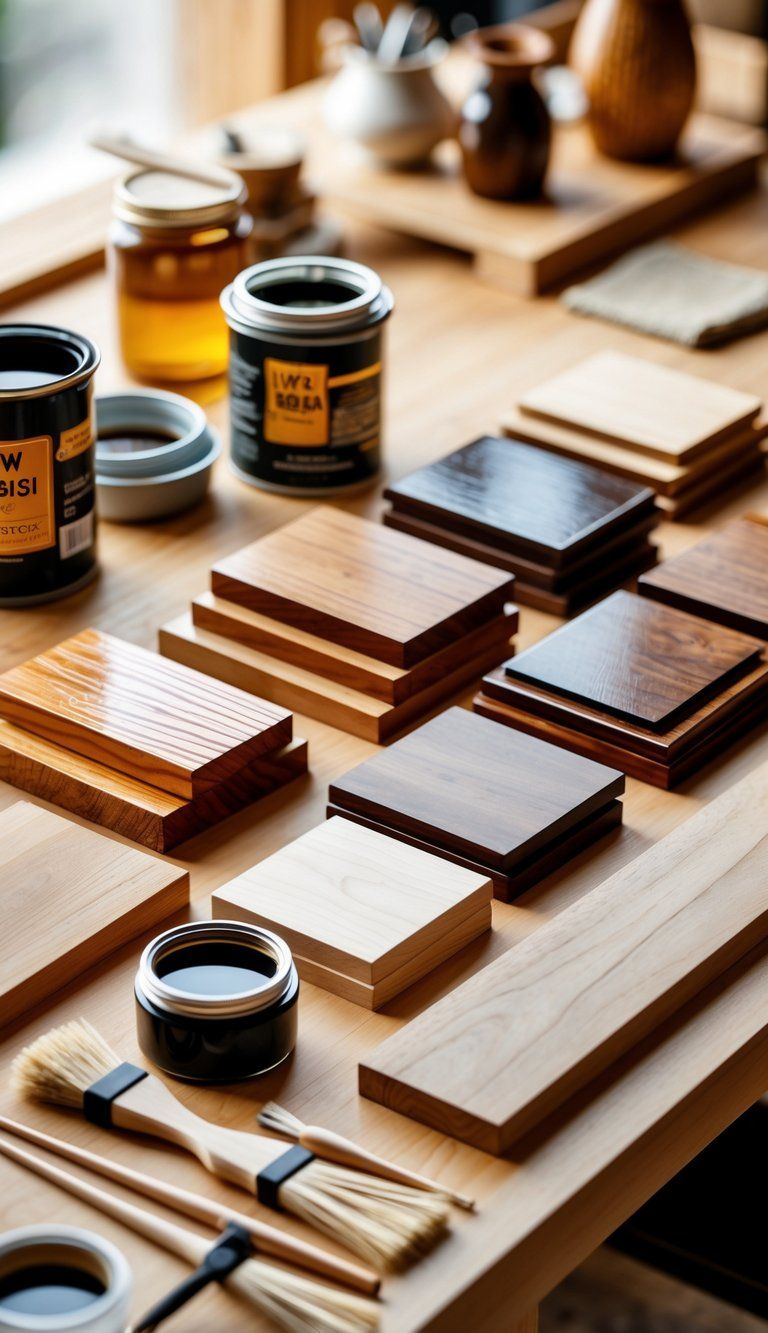
Protecting your wood surfaces is crucial if you want them to last and keep looking great. The right sealer keeps out moisture, UV rays, and daily wear.
Choosing the Right Sealer
Varnish gives solid protection and a glossy finish that really makes the wood grain pop. It’s a good pick for surfaces that take a beating. Use a high-quality brush and stick with thin coats.
Polyurethane is tough and comes in water-based or oil-based formulas. Water-based dries faster and doesn’t smell as much. Oil-based is more durable. I’d use polyurethane for high-traffic spots like tables and floors.
Wax finishes are super easy to apply and maintain, which is nice if you’re just starting out. They boost the wood’s natural beauty but don’t protect as much as varnish or polyurethane. Rub wax on with a cloth, then buff it to your preferred shine.
Sealing for Outdoor Versus Indoor Use
For outdoor projects, go with spar varnish. It’s made to handle the weather, with UV blockers and flexible resins so the wood can expand and contract. You’ll want 3-5 coats for the best defense against sun and rain.
Indoor sealers focus more on looks than weather resistance. Regular varnish and polyurethane work for furniture and trim inside. For things that won’t get much use, like decorative boxes or picture frames, lighter finishes like shellac or Danish oil give a nice look without building up too much.
Prep your wood before sealing—sand it well and get rid of all the dust. Always test your sealer on a hidden spot first to make sure you like the result.
Refinishing and Maintenance Tips
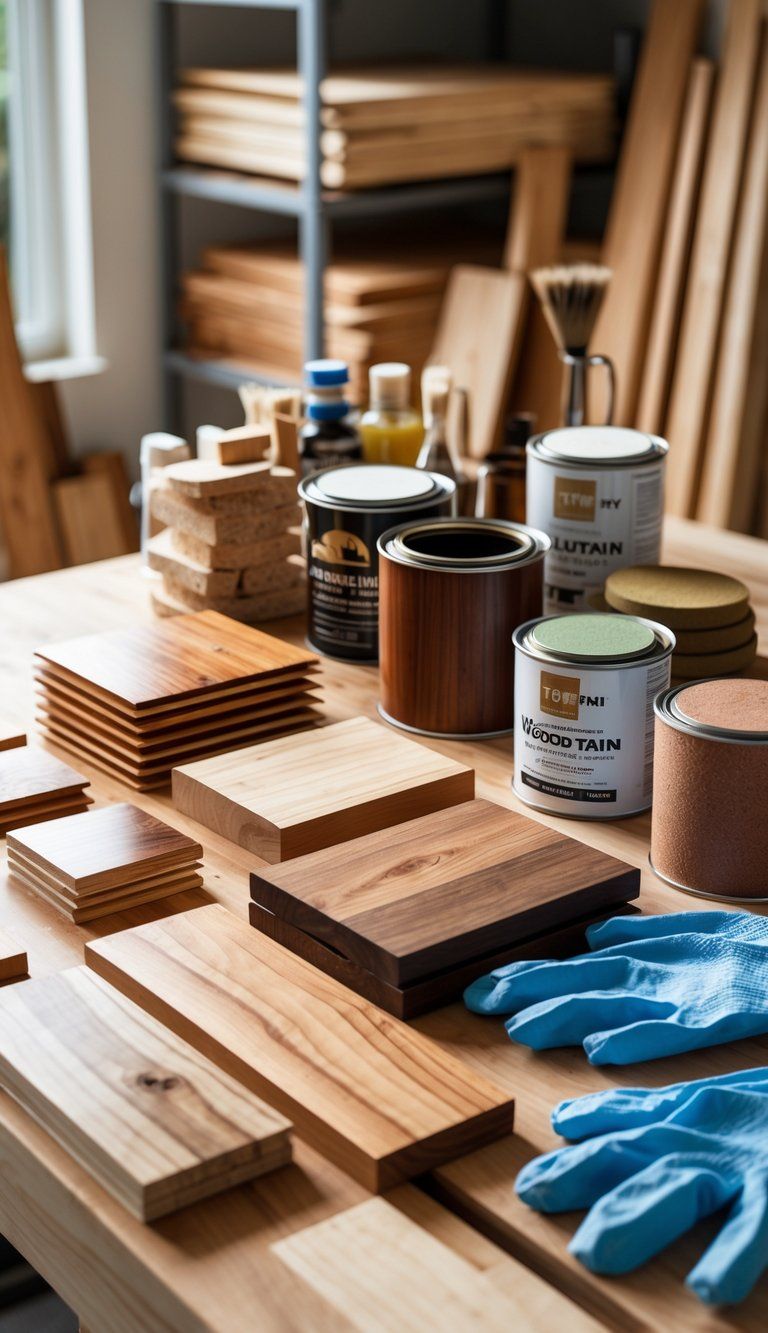
Taking care of your wood finishes helps them last and keeps your furniture looking sharp. Regular upkeep saves you from bigger repairs down the line, and a good refinish can totally revive old pieces.
Refinishing Furniture and Floors
Before you start any refinishing, get the right safety gear. Gloves, eye protection, and a face mask are a must—dust and chemicals aren’t fun.
Figure out what finish you’re dealing with first. Different finishes need different removal methods. Always test on a hidden spot to see what works.
For furniture:
- Strip off the old finish with the right remover.
- Sand the surface, starting with medium grit (120) and moving to fine (220).
- Clean up with a tack cloth.
- Apply your new finish in thin, even coats.
For hardwood floors, rent pro equipment if you can. Floor sanders make things way easier and more even. Always sand with the grain to avoid scratches.
Let each coat dry fully. If you rush, you’ll just get bubbles and uneven spots.
Routine Care and Polishing
Dusting with a soft, dry cloth keeps wood looking good between bigger projects.
For cleaning:
- Oil finishes: Wipe with a damp cloth, then dry right away.
- Polyurethane: Mild soap solution, rinse, and dry.
- Shellac/lacquer: Skip water—use a cleaner made for them.
Polish furniture every 3-6 months to keep up the shine. Pick a polish that matches your finish. Rub it in the direction of the grain with a soft cloth.
Keep wood out of direct sun and away from heating vents. Use coasters and placemats to stop water rings and heat marks.
Try to keep humidity steady in your home. Wood expands and contracts with humidity, and that can mess up finishes over time.
Addressing Wear and Damage
You can often fix minor scratches without having to refinish everything. For light scratches in clear finishes, just rub the area with a walnut or use a stain marker that matches.
Water rings? Sometimes you can get rid of them by placing a clean cloth over the spot and briefly running a warm iron over it. The heat might help pull out the trapped moisture.
For deeper damage, try this:
- Fill gouges with wood putty that matches your wood’s tone.
- Once it’s dry, sand the area smooth.
- Touch up with a matching stain.
- Finish up with a clear topcoat.
When you see peeling or bubbling in the finish, you’ll need to refinish that section completely. Sand it down to bare wood and apply a fresh finish to match the rest.
Sometimes you just have to call in the pros. Antiques, detailed carvings, or big floor damage usually need someone with specialized skills.
Creative and Decorative Techniques
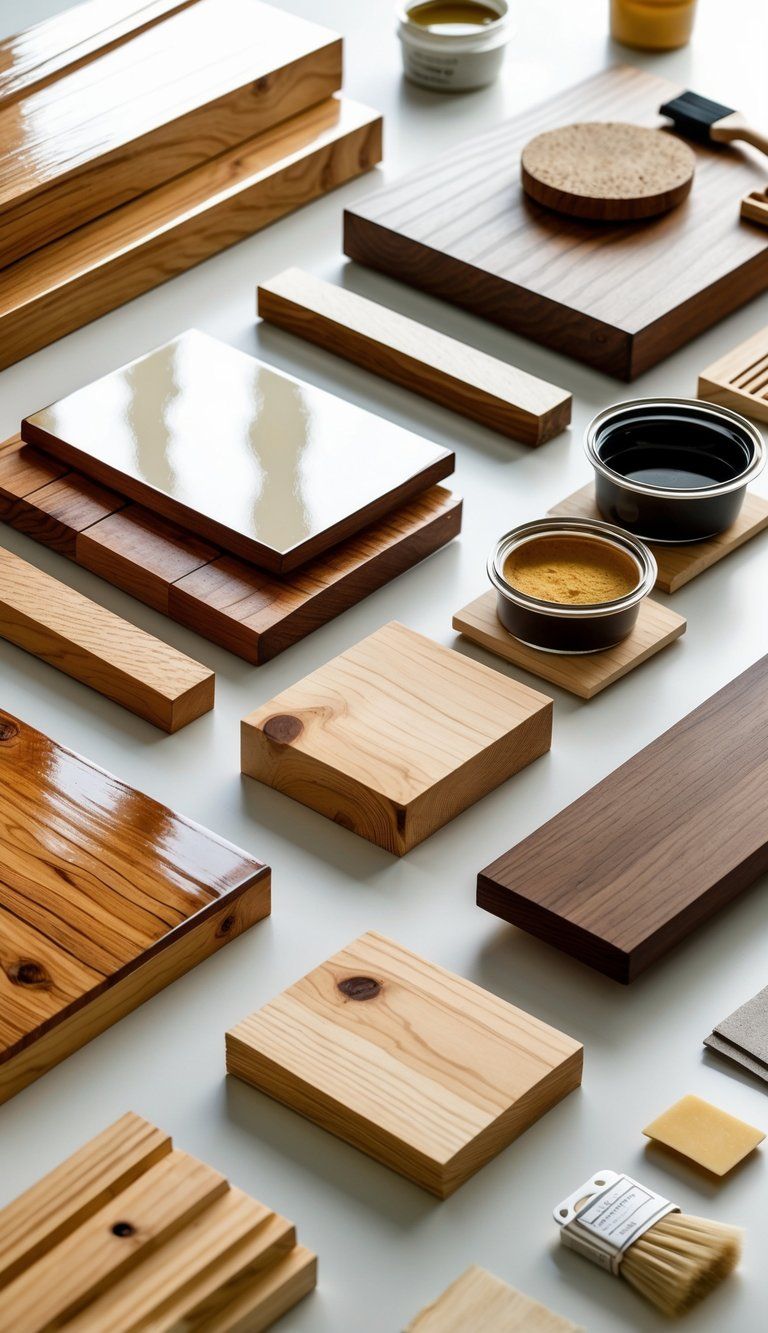
There’s a whole world of ways to add some personality and flair to your wood projects. These techniques can turn ordinary wood into something that really stands out—or just fits your style better.
Distressing and Antiquing
Distressing gives new wood that old, weathered look. It feels right at home with farmhouse, rustic, or vintage furniture.
Want to distress wood?
- Hit it with chains, hammers, or even a screwdriver to add dings and dents.
- Sand the edges and corners so it looks naturally worn.
- Use nails or a wire brush to scratch it up a bit.
- Rub dark wax into crevices to fake years of dirt buildup.
Antiquing’s a bit different. Start with a base coat, then add a contrasting top coat. Before the top dries, wipe off some spots to let the base peek through. You get depth and an aged vibe.
If you’re wondering which woods work best for distressing, try pine, oak, or maple. They show damage well, and softer woods are easier to beat up than hardwoods.
Bleaching Wood
Bleaching lightens up wood’s color and gives it a more even look. This technique pops up a lot in modern or Scandinavian interiors.
There are two main ways to bleach wood:
- Two-part wood bleach – It’s the strongest and works well for getting rid of dark stains.
- Oxalic acid – Good for lightening wood without erasing all the color.
Test on scrap wood first. Always use a synthetic brush (not metal), and wear gloves and eye protection. Most woods need a couple of applications—maybe two or three—to really lighten up.
Once you finish bleaching, neutralize the wood with water or a vinegar solution. Let it dry out completely before you put any finish on. Bleached wood looks great with clear finishes that don’t add more color.
High-Gloss Versus Matte Finishes
The finish’s sheen totally changes how your project looks and feels.
High-gloss finishes:
- Reflect a lot of light and make colors pop.
- Great for formal rooms or standout pieces.
- Show every fingerprint and bit of dust.
- Need careful application or you’ll spot every flaw.
- Usually take more coats and sanding between layers.
Matte finishes:
- Give a softer, more relaxed look.
- Hide small flaws better.
- Feel more natural to the touch.
- Easier to maintain.
- Fit right in with casual spaces.
If you want that glassy shine, go with polyurethane or lacquer. For a matte look, try low-sheen oils or waxes. You can even mix in flattening agents to cut down the shine.
Pick your finish based on both style and how you’ll use the piece. Maintenance matters, too.
Selecting the Best Finish for Your Project
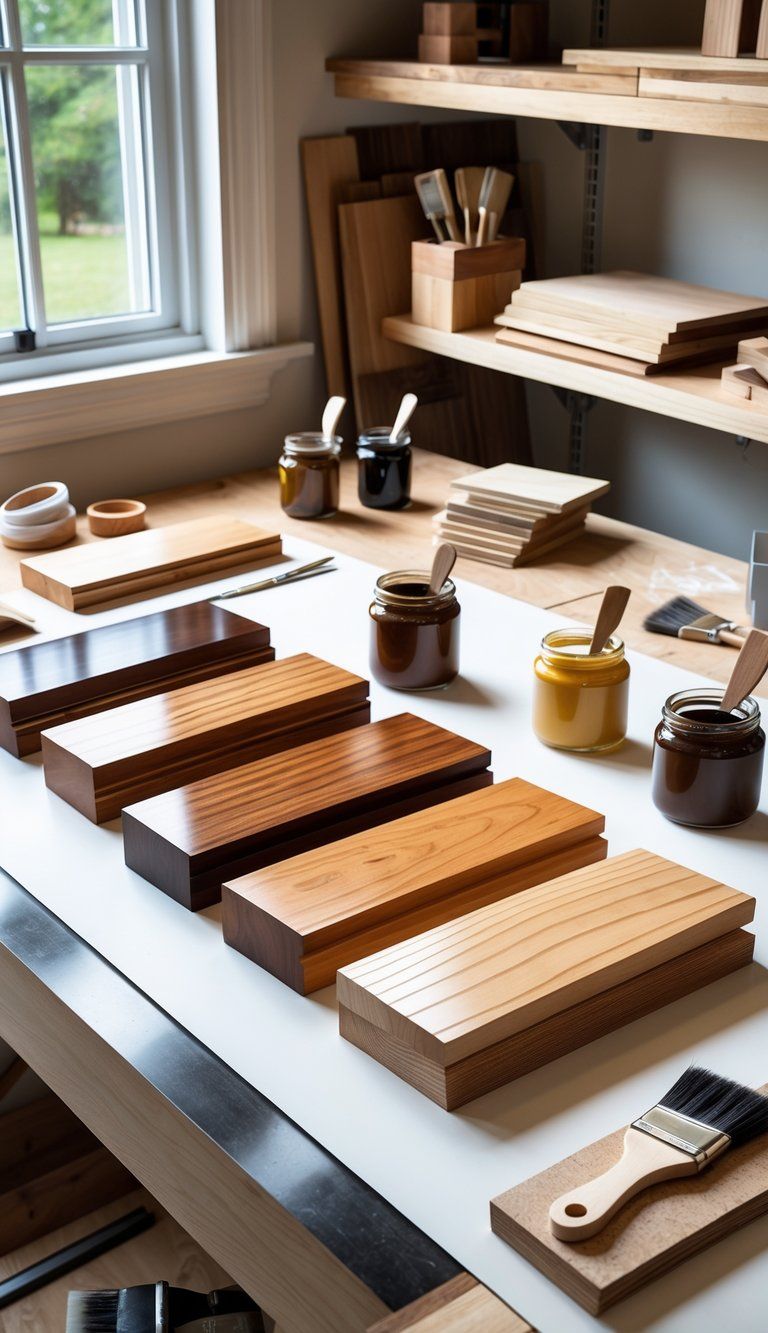
Choosing the right finish might be the most important part of your woodworking project. The perfect finish can really bring out the beauty of wood and protect it from daily wear.
Factors to Consider
How you’ll use the project is the biggest factor. Will your table see spills, heat, or heavy use? Kitchen tables need more protection than something decorative.
Looks matter, too. Some finishes darken wood, while others keep it close to its natural color. Oil-based finishes usually make the grain pop and add warmth. Water-based ones keep things lighter.
Drying times can be all over the map. Polyurethane might need a day between coats, but some oils take even longer to fully cure. Plan ahead so you’re not stuck waiting.
Think about how you want to apply your finish. Are you up for spraying, or do you want to brush or wipe it on? Wiping oils like tung or Danish oil are a bit more forgiving for beginners.
Here’s what you’ll want to keep in mind:
- How much protection you need
- The look you want
- How long you can wait for drying
- Your comfort with applying finishes
- Whether it’s for indoors or outdoors
Matching Finish to Wood Type
Different woods react in their own way to finishes. Dense hardwoods like maple or cherry do best with thin finishes that won’t pile up on their tight grain. Oils and shellac really shine on these.
Porous woods like oak or walnut need a pore filler before you finish them. That way, you get a smooth surface instead of a bumpy one. If you skip this step, they’ll feel textured even after several coats.
Softwoods such as pine soak up finish unevenly. Use a wood conditioner before staining to avoid blotchiness. It’s an extra step, but it makes a big difference.
Exotic woods can have natural oils that mess with finish adhesion. Lightly sand and wipe them with alcohol to get rid of surface oils before starting.
With reclaimed or older wood, you’ll need to prep carefully. Clean it well and check for old wax or finishes that might keep your new finish from sticking.
Sustainability and Safety Concerns
Water-based finishes tend to be more eco-friendly than oil-based ones. They give off fewer VOCs (volatile organic compounds) and you can clean them up with just soap and water.
Natural finishes like pure tung oil, beeswax, and shellac come from renewable resources. If you’re working on children’s furniture or something like a cutting board, these are solid choices.
You really need good ventilation when you’re applying most finishes. Try to work somewhere with plenty of fresh air, and maybe grab a respirator if you’re using anything solvent-based.
Don’t forget about finish-soaked rags—proper disposal matters. Oil-finish rags can actually catch fire on their own if you toss them out carelessly. Lay them flat to dry or dunk them in a metal container with water.
A lot of manufacturers now sell low-VOC and zero-VOC finishes instead of the traditional stuff. These newer products keep getting better and they’re definitely safer for your home and the environment.

