Starting a home renovation feels a bit like jumping into the unknown, doesn’t it? I’ve watched so many homeowners get surprised by phases and timelines they never saw coming. If you know what happens when, you’re way more likely to keep your sanity during the renovation process.
Remember to repin your favorite images!

Every renovation moves through distinct stages, usually in a pretty predictable order—from planning to final inspections. The size of your project really shapes how long each part takes.
A few weeks might be enough for small updates, but bigger jobs with structural changes can stretch on for months.
You’ll go through careful planning, contractor selection, design work, and then the actual construction. Preparing for how these steps unfold helps you set realistic expectations.
Shipping delays, contractor schedules, and weird surprises inside your walls can all slow things down. But if you know these might pop up, you’re better equipped to handle them.
Establishing Renovation Goals and Scope

Before you start, you need a clear plan outlining what you want from your renovation. Setting specific goals and defining the scope keeps things on track and helps you avoid unexpected costs or annoying delays.
Defining Project Needs and Priorities
Start by listing what you actually need versus what you just want. Think about why you’re renovating. Are you hoping to boost your home’s value, make it more functional, or just update old features?
Rank your priorities. When the budget gets tight—and it probably will—you’ll know what to keep and what to let go. Say you’re planning a kitchen renovation: do you care more about new cabinets or fancy appliances?
Create a vision board with magazine clippings or online images. It sounds a little cheesy, but it really helps you show contractors and designers what you like.
Be honest about your budget. Renovations almost always cost 10-20% more than you expect, so build in a cushion for the stuff you can’t predict.
Understanding Project Complexity
How complicated your renovation is will shape both your timeline and your budget. Structural changes—like knocking down walls or adding rooms—always make things trickier.
Consider these factors:
- Permits: If you’re changing anything structural, you’ll probably need them.
- Utility changes: Moving plumbing or electrical adds time and cost.
- Old homes: Outdated wiring or hidden issues are common headaches.
- Custom work: Special features need skilled pros, which can slow things down.
If you’re redoing a bathroom, expect 2-3 weeks. A whole-house remodel? That could easily take 3-6 months.
Creating a Renovation Checklist
A detailed checklist keeps you organized from start to finish. Start with research and planning before you move to hands-on tasks.
Pre-renovation checklist:
- Measure spaces carefully
- Research material prices and what’s in stock
- Get 3-5 contractor quotes
- Check HOA rules if you have one
- Review local building codes
- Set a timeline that’s actually doable
- Decide how you’ll keep in touch with your contractors
Put everything in writing—contracts, change orders, all of it. You’ll thank yourself if disagreements come up later.
Think about how you’ll live during the renovation. Will you stay put or move out for a bit? If you’re losing the kitchen, set up a temporary spot to cook. If it’s the bathroom, figure out another solution.
Planning and Design Phase

The planning and design phase lays the groundwork for everything that follows. Here, your ideas start turning into actual plans that will guide the work.
Working With Designers and Architects
Finding the right professionals makes a huge difference. Architects handle the big structural stuff, while designers focus on looks and how things work day-to-day.
Start by checking out local pros who’ve done similar projects. Ask to see their portfolios and talk to past clients. During your first meetings, spell out your vision, needs, and budget.
A good designer or architect should:
- Listen to you and offer practical advice
- Tell you what’s realistic and what isn’t
- Help you pick features that fit your budget
- Walk you through codes and permits
Most charge by the hour ($100-$250) or take a percentage (8-15%) of your project’s cost. Get the payment details in writing before you get too far.
Developing Design Plans and 3D Renderings
Once you’ve hired your team, they’ll start drawing up detailed plans. Depending on how complex your project is, this can take 3-6 weeks.
You’ll typically see:
- Rough sketches for layout ideas
- Preliminary floor plans with measurements
- Detailed construction docs for permits and contractors
- 3D renderings so you can really picture the finished space
3D renderings have become a must-have. You can spot problems before anyone starts knocking down walls.
Expect a few rounds of revisions. Don’t rush—changing things on paper is way cheaper than changing them once the work starts.
Material Selection and Interior Design
Once you nail down the layout, it’s time to pick materials and finishes. This is where your style really comes to life.
Pull together a mood board—physical or digital—with samples of:
- Flooring
- Cabinets
- Countertops
- Paint colors
- Light fixtures
- Hardware
Think about durability as much as style. Kitchens and bathrooms need surfaces that can handle moisture and heavy use.
Visit showrooms to see and touch materials for yourself. Photos online can be misleading.
Many designers can score you trade discounts on materials, which might help offset some of their fees. Give yourself 2-3 weeks for this part.
Budgeting and Project Scheduling

Managing your budget and timeline is honestly where most renovations get tricky. Planning these parts well can save you a lot of headaches and money.
Setting a Realistic Budget
Figure out how much you can actually spend—then add a 15-20% buffer for surprises. They always show up.
Get several detailed quotes from contractors. Make sure they include everything: labor, materials, permits, and cleanup.
Decide on your materials and finishes early. High-end stuff adds up fast.
Track what you spend as you go. Use a spreadsheet or a budgeting app. Check in every week so you don’t get caught off guard.
Keep an eye on supply issues. If materials get delayed or prices go up, you might need to switch to something else—and that can cost more than you think.
Understanding the Project Schedule
Most renovations follow a familiar pattern: planning, demolition, structure, mechanical systems, finishing, and cleanup. Each step depends on the last one finishing up.
Ask your contractor for a timeline with real milestones. You want to know when each phase starts and ends, and when you’ll have to make big decisions.
Build in some wiggle room. Weather, busy contractors, and late deliveries can stretch your timeline by 15-30%.
Remember the “project triangle”: fast, cheap, or quality—pick two. You can’t have all three.
Check in with your contractor regularly about the schedule. It’s the best way to catch problems early.
Permits and Regulatory Compliance

Permits and building codes can feel like a maze. They’re there to make sure your renovation is safe and up to standard, but wow, they can slow things down.
Navigating Permits and Approvals
Before you swing a hammer, you need the right permits. The process can take anywhere from 6-12 months, depending on your project and where you live.
Figure out which permits you need. It depends on what you’re changing.
Typical permits:
- Building (for structural work)
- Electrical
- Plumbing
- Mechanical (like HVAC)
- Zoning
Call your local building department early. Submit detailed plans and expect them to ask for changes. Some cities move faster than others, so factor that into your timing.
Set aside money for permit fees. They can be a few hundred bucks or a few thousand, depending on what you’re doing.
Meeting Building Codes and Code Compliance
Building codes exist to keep your renovation safe and solid. They cover electrical, plumbing, fire safety, and more.
Make sure your contractor knows the local codes. Ask how they’ll handle:
- Fire safety
- Structural supports
- Electrical loads
- Plumbing installs
- Energy efficiency
Inspectors will check your project at different stages. They make sure you meet the codes before you move forward. If you fail an inspection, you’ll have to fix things—which can get expensive and cause delays.
Codes change all the time. If your house is older, you might need extra updates to keep up, which could bump up your budget.
Contractor Selection and Pre-Renovation Preparation

Choosing the right professionals and prepping your home before work starts can make or break your renovation. These early steps really set the tone for everything else.
Choosing the Right Contractor
Start your contractor search by asking friends, family, or neighbors for names. Online reviews and trade associations help too. Always talk to at least three contractors so you can compare.
When you meet them, ask about:
- Similar projects they’ve done
- Licenses and insurance
- How long projects like yours usually take
- How they handle payments
- How they’ll communicate with you
Check their references. Call past clients and ask real questions about reliability and quality. Don’t just accept a list—actually make the calls.
Ask for detailed written estimates from each contractor. Look at what’s included, not just the total price. The cheapest bid can end up costing more if it leaves things out.
Pre-Renovation Checklist and Site Preparation
Plan everything before the first day. Take photos of your space for reference and insurance. If something goes wrong, you’ll have proof of what things looked like before.
Key pre-renovation tasks:
- Get all your permits
- Finalize design and material choices
- Order anything that takes a while to arrive
- Make a temporary living plan if you need one
- Pack and protect your stuff
- Set up dust barriers
Clear out furniture from work areas. Make sure workers have safe, easy paths to where they’ll be working. Cover floors and nearby furniture with plastic sheeting.
Talk safety with your contractor. Know where the shutoffs are for utilities, and set up restricted areas to keep kids and pets safe.
Demolition and Structural Changes

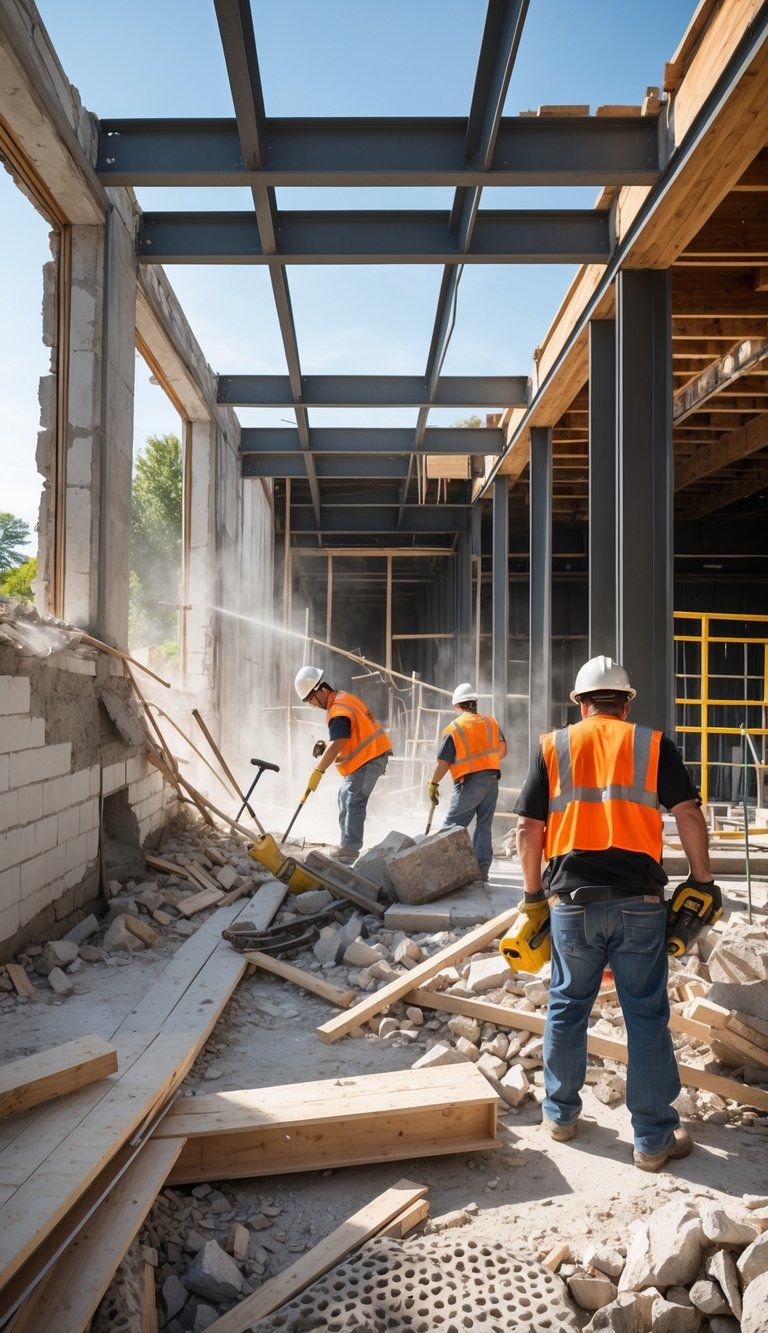
The demolition phase is where your renovation really kicks off. Old structures come down, making way for your new vision. During this stage, you’ll see the big structural changes that support your updated space.
Safely Executing Demolition
Safety always comes first during demolition. Put on your goggles, gloves, masks, and hard hat before you start.
Turn off all utilities before you touch anything. You don’t want to mess with live wires, gas lines, or water pipes.
Here are a few steps to keep in mind:
- Make a plan—figure out what you’re keeping and what’s going
- Rent containers for debris
- Grab the right tools for each job
- Work from the top down so nothing falls on you
Pros can usually finish a small bathroom demo in a day or two, maybe three. Whole-house jobs might take a week or two. Honestly, most folks decide it’s smarter to hire professionals for demolition. It’s risky work.
Addressing Unexpected Structural Issues
Demolition always seems to uncover hidden problems. You might find water damage, termites, or scary old wiring behind the walls.
Keep about 10-15% of your budget handy as a cushion for these surprises.
If you run into something like asbestos, lead paint, or major damage, stop right away. Talk to your contractor about what needs to change.
Take photos of any issues for your records and insurance. For big structural problems, get more than one expert opinion.
Sometimes, you’ll need to adjust your timeline. Fixing a rotted beam can add days to your project. Good contractors will tell you what’s going on and lay out your options.
Construction Phase Overview

The construction phase is when your renovation finally starts to look real. You’ll see structural work and interior finishing that slowly turn your plans into an actual space.
Framing and Structural Work
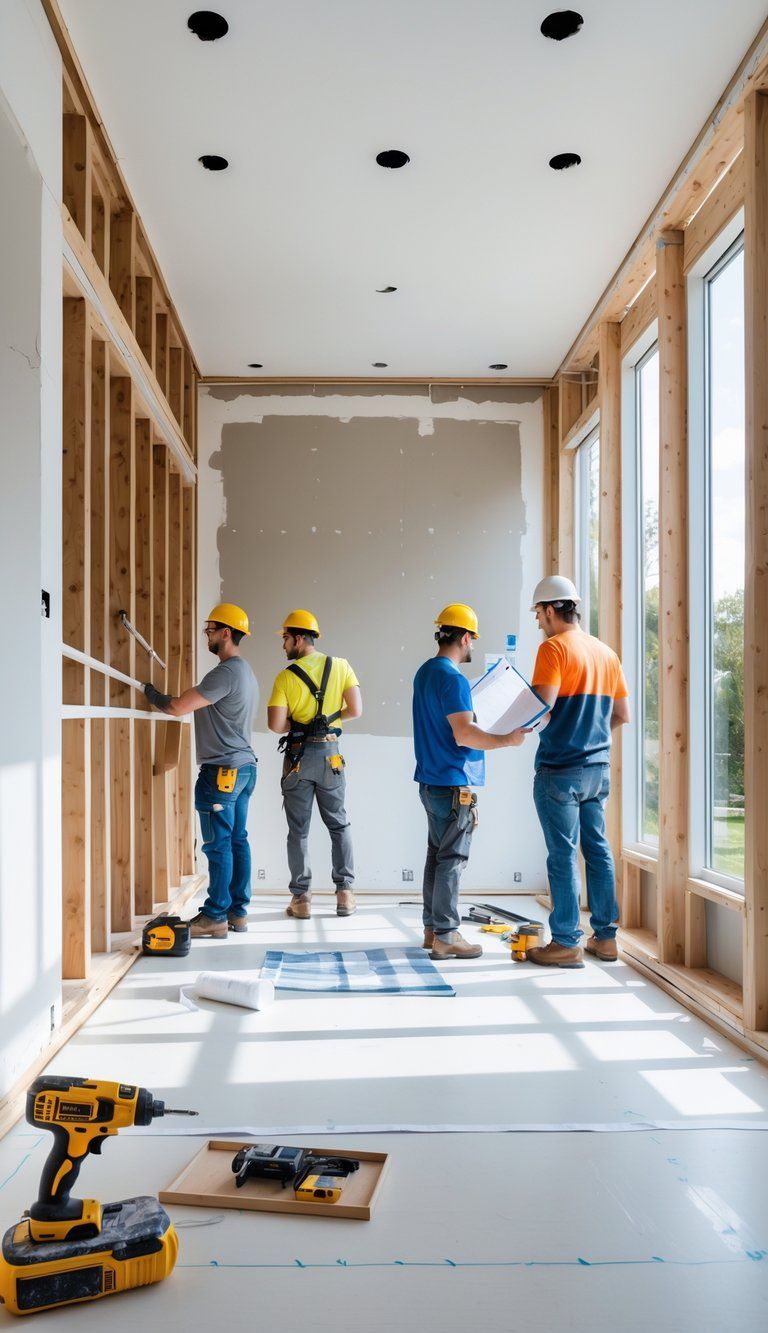
Framing is the backbone of your renovation. Contractors put up or move walls, add supports, and create spots for doors and windows.
If you’re changing a load-bearing wall, this step gets extra attention. Contractors use temporary supports while they put in permanent beams. Depending on the project, this can take one to three weeks.
You’ll see:
- Floor joists and subfloor going in
- Walls framed and headers set
- Roof or ceiling framing changes
- Beams installed for support
They’ll cut out rough openings for your windows and doors. The place will look unfinished, but you’ll start to see your new layout.
Insulation and Drywall Installation
After framing and mechanical systems, it’s time for insulation and drywall. This is where rooms really start to take shape.
Insulation goes in first for warmth and soundproofing. Most people pick fiberglass batts, but spray foam seals better (and costs more). Rigid foam boards work too if you want a high R-value.
Drywall comes next:
- Hang the sheets
- Tape the seams
- Mud over joints
- Sand for a smooth finish
This part usually takes a week or two. Sanding gets messy, so set up barriers to keep dust out of the rest of your house.
Mechanical, Electrical, and Plumbing Installations

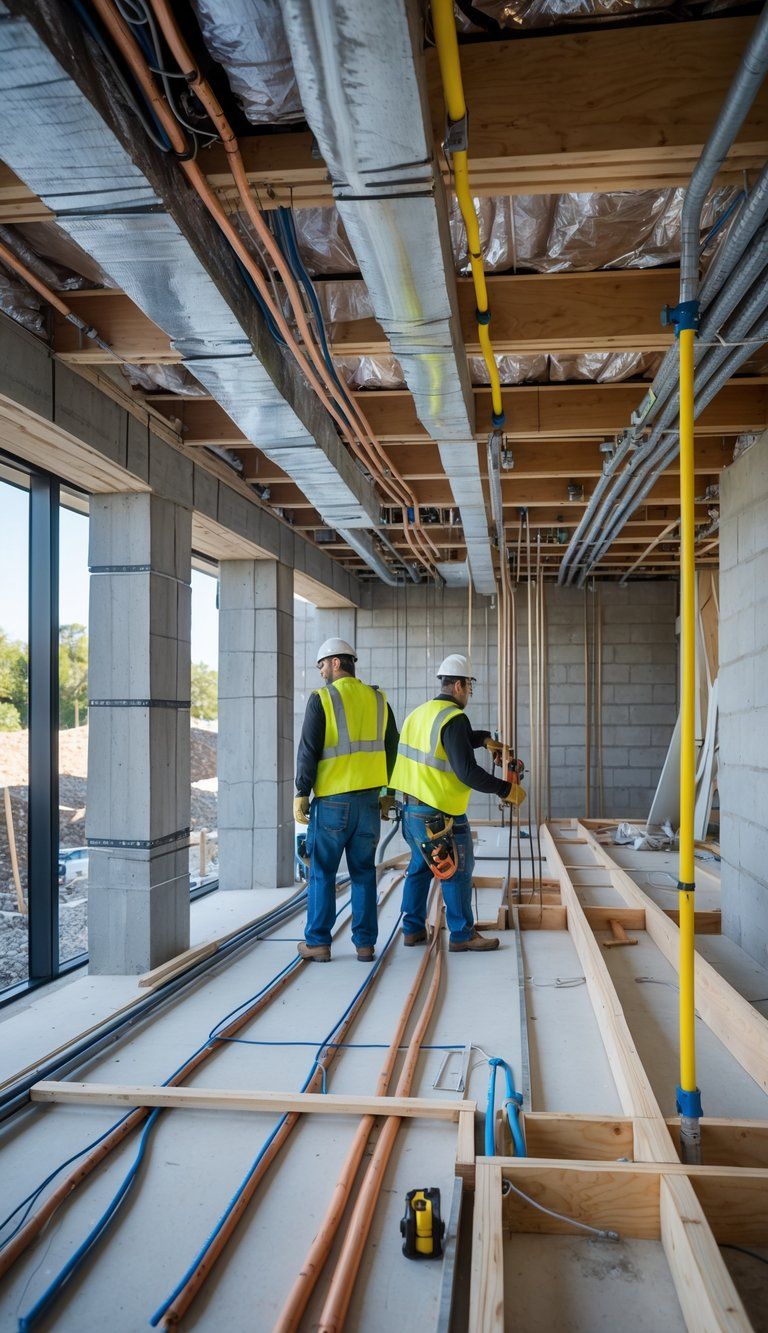
This stage covers all the critical systems that keep your home running—power, heat, water, and air. These jobs need careful planning and skilled pros.
HVAC and Plumbing Work
Contractors start HVAC work after framing, but before closing up the walls. You’ll see ductwork, vents, and the main equipment going in. It usually takes three to five days.
Plumbing rough-ins happen around the same time:
- Water lines
- Drains
- Vents
- Shower valves
- Tub hookups
Pick your fixtures early—many plumbing parts depend on brand and size. You’ll need to settle on faucets and showerheads before this step.
They’ll do a pressure test on water lines before closing up the walls. This step helps avoid leaks later.
Electrical Work and Safety
Electricians work while the HVAC and plumbing are going in. They’ll run wiring for outlets, switches, breaker panels, and light fixtures. If you want smart home features or extra USB outlets, now’s the time.
Every bit of electrical work has to meet code and be done by licensed pros. Inspectors check everything before drywall goes up.
Plan for three to seven days here, depending on how big and complicated your project is.
Interior Finishes and Fixtures

Once the structure’s done, your renovation starts to feel like home. Interior finishes turn bare walls and floors into real living spaces.
Flooring and Cabinet Installation
Flooring usually goes in after painting to keep it safe from drips and scratches. Depending on your space and material, this step takes three to seven days. Hardwood floors need a couple of days to adjust to your home’s humidity before installation.
Cabinets come after the floors. Kitchens take about two or three days, while bathroom vanities are usually a quick job.
Your contractor should:
- Double-check measurements
- Level the cabinets
- Attach doors and drawers after the boxes are in
- Add handles and knobs last
You’ll probably make some last-minute calls about cabinet placement or adjustments at this stage.
Painting and Decorative Touches
Painting happens after drywall but before flooring. A good crew can paint an average house in three to five days.
- Pick your colors at least two weeks ahead
- Choose paint finishes for each room
- Let each coat dry for at least four hours
Once the paint is dry, it’s time for decorative touches and final details:
- Light fixtures (one or two days)
- Towel bars and toilet paper holders
- Outlet covers and switch plates
- Door hardware
These little details pull the whole design together. Expect a week or so to wrap up everything throughout your home.
Inspections, Permits, and Quality Checks

Inspections and permits are a big part of any renovation. They make sure your project meets safety standards and building codes, and they protect your investment.
Scheduling Inspections During the Renovation
Inspections happen at several points—usually for electrical, plumbing, framing, and at the end. Your contractor should help line these up.
Be flexible with your schedule. Inspectors get busy, so you might have to wait a few days at each stage.
For smoother inspections:
- Ask your contractor which ones you’ll need
- Build in buffer days for each inspection
- Keep documents handy for the inspector
- Clear the area so inspectors can see what they need
Managing Permits and Inspections
Most projects need permits before work starts. The permit type depends on what you’re doing and where you live.
Common permits:
- Building (for structural work)
- Electrical
- Plumbing
- Mechanical (for HVAC)
Approval times vary. Simple permits might come fast, but bigger projects can take weeks. Plan for two to four weeks just in case.
Keep your permit paperwork organized. Inspectors will want to see these documents every time. If you can’t show proof, your project might get delayed.
Quality Checkpoints and Code Compliance
Check quality at every step, not just at the end. Make a checklist with your contractor for each phase.
The last inspection is the big one. It happens after everything’s done, but before you pay the final bill.
Look for:
- Even paint and nice finishes
- Fixtures and appliances that work
- Level floors and straight corners
- Secure cabinets and hardware
- Outlets and switches that work
You can’t skip code compliance. It’s mandatory, and violations can mess with your insurance or future resale. Ask your contractor how they’re making sure everything’s up to code.
Take your time with quality checks. Snap photos of anything that needs fixing. Good communication about issues helps make sure you’re happy with the result.
Managing Delays and Challenges

Renovations almost never go exactly as planned. The way you handle surprises can save you a lot of stress, time, and money.
Weather Conditions and Material Delays
Bad weather can stall your project fast. Rain, snow, or heat waves can stop work outside—think roofing or foundation repairs. Always add a week or two of weather buffer, especially if you’re working in a tough season.
Material delays are common now. To avoid headaches:
- Order custom stuff (cabinets, windows, tile) 8-12 weeks ahead
- Have backup options in case your top choice is out of stock
- Store materials safely so they don’t get ruined
If delays hit, tell your contractor right away. They might be able to switch to indoor work or tackle other areas while you wait.
Addressing Supply Chain and Scheduling Issues
Supply chain problems can slow down everything from lumber to appliances. To stay ahead:
- Order early—sooner than you think you need to
- Put down deposits to hold your place in production lines
- Stay open to different brands or finishes
Contractor scheduling can get tricky. Use a shared online calendar to keep everyone on the same page.
Critical items to track:
- Inspections
- Delivery dates
- When specialists (like plumbers or electricians) are available
Weekly check-ins help spot conflicts before they turn into big delays. If you have to reschedule, prioritize the trades who need to finish first.
Stay flexible. Hold your contractors to deadlines, but know that some delays just happen. A little patience goes a long way.
Finishing Touches and Final Steps

The last phase is all about details and making sure everything’s right. These steps make sure your project meets quality standards before you settle in and enjoy your new space.
Completing Punch List Items
A punch list is your final checklist of little things that still need attention. You might see:
- Paint touch-ups
- Cabinet doors that don’t close right
- Small plumbing leaks
- Chipped tiles
- Unfinished trim
Walk through your home with your contractor and make the list together. Take photos so there’s no confusion. Most contractors spend a week or two fixing these last details.
Take your time here. These finishing touches really do matter. Ask for a final walk-through after everything’s done to make sure it all meets your expectations.
Final Walkthrough and Inspection
The final walkthrough gives you a last chance to check that everything works as it should and matches what you expected.
Schedule this inspection after your contractor finishes every punch list item.
During this walkthrough, make sure to:
- Test every electrical outlet and switch.
- Run water in each faucet and look for leaks.
- Open and close all the doors, windows, and drawers.
- Check every surface for finish quality.
- Test all appliances and mechanical systems.
Most cities or towns require official inspections for permitted work. Your contractor usually handles these inspections and hands you the final paperwork.
Hang on to warranties, operation manuals, and maintenance instructions—just toss them all in a folder for later.
Don’t hand over your final payment until you’re totally happy with the work. Most contracts lay out a payment schedule that comes after all inspections pass and you sign off on the finished project.
Special Considerations by Project Type

Different renovations come with their own timelines and headaches. If you know what’s normal for your project, you’ll have a way easier time planning and avoiding stress.
Kitchen and Bathroom Renovation Timelines
Kitchen renovations usually take 6-12 weeks from start to finish. These jobs need several specialists—plumbers, electricians, and cabinet installers—who all have to work in a specific order.
For kitchens, cabinet delivery often causes the worst delays, sometimes 4-8 weeks. Once the cabinets arrive and go in, you’ll wait another 1-2 weeks for countertop fabrication.
Expect to go without a functioning kitchen for at least 3-4 days during the messiest part.
Bathroom renovations usually take 3-6 weeks for a typical remodel. If you want custom tile work, special fixtures, or you’re moving plumbing, it’ll take longer.
Key bathroom renovation phases:
- Demolition: 1-2 days
- Rough plumbing: 2-3 days
- Electrical work: 1-2 days
- Tile installation: 3-7 days
- Fixture installation: 2-3 days
Whole-Home Remodeling Project Differences
Whole-home remodeling projects usually last anywhere from 3 to 9 months. The timeline really depends on your home’s size and what you want to change.
You’ll need to coordinate a bunch of different pros for these big renovations. It’s a lot more involved than just redoing a single room.
Big projects like this almost always mean structural changes. So, you’ll have to get engineering approvals and extra permits.
Permitting alone? That can eat up 2 to 6 weeks before anyone swings a hammer.
And then there’s the weather. If you’re messing with the roof or exterior, a rainy week can throw everything off.
Honestly, you should just expect the unexpected—adding a 2-3 week buffer for delays is smart.
Material delays can really mess up your schedule on larger remodels. I’d suggest ordering things like flooring, windows, or custom pieces at least 8 weeks ahead.
You don’t want your crew standing around waiting for a shipment, right?
Whole-home remodels also mean you’ll probably need to move out for a while. Most families choose to relocate, and that adds another layer of planning (and cost) to the mix.

