A gallery wall is such a fun way to show off your style and bring some personality into your home. I’ve designed more gallery walls than I can count, and honestly, a lot of people feel intimidated at first.
Remember to repin your favorite images!
But really, it’s not as complicated as it looks!
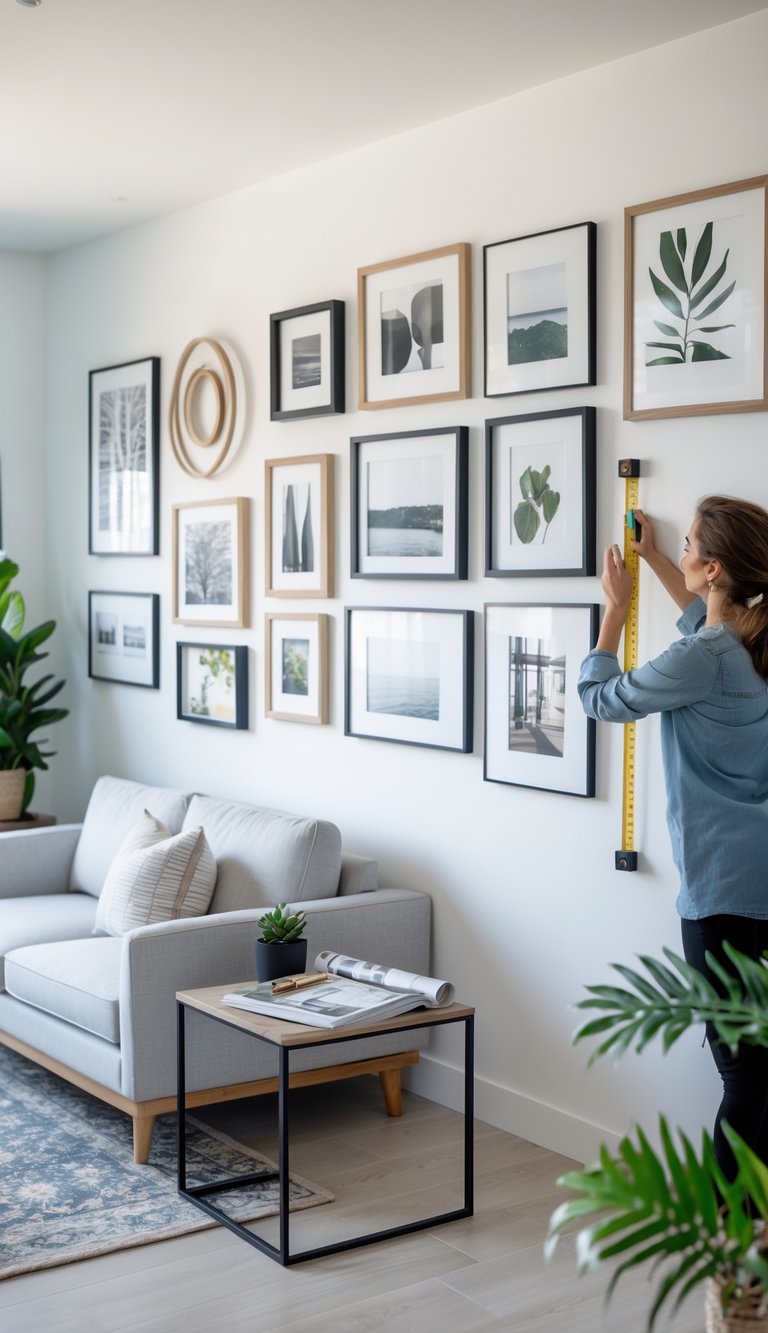
You can create a beautiful gallery wall in just five manageable steps. Pick your spot, choose a focal piece, plan your layout, select frames that work together, and then hang everything up.
The best gallery walls tell a story—your story. They showcase what matters to you.
A little planning and some basic tools can turn a blank wall into something that feels designer-made. Guests will notice, and you’ll probably smile every time you walk by.
It’s meant to be enjoyable, not stressful. The end result? A unique art arrangement you’ll actually love.
Understanding Gallery Wall Concepts
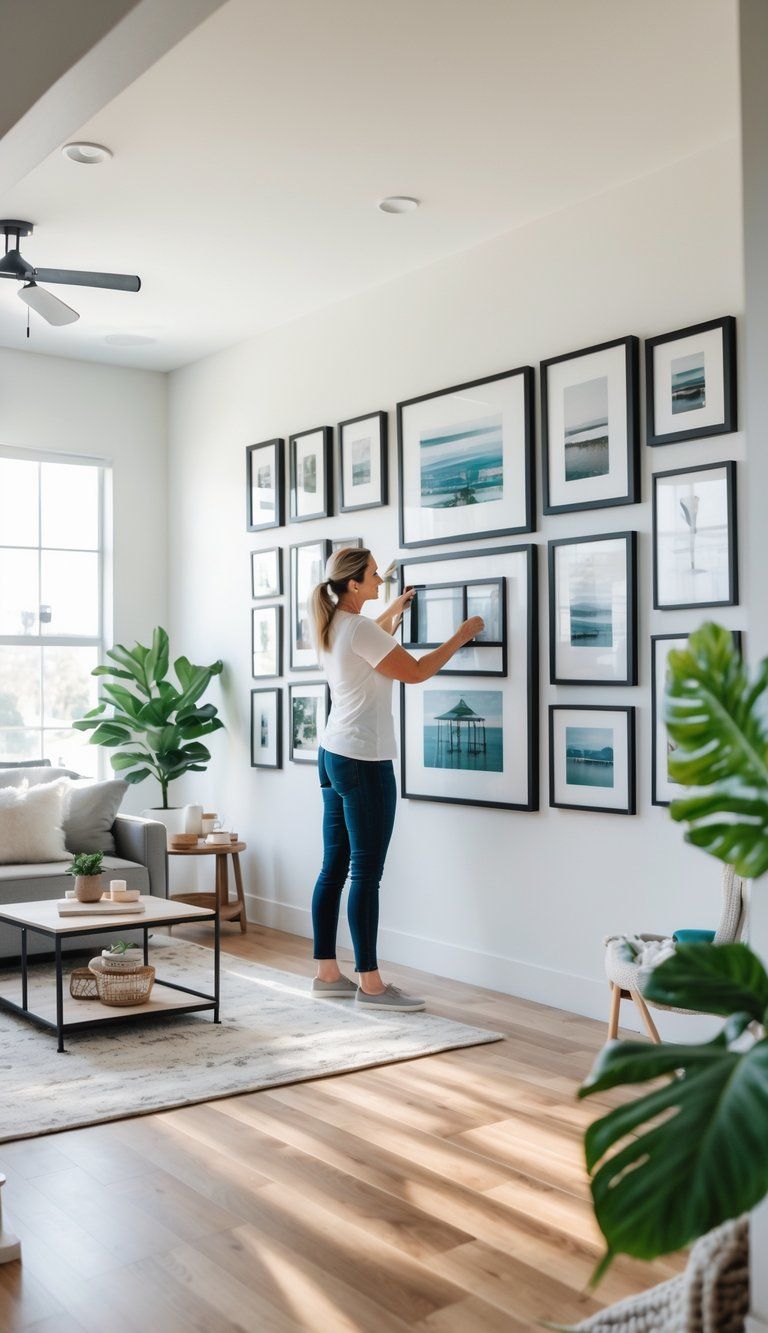
Gallery walls take empty spaces and turn them into personal art showcases. They blend your creativity with a few design basics, making a visual statement that feels totally you.
What Is a Gallery Wall?
A gallery wall is just a collection of framed artwork, photos, or cool objects you arrange together. Instead of one big piece, you use a bunch of smaller ones to make a unified display.
You get to tell your story with the pieces you pick. Maybe it’s family photos, favorite art, or quirky finds that show off your interests.
The best part? Gallery walls are super flexible. Put one above your sofa, along a staircase, or in a hallway—anywhere, really.
You can keep changing it up, too. Add new art as you find it, or rearrange things when you need a change.
Popular Gallery Wall Styles
Salon Style: This classic look uses frames of all sizes, packed in close together. It’s inspired by old art exhibitions and gives a rich, layered vibe.
Grid Layout: If you like things tidy, line up identical frames in neat rows and columns. It looks great with family photos or matching art.
Asymmetrical: Here, you mix shapes and sizes, but keep things balanced—not perfectly lined up. It feels relaxed, like you collected the pieces over time.
Ledge Display: Use wall shelves to hold framed art. You can swap out pieces easily, which is perfect if you rent or like to redecorate often.
Themed Walls: Tie your display together with color, subject, or frame style. A black and white photo wall is always classic.
The Role of Visual Interest
Visual interest keeps your gallery wall from feeling boring. It’s what grabs attention and makes people want to look closer.
Contrast adds excitement. Mix up frame colors, art styles, or even throw in a few 3D pieces like shelves or sculptures.
Change up the scale. Pair big statement pieces with smaller accents to create rhythm and keep the wall from feeling flat.
Don’t forget about negative space. Leave enough room between pieces so things don’t look crowded.
Think about how your eye moves across the wall. The arrangement should feel natural, not lopsided or awkward.
Gathering Inspiration and Art Pieces
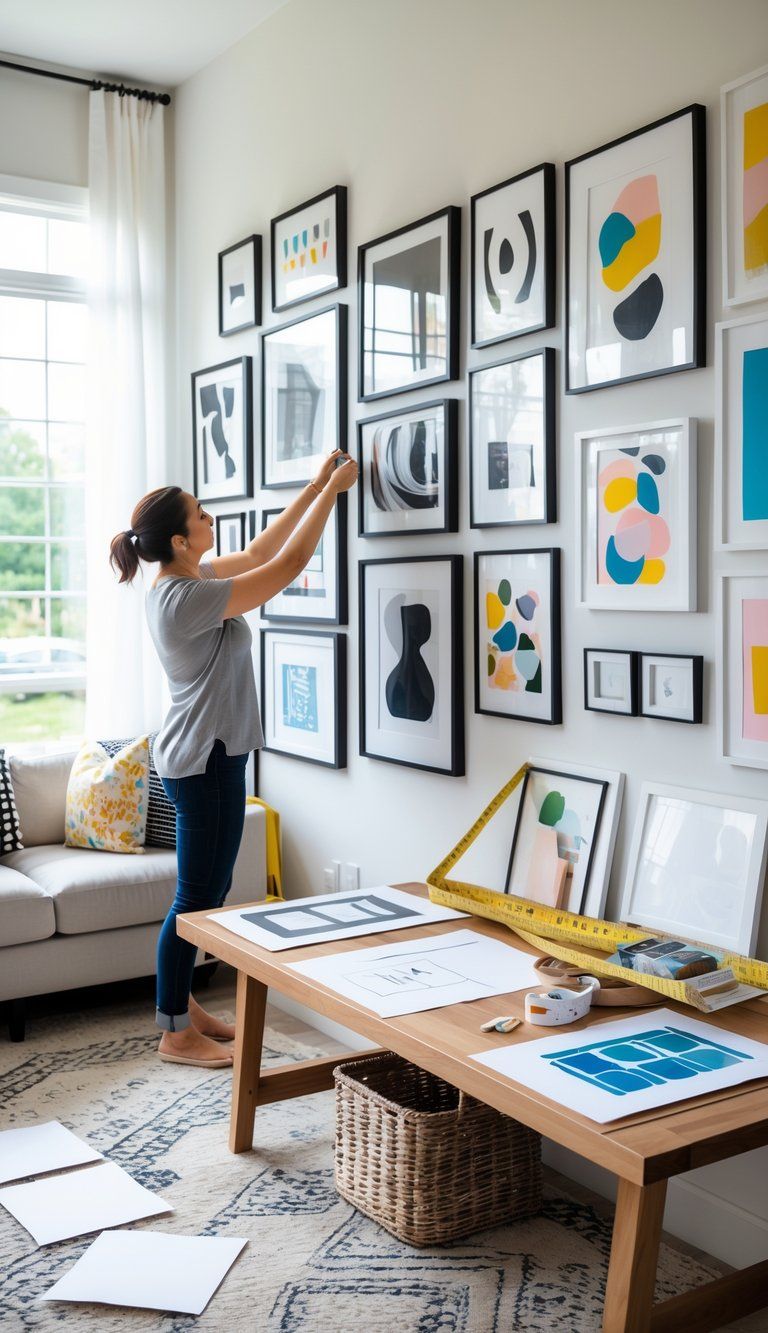
Before you start, gather art and inspiration that actually feels like you. The right mix is what makes a gallery wall feel meaningful.
Finding Inspiration on Pinterest and Instagram
Pinterest and Instagram are packed with gallery wall ideas. Make a Pinterest board and save layouts or styles you like.
On Instagram, search hashtags like #gallerywall, #wallart, or #artdisplay. You’ll find so many arrangements—some might surprise you.
Notice what you keep coming back to. Do you like things symmetrical or a bit messy? Are you drawn to bright colors or muted tones? How close together are the frames?
Save 10-15 images you love before making any decisions. This helps you spot what you’re really into.
Selecting Artworks and Prints
Pick art that actually speaks to you, not just what’s trending. Mix different mediums—paintings, illustrations, or even typography can all work.
A loose color theme can help tie everything together.
Don’t limit yourself to big-box stores for prints. Check out Etsy, Society6, Minted, or even local art fairs and student shows for unique finds.
Go for variety in size. Include one bigger “anchor” piece and mix in smaller works. Try to keep about 70% art, 30% open space on your wall.
Incorporating Personal Photos and Memorabilia
Family photos bring a personal touch. Pick your top 3-5 shots—less is more here. Black and white prints can help everything feel cohesive.
Frame special items like concert tickets, postcards, or your kid’s drawings. These little things can turn into real conversation starters.
Mix personal stuff with professional art for balance. Maybe for every personal piece, add a couple of art prints so it doesn’t feel like a scrapbook.
Building an Art Collection Over Time
Don’t rush just to fill the wall. Quality beats quantity every time. Start with 5-7 pieces you really love and let it grow naturally.
Set a budget for new art. Maybe buy one or two new pieces every few months instead of all at once.
Jot down a quick note about where each piece came from or why you love it. It adds a layer of meaning, and you’ll appreciate those stories later.
Planning Your Gallery Wall Layout
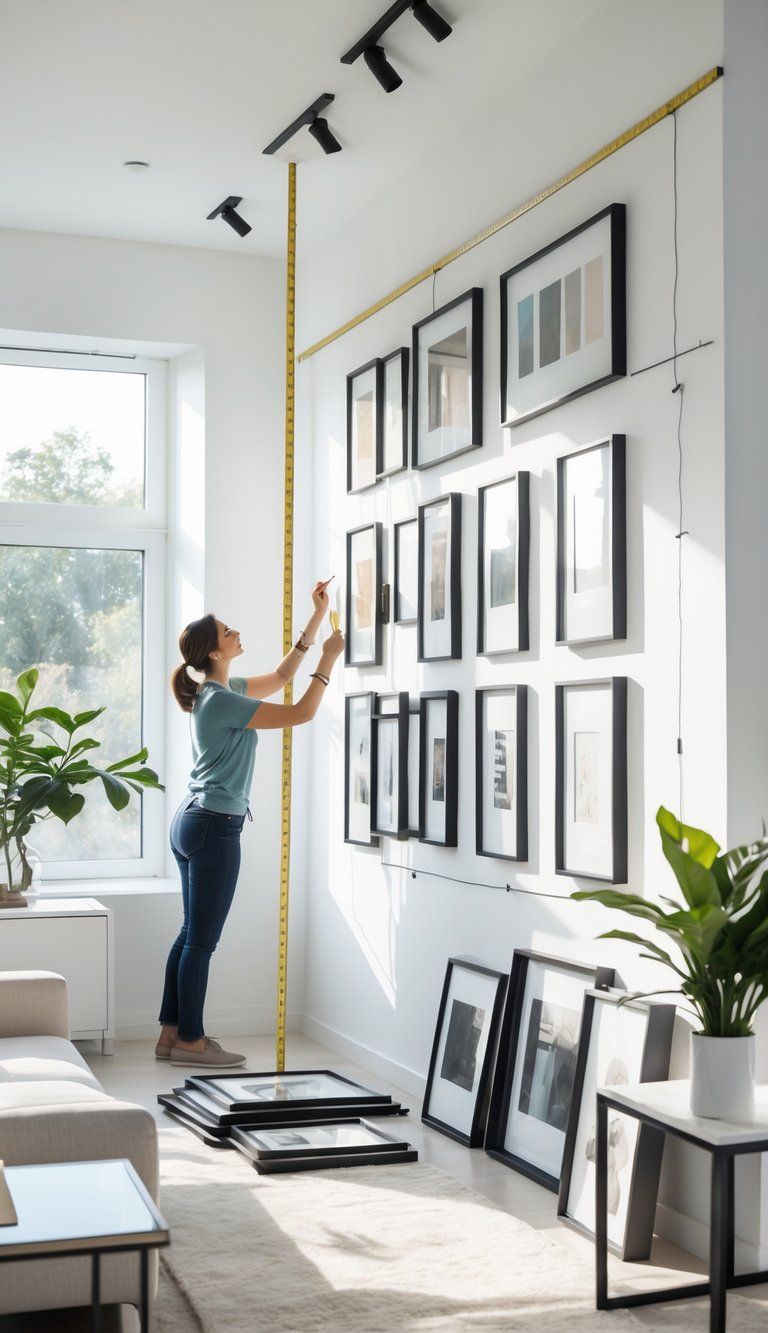
Good planning makes all the difference. Mapping out your design first saves you from a wall full of holes and a lopsided look.
Choosing a Color Palette and Theme
Pick a color palette that feels cohesive. It doesn’t have to match perfectly, but some unity helps.
You could try:
- Monochromatic: Different shades of one color
- Complementary: Opposite colors on the wheel
- Analogous: Colors that sit next to each other
Look at your existing decor and wall color. Your gallery wall should work with the room, not fight it.
Think about a theme, too—maybe family photos, nature prints, abstracts, or a mix. Find some sort of connection, whether it’s color, subject, or style.
Laying Out Paper Templates for Arrangement
Trace your frames onto kraft paper and cut them out. Mark where the hangers go.
Tape these paper shapes to your wall with painter’s tape. This lets you:
- See the layout before committing
- Adjust spacing easily
- Step back and get the big picture
Keep 2-3 inches between frames for balance. Hang the gallery at eye level—usually 57-60 inches from the floor.
Play with different layouts. Try a grid, a loose cluster, or a straight line. Don’t be afraid to move things around until it feels right.
Experimenting With Frame Sizes and Styles
Mix up frame sizes for more interest. Big statement pieces paired with smaller ones help the eye travel.
You can go with all matching frames for a formal look, or mix styles that share something in common.
If you’re mixing, keep a thread of consistency—maybe all wood frames, or all the same color.
Put heavier or larger pieces toward the center or bottom. Lighter pieces go at the edges. This grounds the whole arrangement and keeps it from feeling top-heavy.
Step-by-Step Installation Process
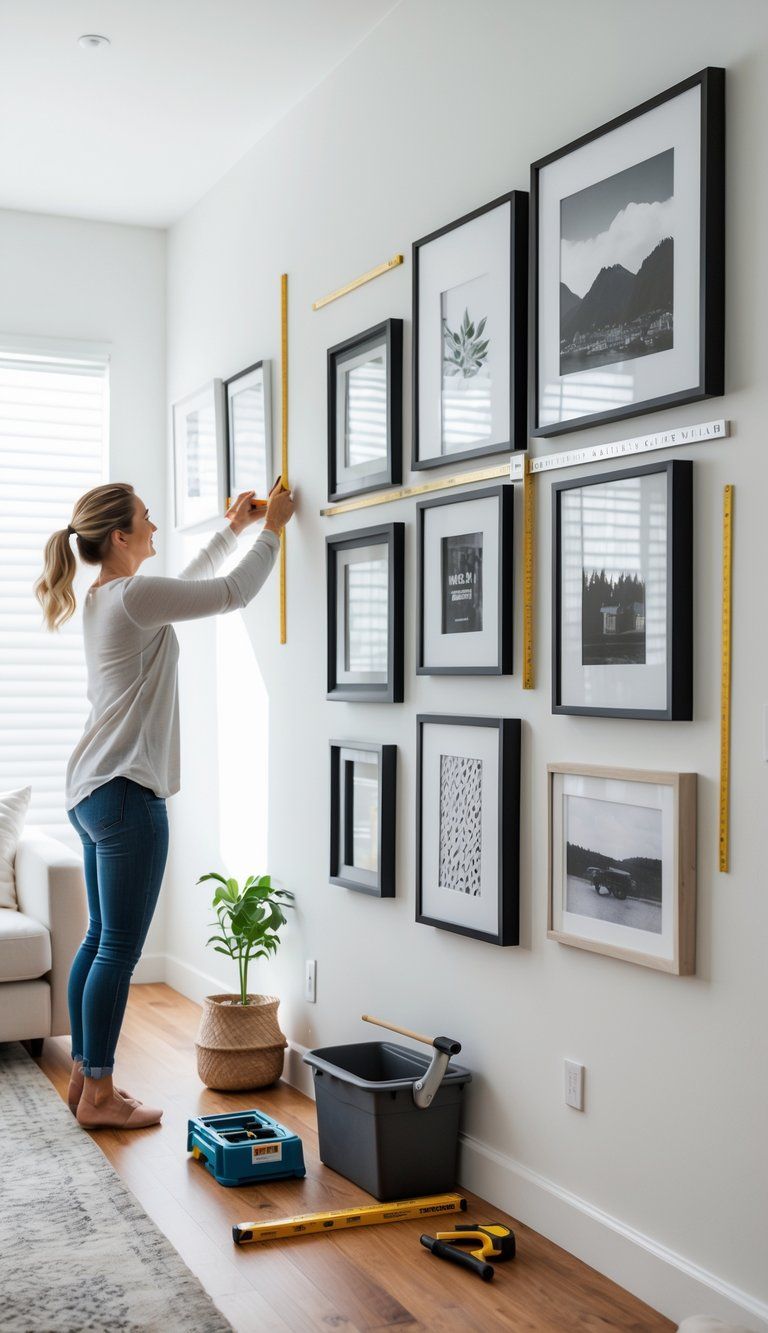
Getting your gallery wall up takes some patience and the right tools. If you go step by step, you’ll avoid a lot of frustration.
Measuring and Marking for Precision
First, measure your wall to see how much space you have. Find the center point with a tape measure—this usually becomes your anchor.
Draw a faint horizontal line at eye level (57-60 inches from the floor is standard). For a big gallery, mark your center first and work outward.
When you move your layout from the floor to the wall, double-check spacing. Use tiny pencil marks that erase easily. A laser level helps keep everything straight.
Hanging Hardware and Tools Needed
Gather your tools before you start:
- Hammer
- Tape measure
- Pencil
- Level (laser levels are awesome, but not required)
- Picture hooks or nails
- Screwdriver
- Wall anchors (for heavy stuff)
- Painter’s tape
Pick hardware that matches your wall and the weight of your art. Standard hooks work for most frames under 20 pounds. Heavier pieces need anchors or studs.
Frames with D-rings or sawtooth hangers stay put best. I’d skip wire hangers for gallery walls—they tend to shift over time.
Arranging for Proper Spacing and Alignment
Keep spacing consistent—2-3 inches usually looks best. Tight gaps feel unified, while more space lets each piece stand out.
Use painter’s tape to outline where each frame will go before you start hammering. Step back and make sure you like the arrangement.
Hang your center or biggest piece first, then work outwards. This keeps things balanced and makes the process smoother.
Check your work from different angles as you go. It’s easier to fix mistakes now than after everything’s up.
Creative Display Techniques
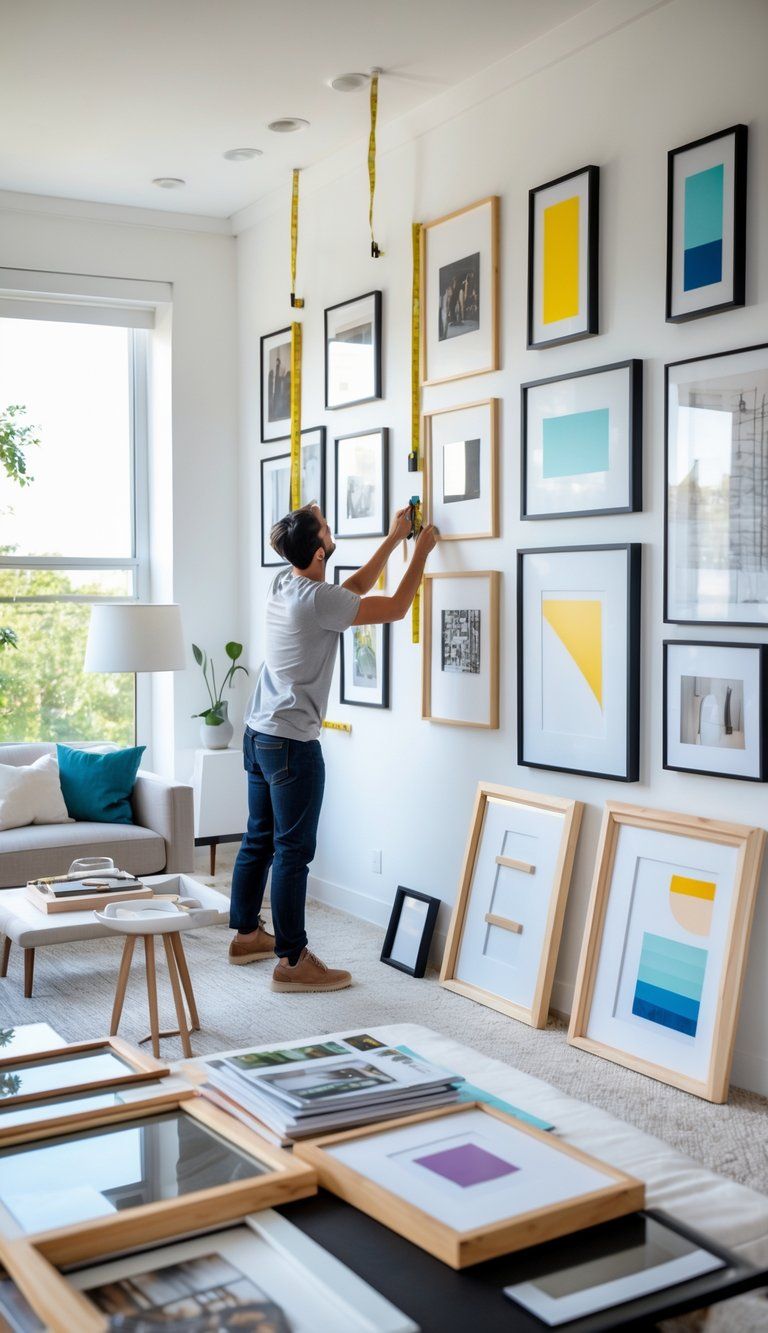
Gallery walls are all about creativity. With a few tricks, you can turn your collection into a real design moment.
Mixing Frames, Mirrors, and Wall Decor
Mixing different elements gives your gallery wall extra dimension.
Try pairing wood frames with metal ones, or blend ornate and simple designs. If frames don’t match, paint them all one color for unity.
Add mirrors to bounce light around and make the room feel bigger. Place them at different heights for interest.
Include 3D elements like shelves, wall sculptures, or even textile art. These break up the flatness and add texture.
Throw in small plants, ceramics, or woven pieces to keep things lively. Little surprises like these can really draw the eye and make your wall feel special.
Exploring Grid and Asymmetrical Layouts
The way you arrange your gallery wall totally changes its vibe.
Grid layouts bring a sense of order and symmetry. I find they fit best in more formal rooms, especially if you’ve got matching frames.
If you want to pull off a grid, keep the spacing between frames even—usually about 2 or 3 inches. Grab a level and line everything up just right.
Stick with frames that are the same size, or at least go for a repeating pattern if you’re feeling adventurous.
Asymmetrical layouts come off as more relaxed and lively. They’re perfect if you think you’ll want to add new art later.
Try starting with a bigger piece that’s a bit off-center, then work your way out with smaller pieces.
Spread out the heavier or darker art so the wall doesn’t look lopsided. Don’t bunch all the bold stuff together—let it breathe a little.
Showcasing Your Personal Style
Let your gallery wall really show off your unique personality and interests.
Tell your story by mixing professional art with personal photos, kids’ artwork, or even souvenirs you’ve picked up along the way.
Try making mini-collections that spotlight special memories or themes.
Play with color to show off your style.
You can go for a cohesive palette using frames and art in matching tones.
Or maybe you’d rather make a bold statement and mix in some contrasting colors—why not?
Change with seasons by leaving a few spots open so you can swap in holiday cards, seasonal snapshots, or new pieces of art.
That way, your gallery wall always feels fresh and keeps evolving.
Don’t stress about sticking to strict design rules.
Honestly, the best gallery walls just feel like you and your home.
Trust yourself—if it looks and feels right, it probably is.

