A well-designed kitchen layout can really change your cooking experience—from frustrating to, well, actually enjoyable. The secret? It’s all about how you organize your space for maximum efficiency.
Remember to repin your favorite images!
The key elements of an efficient kitchen include the work triangle (connecting the stove, sink, and refrigerator), enough storage, easy access to utensils, and decent counter space.
Your kitchen should show off your style and meet your practical needs. Whether you’re dealing with a small L-shaped kitchen or a big open plan, you can find layout solutions that fit.
Good kitchen design takes traffic flow into account and creates zones for cooking, cleaning, and food storage.
If you plan your kitchen layout carefully, you’ll save yourself a lot of time and hassle in the long run. The right design can make daily tasks easier and turn your kitchen into a space you actually want to use.
Even small kitchens can become efficient cooking spaces with a little thoughtful planning.
Understanding Kitchen Layout Efficiency
An efficient kitchen layout saves you time, keeps stress lower, and makes cooking feel like less of a chore. The best designs consider how you move through the space and keep everything within easy reach.
Key Principles of Efficient Kitchen Design
An efficient kitchen always starts with thoughtful planning. Your kitchen needs to fit your habits, not just the latest trends.
Space zoning breaks your kitchen into functional areas: prep, cooking, cleaning, and storage. Each zone should have what you need for its job. For example, keep your cutting boards and knives close to where you prep food.
Counter space is a big deal. Shoot for at least 36 inches of uninterrupted counter space for food prep. Extra counters near appliances give you a spot for hot pans or groceries.
Traffic flow really matters. People need to move through without bumping into the cook. Try to leave at least 42 inches for walkways, or 48 inches if more than one person is working.
Storage placement is simple: keep stuff where you use it. Pots and pans go near the stove. Dishes? Put them close to the dishwasher.
Defining the Kitchen Work Triangle
The work triangle connects your three main work spots: fridge, sink, and stove. It’s an old concept from the 1940s, but it still works for most kitchens.
Ideally, the triangle’s total perimeter should be between 12 and 26 feet, and each side should run 4-9 feet. Shorter is better for less walking; longer just makes things inefficient.
Try to keep traffic out of the triangle. Don’t let islands or peninsulas get in the way.
The work triangle helps because it:
- Cuts down on unnecessary steps
- Keeps traffic out of the cooking zone
- Makes cooking flow naturally
- Stops bottlenecks while you’re prepping meals
Modern kitchens sometimes add more work centers, like prep sinks or microwaves, to create extra triangles for different tasks.
Impacts of Workflow on Cooking Experience
A good workflow can turn cooking into something you actually look forward to. When everything’s handy, you spend less time searching and more time actually making food.
Stress reduction is huge. You don’t have to hike across the kitchen for every ingredient or tool, so cooking feels more relaxed.
Time savings add up fast. Some studies say an efficient kitchen layout can save you over 30 minutes during big meal preps. That makes weeknight dinners less overwhelming and entertaining guests less stressful.
Safety improvements come naturally. You’ll bump into people less, avoid reaching over hot pans, and cut down on spills when moving things around.
Your confidence grows when your kitchen works with you. Even complicated recipes seem easier when the space supports you.
Popular Kitchen Layout Types
Choosing the right kitchen layout changes how you cook, entertain, and use your space every day. Each layout has its own perks, depending on your home’s size, shape, and how you like to cook.
Galley Kitchen Layout
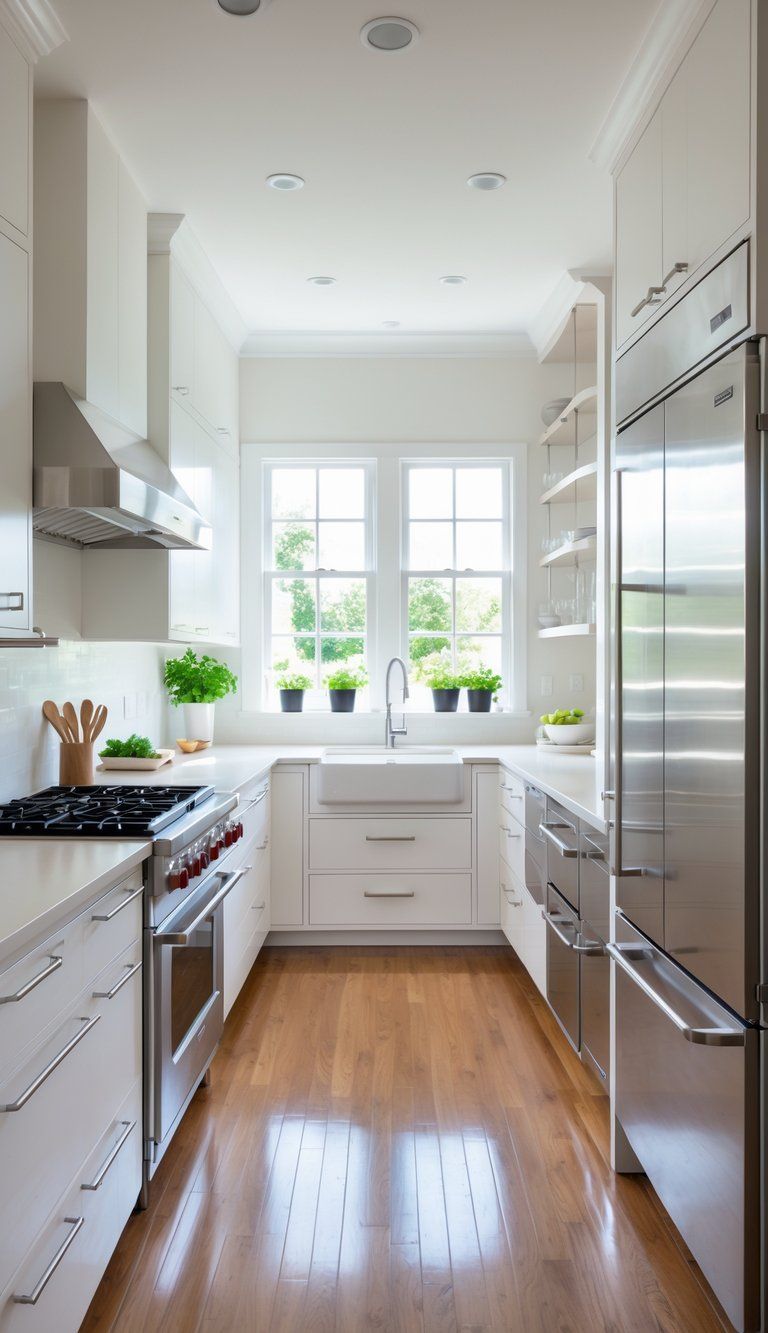
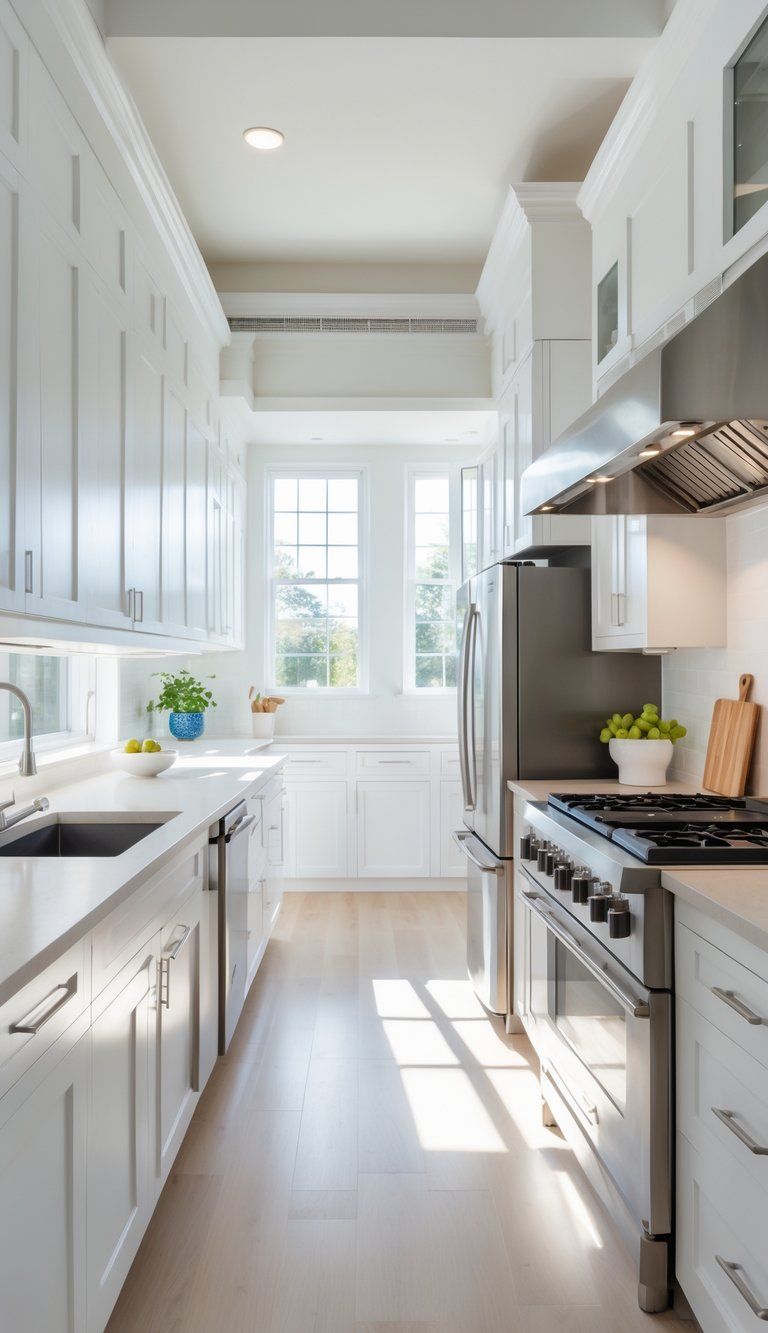
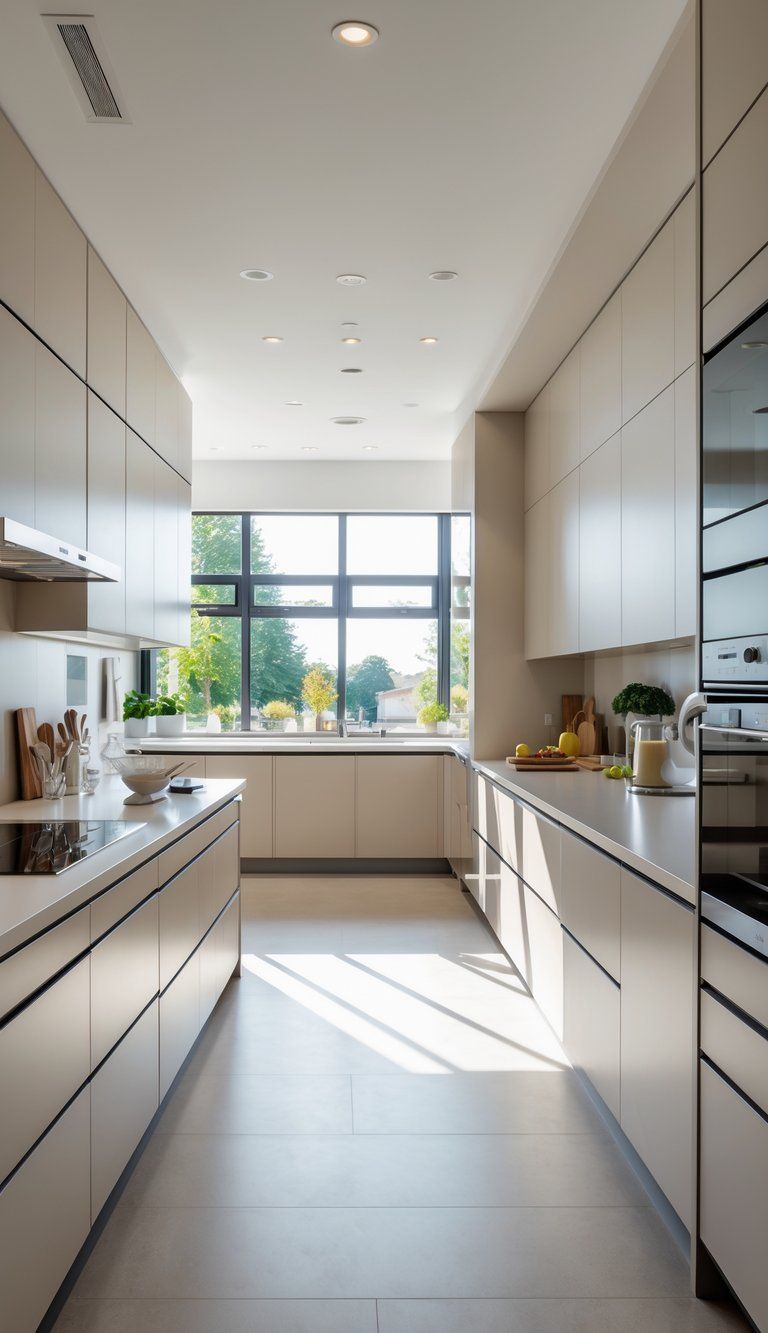
The galley kitchen has two parallel countertops with a walkway in between. It’s super efficient—perfect for smaller homes or apartments where every inch counts.
Key perks:
- Great workflow: Everything’s within reach
- Space saver: Packs a lot into a little area
- Budget-friendly: Less cabinetry needed
Most galley kitchens run 7-12 feet long, with 3-5 feet between counters. It’s great if you cook solo, but it can feel tight with more than one person.
For best results, put the sink and stove on opposite walls. Light colors and good lighting help keep the space from feeling boxed in.
L-Shaped Kitchen Layout
The L-shaped kitchen uses two walls that meet to form a practical work triangle. It’s flexible and fits lots of homes.
Why people like it:
- Open feel: Keeps traffic away from the cook
- Flexible: You can add a dining area or an island
- Good for guests: Lets people chat without getting in your way
Usually, you’ll want at least 8 feet on each leg of the “L.” The corner area is great for storage—think lazy Susans or pull-out shelving.
L-shaped kitchens work well in open floor plans, creating a natural divide between kitchen and living spaces. Families who like to chat between rooms will appreciate this layout.
U-Shaped Kitchen Layout
The U-shaped kitchen wraps around you on three sides, giving you tons of storage and counter space. Everything’s right there, so you barely need to move.
U-shaped perks:
- Loads of storage: Three walls of cabinets
- Efficient: Fewer steps while cooking
- Room for teamwork: Multiple cooks can work together
You’ll need at least 10 feet between opposite walls for a U-shape. In tighter spaces, you can use shallower cabinets on one wall to keep things comfortable.
This layout works best in medium to large kitchens. In smaller spaces, it might feel a bit boxed in. If you have a big area, add an island in the middle to create a “G-shaped” kitchen for even more space and seating.
One-Wall Kitchen Layout
The one-wall kitchen puts everything—sink, stove, fridge—along a single wall. It’s a real space-saver for studios, lofts, or open-concept homes.
Why go for it?
- Super efficient: Takes up the least space
- Saves money: Fewer cabinets and less plumbing
- Feels open: Blends right into living areas
To make it work, line up your appliances with the fridge at one end, sink in the middle, and stove at the other. This gives you a mini work triangle.
If you need more prep space, add a kitchen island or a rolling cart. Use tall pantries and upper cabinets to get the most out of your wall space.
Advanced and Modern Kitchen Layouts
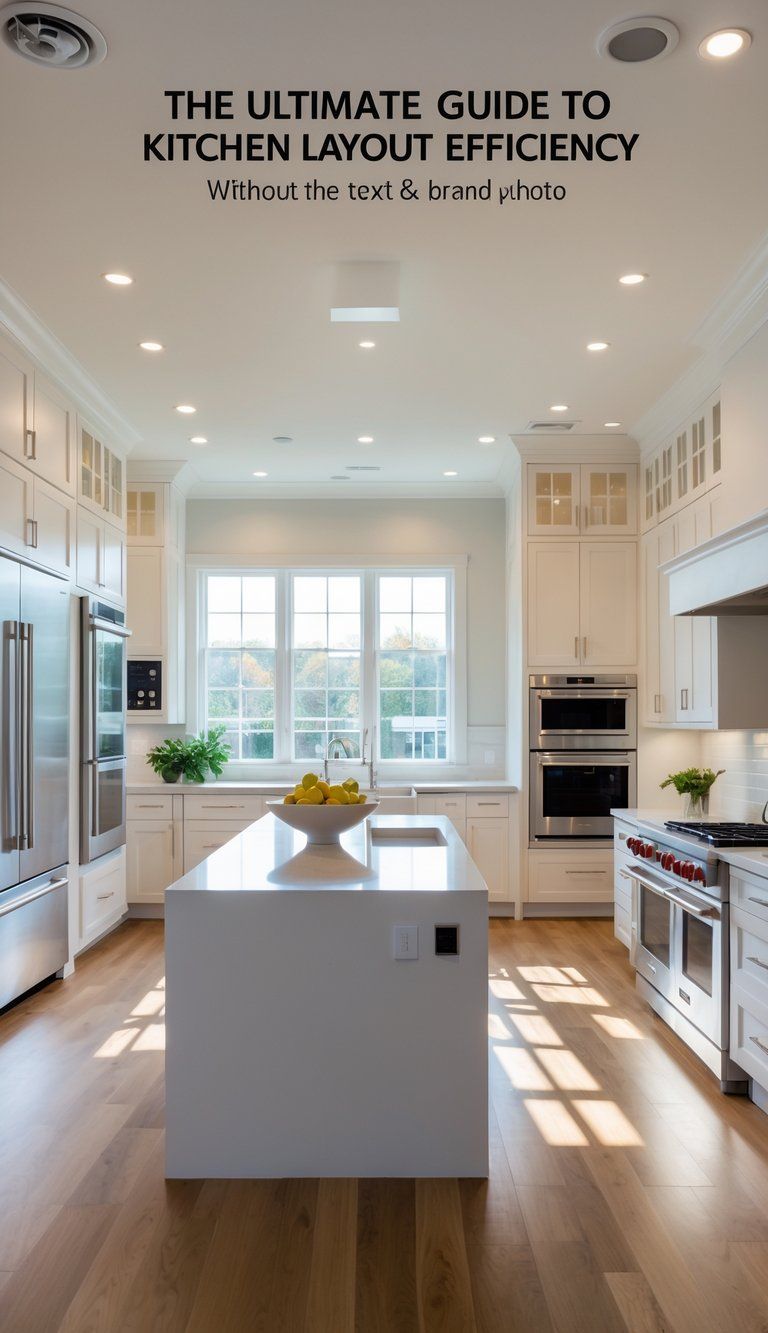
Modern kitchen designs open up all sorts of options beyond the basics. These layouts maximize function and style, making your kitchen a place you’ll actually want to hang out in.
Island Kitchen Layouts
Island layouts add a freestanding workspace right in the center. It’s a favorite for good reason—you get extra counter space, more storage, and better traffic flow. An island can be a prep area, a casual dining spot, or even hold a sink or cooktop.
Islands work best if you’ve got at least 42 inches of clearance all around. That way, you can move comfortably.
A lot of people add seating to their island, turning it into a social hub. You can customize your island with features like:
- Built-in wine racks
- Microwave drawers
- Deep drawers for pots and pans
- Pullouts for trash and recycling
G-Shaped Kitchen Layout
If you need max storage and counter space, the G-shaped layout delivers. It’s basically a U-shaped kitchen with an extra peninsula or partial fourth wall.
This layout gives serious cooks a great workflow. All your essentials stay close, and the extra wall adds workspace without fully closing things off.
G-shaped kitchens fit best in medium-sized spaces. Make sure you leave at least 42 inches between counters so it doesn’t get too crowded.
The peninsula can offer:
- Bar seating for quick meals
- Storage on both sides
- A second sink or cooktop
Peninsula Kitchen Layout
A peninsula layout is like a connected island—one end attaches to a wall or cabinet. It works well in smaller spaces where a full island just won’t fit.
Peninsulas help divide the kitchen from other rooms, which is perfect for open-concept homes where you want a little separation.
You can use a peninsula to:
- Mark off the cooking area
- Add casual seating facing the living space
- Create a buffet for serving guests
- Install a secondary sink or cooktop
Peninsula layouts keep the kitchen triangle intact and add more counter space. They turn a straight or L-shaped kitchen into a more useful C or G shape.
Optimizing Workflow and Functionality
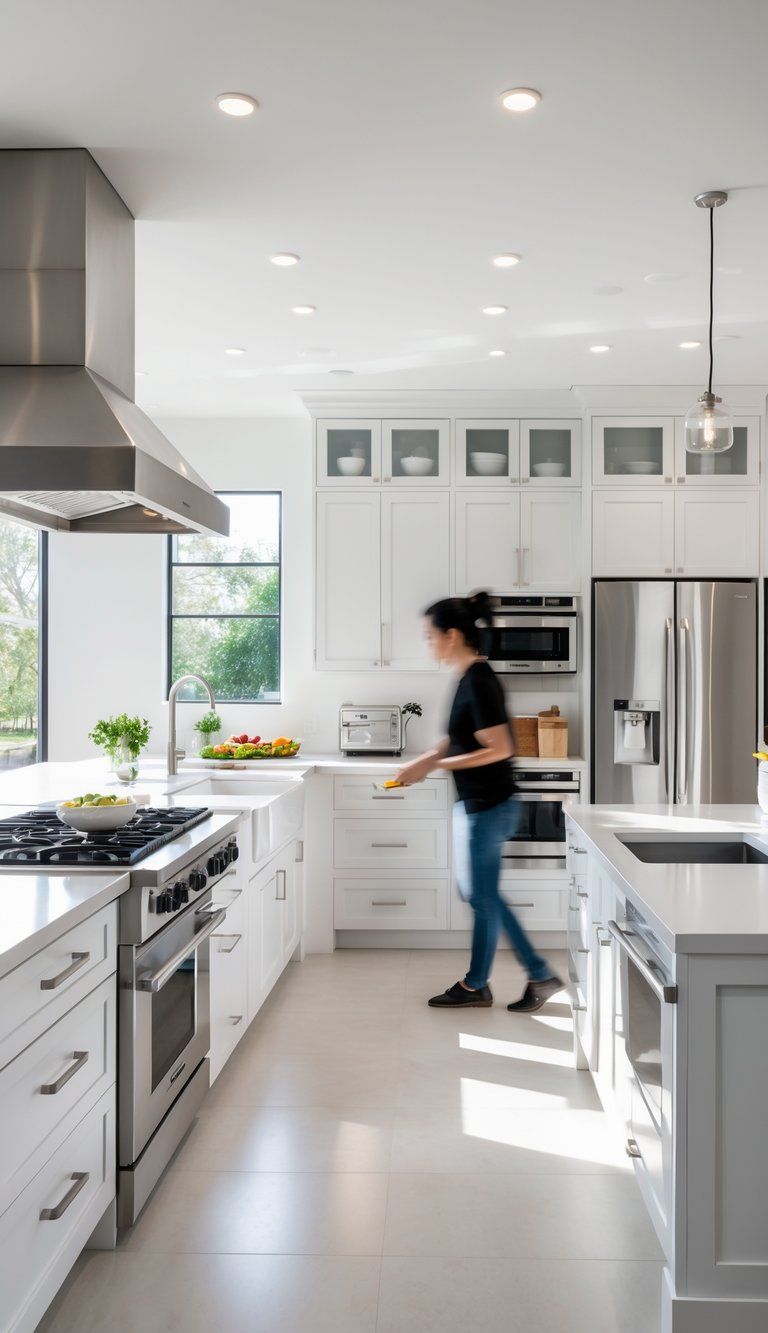
If you want an efficient kitchen, start by planning how you’ll actually move and work in the space. The right layout saves you time, cuts down on frustration, and just makes cooking nicer.
Strategic Appliance Placement
The work triangle—sink, stove, fridge—forms the backbone of kitchen efficiency. Keep these close, but not too close. Aim for a triangle with sides adding up to 12-26 feet.
Put your fridge where you can reach it from the kitchen and where others can grab snacks without getting in your way. The sink feels best under a window or facing the room.
Make sure your stove or cooktop has counter space on both sides for prepping and setting down hot pans. Avoid putting it right in the middle of a busy path.
Try these appliance placement tips:
- Keep the dishwasher within 36 inches of the sink
- Mount microwaves at eye level or tuck them into an island to free up counters
- Store daily-use small appliances nearby, but don’t let them hog your main work areas
Maximizing Prep and Counter Space
Counter space is gold in the kitchen. Try for at least 36 inches of uninterrupted counter next to your main cooking area.
Set up zones for different tasks. A baking zone needs space for rolling dough and a spot for baking sheets. Meal prep works best with a cutting board and knives close by.
Islands give you flexible workspace. You might:
- Add an overhang for stools
- Install outlets for gadgets
- Put in a prep sink to speed up meal prep
Use your walls with knife strips or hanging pot racks. This keeps counters clear and tools handy.
Smart storage like pull-out trash and recycling bins keeps the floor tidy and makes cleanup easier.
Space Utilization for Different Home Sizes
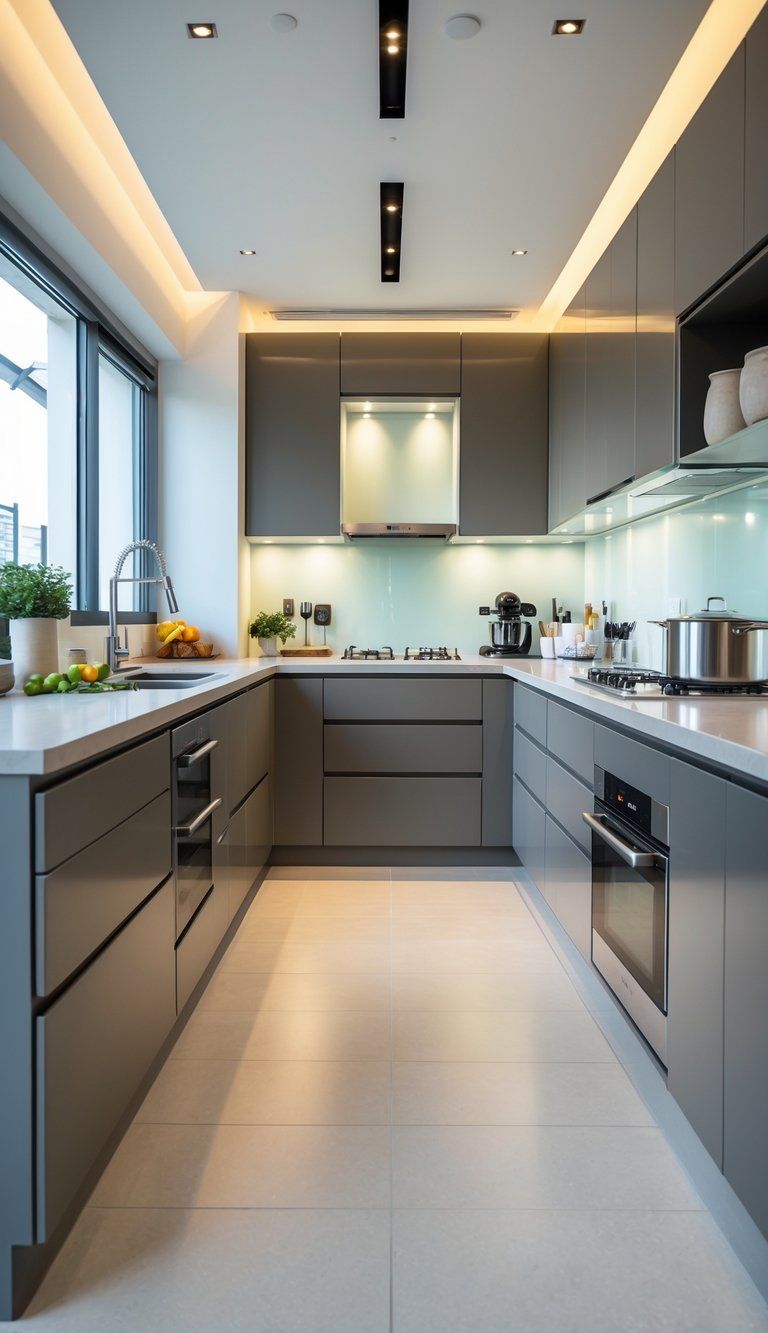
Kitchen design needs to fit the space you have. The right layout creates efficiency—whether you’re working in a tiny apartment or a big family home.
Designing for Small Spaces and Apartments
Living in a small apartment means you need to make every inch work. Go vertical with storage—install cabinets that stretch all the way to the ceiling.
You’ll love multi-functional features like pull-out cutting boards or foldable tables. Convertible islands can really save the day when space is tight.
Opt for compact appliances that still pack a punch. Slim refrigerators (24″ wide) and 18″ dishwashers are made just for these kinds of spaces.
Mount things on the wall to free up counters. Magnetic knife strips and hanging pot racks beat bulky countertop blocks any day.
Light colors help tiny kitchens feel bigger. White cabinets with glass doors open up the space without sacrificing storage.
Solutions for Narrow and Challenging Floor Plans
Galley layouts shine in narrow kitchens. Put the main work zones on opposite walls so you can move efficiently without bumping into anyone.
Awkward L-shaped spaces get easier to use with corner cabinets featuring pull-out shelving or lazy Susans. Suddenly, those annoying corners turn into useful storage.
Sliding doors work where swinging ones won’t fit. Pull-out pantry systems (as slim as 12″ wide) squeeze into tight spots. Under-cabinet lighting chases away shadows.
Reflective surfaces like glass backsplashes bounce light and make the room feel less cramped. Mirrored cabinet panels can do the same trick.
If you’ve got a weird little nook, try floating shelves. They fit where regular cabinets just won’t.
Optimizing Layouts for Family Kitchens
Family kitchens need zones, so everyone can pitch in without stepping on toes. The island is the heart of it all—shoot for at least 3′ x 5′ with seating on one side.
Set up dedicated spots for different activities. Maybe a homework and device charging area, a baking station with lower counters, or a beverage center away from the stove.
Open shelving for everyday dishes means no one’s digging through cabinets at the same time. That’s a win for busy mornings.
A message center with a calendar and charging stations keeps the chaos under control. Place it by the entrance, not smack in the middle of your cooking zone.
Bulk storage matters for families. Adjustable pantry shelves let you adapt as your needs change.
Storage Solutions and Organization
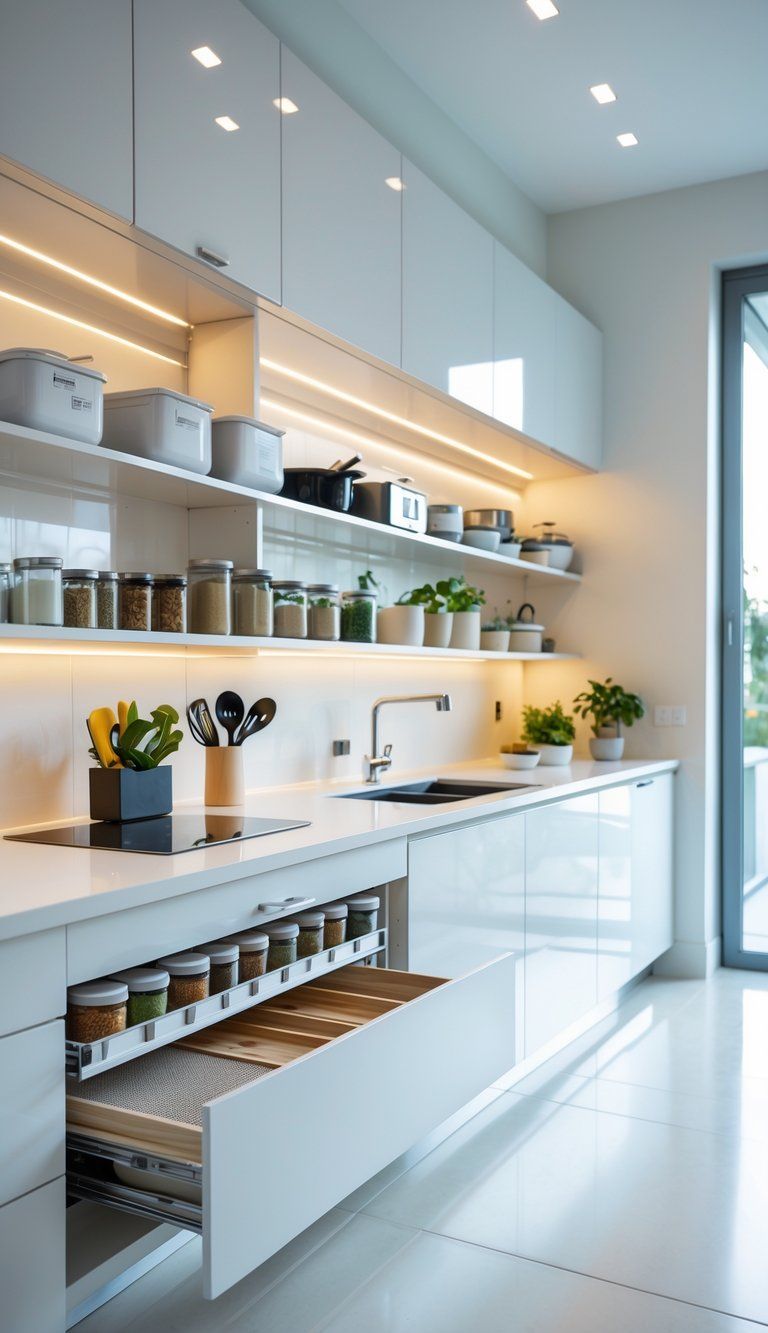
Smart storage makes a kitchen work. The right organization turns chaos into a space where cooking actually feels fun.
Utilizing Corner Cabinets and Custom Features
Corner cabinets usually turn into black holes if you don’t plan ahead. Lazy Susans make those corners usable, spinning items into reach instead of losing them in the back.
Pull-out corner drawers are a game-changer too. They slide all the way out, so you’re not stuck stretching or bending to reach stuff.
Try these for corner cabinets:
- Blind corner pull-outs: Pull hidden things right into view.
- Magic corners: Multi-tiered trays that swing completely out.
- Diagonal corner cabinets: Angled doors give you direct access.
With the right solution, you can squeeze out up to 30% more storage from your kitchen corners.
Choosing Effective Cabinetry Layouts
Your cabinet layout really changes how a kitchen feels. Upper cabinets work best at 18 inches above the counter—high enough for space, low enough to reach.
Some layouts just make more sense:
- Floor-to-ceiling cabinets: Use every bit of vertical space.
- Cabinet depth variations: Go deep on the lowers, shallow up top.
- Island storage: Add cabinets on both sides if you can.
Pull-out shelves beat regular shelves in lower cabinets every time. They bring everything forward, so you’re not digging in the dark.
Cabinet dividers for baking sheets and trays keep things tidy and easy to grab. No more clattering stacks when you just want one pan.
Incorporating Customized Storage Options
Custom storage fits your habits better than any off-the-shelf solution. A spice drawer near the stove? Yes, please—no more hunting for seasonings mid-recipe.
Divided drawers keep utensils from turning into a tangled mess. Try these custom ideas:
- Appliance garages: Hide small gadgets but keep them close.
- Pull-out trash systems: Tuck bins away, but make them easy to reach.
- Custom drawer organizers: Fit them to your tools, not the other way around.
Don’t waste toe-kick space or those skinny gaps between cabinets. They’re perfect for baking sheets or spices.
The best storage works with how you actually cook—not just what some magazine says.
Enhancing Lighting and Ventilation
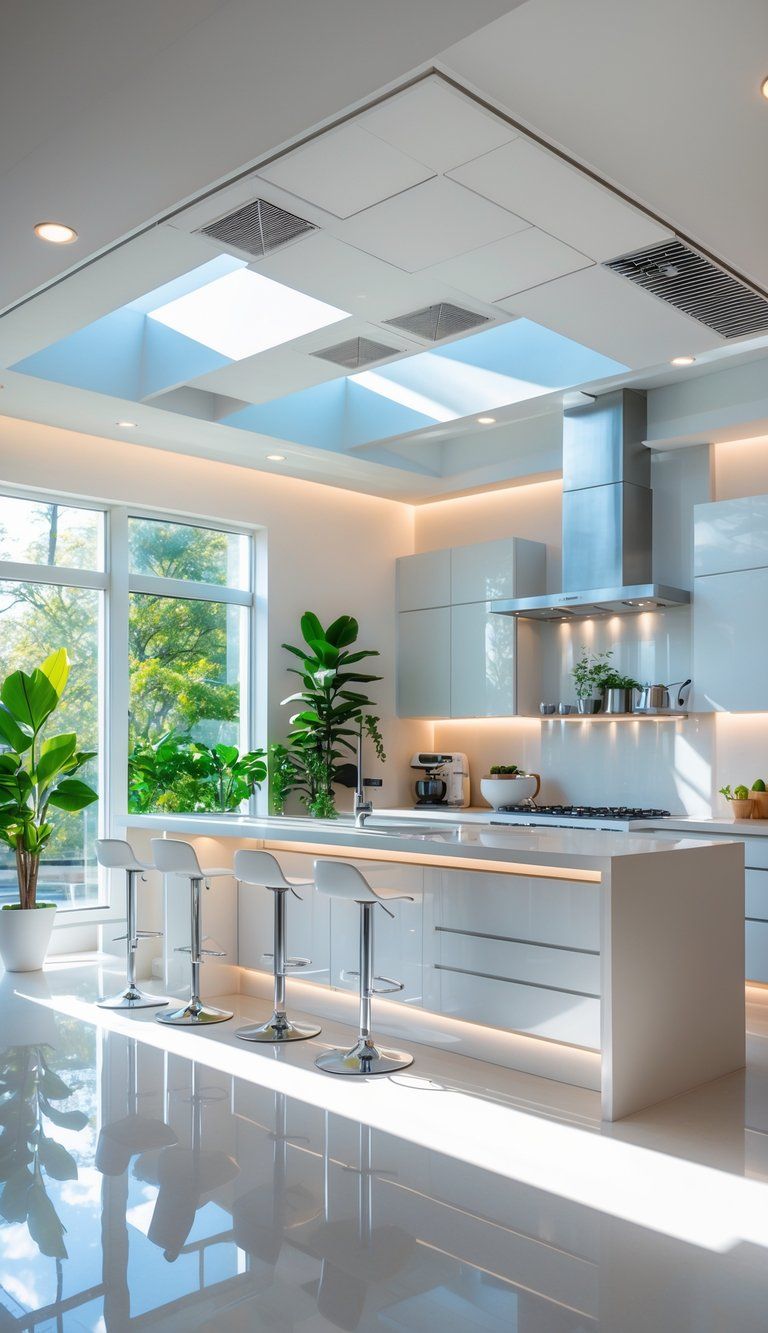
Lighting and ventilation aren’t just nice extras—they totally change how your kitchen feels. Together, they make cooking easier and the space more enjoyable.
Task Lighting for Key Kitchen Zones
Task lighting lights up the spots where you actually work. Under-cabinet lights (LED strips or puck lights) get rid of shadows so you can see what you’re chopping or mixing.
Pendant lights work best above islands or peninsulas. Hang them 30-36 inches above the surface for focused, glare-free light. Go for fixtures that fit your vibe, but make sure they’re bright enough.
Don’t skip the sink! A light above it means you can actually see what you’re washing. Recessed lights, if positioned right, keep shadows away.
Range hoods with built-in lights give you both ventilation and a bright spot over the stove. That’s handy.
Incorporating Natural and Ambient Light
Natural light just feels good and saves energy. If you can, get bigger windows or even a skylight. Set up your main work spots to catch that daylight.
Window treatments should let in light but still give you privacy. Café curtains or light-filtering blinds work well.
For ambient light, recessed ceiling fixtures give even coverage. Space them 4-6 feet apart to avoid dark corners. Dimmer switches let you adjust the vibe as the day changes.
Mix ceiling lights with wall sconces or cove lighting. It adds depth and gets rid of harsh shadows, making everything feel warmer.
Integrating Proper Kitchen Ventilation
Ventilation keeps smells, smoke, and moisture from wrecking your kitchen. Always vent range hoods outside if you can—don’t just recirculate air.
Pick a hood that sticks out at least 3 inches past your cooktop on each side. For every 12 inches of stove width, you want 100 CFM (cubic feet per minute) of airflow.
Check noise ratings—look for 3-6 sones or less so you can still talk while cooking.
Ceiling fans or window fans help move air around, especially in steamy weather. They keep things comfortable year-round.
Some smart ventilation systems adjust themselves based on what’s happening in the kitchen. A few even hook up to your phone so you can control them from anywhere.
Material and Finish Selection for Efficiency
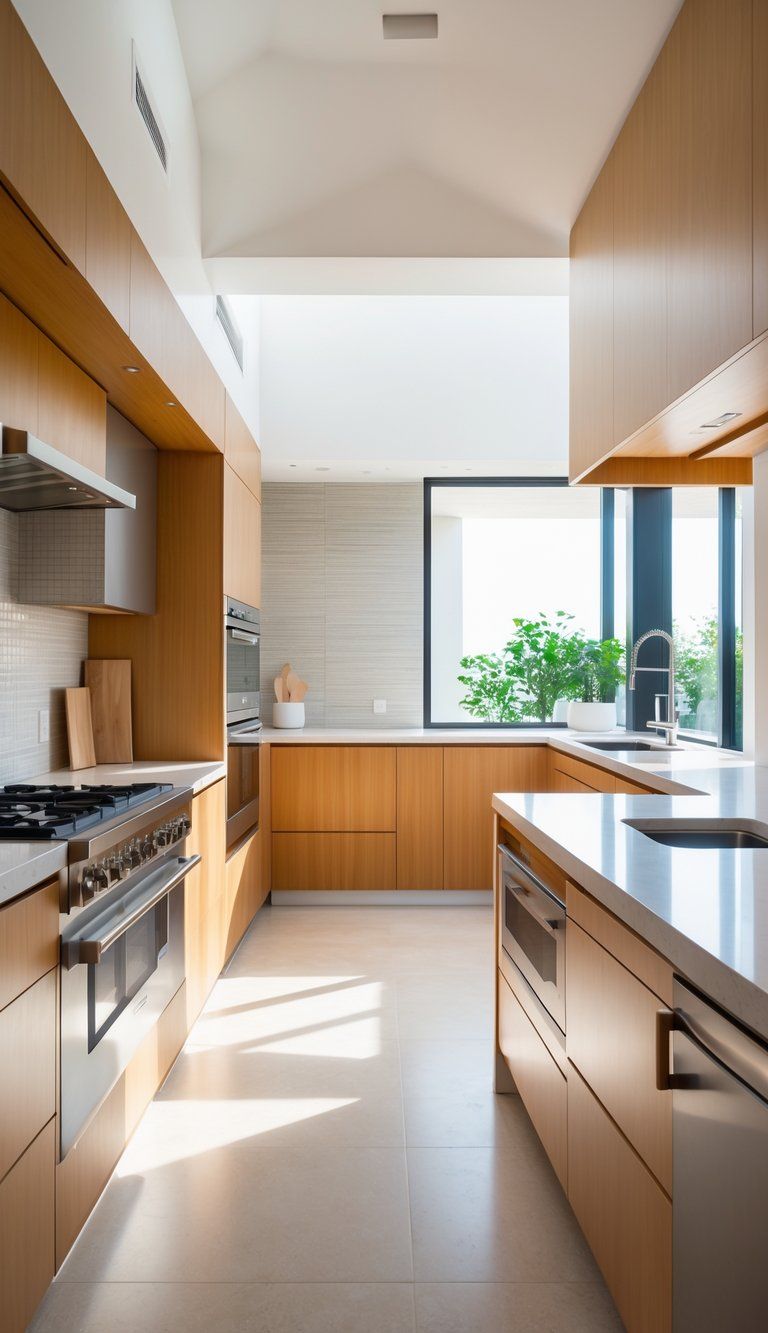
Materials and finishes make a huge difference in how easy your kitchen is to use (and clean). Choose wisely and you’ll save time, effort, and even money.
Durable Countertops and Flooring
Quartz countertops are tough and low-maintenance—no sealing, no stains, just wipe and go. If you’re busy, they’re a lifesaver.
Porcelain tile floors hold up to water, stains, and scratches. Get tiles with a little texture so you’re not slipping when things get wet.
Luxury vinyl plank (LVP) is another solid pick. It’s softer underfoot, water-resistant, and comes in styles that look like wood or stone—without the price tag.
If you’re on your feet a lot, add cushioned mats near prep zones. Your back will thank you.
Hardware and Cabinet Accessories
Pull-out drawers in base cabinets make pots and pans easy to see and grab. No more rummaging in the back.
Helpful hardware:
- Soft-close hinges (no more slamming)
- Touch-latch doors (open with a nudge)
- Pull-out waste bins (hide the trash but keep it handy)
- Drawer dividers (utensils stay sorted)
Look for handles that won’t snag your clothes. D-shaped pulls are comfy for everyone.
Upper cabinets with hydraulic lifts let doors stay open, so you can grab what you need with both hands.
Selecting Materials for Workflow
Backsplashes should match your cooking style. If you’re a messy cook, glass or ceramic tile with minimal grout is easy to wipe clean. Big tiles or solid surfaces mean fewer seams for gunk to hide.
Sink choice matters. Stainless steel is durable and shrugs off heat, while composite sinks are quieter and resist scratches. Undermount sinks don’t have a rim, so crumbs sweep right in.
Choose cabinet finishes that hide smudges and clean up fast. Flat doors collect less dust, and fingerprint-resistant finishes are a lifesaver for families.
Motion-sensor faucets keep things cleaner when your hands are messy. They also cut down on water waste.
Seating and Social Spaces in Kitchen Layouts
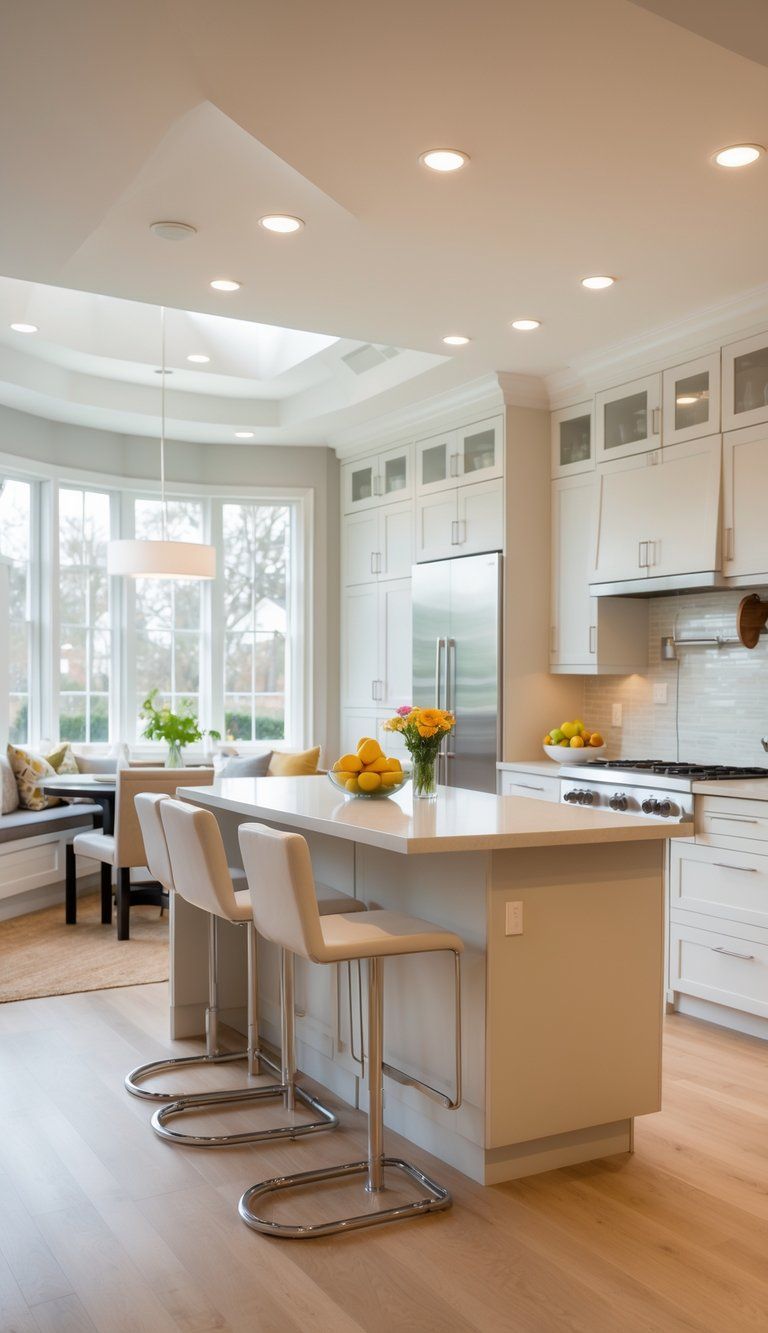
Kitchens aren’t just for cooking anymore—they’re where everyone hangs out. The right seating turns your kitchen into a space for both work and play.
Casual Seating and Breakfast Bars
Breakfast bars are a smart way to add seating without crowding the room. Just extend a counter or pop in a peninsula, and you’ve got a spot for meals or conversation.
For comfortable seating, allow 24 inches of width per person and at least 15 inches of knee space under the counter. Counter-height stools (36 inches) fit standard counters, while bar-height stools (42 inches) suit taller ones.
Try adding:
- Built-in charging stations
- Pendant lights to mark the space
- Storage drawers facing the kitchen
- Footrests for longer sits
Breakfast bars are perfect in galley or L-shaped kitchens where space is tight but you still want a place to chat.
Integrating Seating Areas with Kitchen Islands
Kitchen islands naturally draw people in. When you add seating, think about how the space will flow.
For family meals, plan for 3-4 seats on one side. If you like entertaining, L-shaped seating on two sides works well. Leave at least 36 inches behind the stools so everyone can move around.
Island seating feels best when the cook faces the guests. Keep storage on the kitchen side, and let the counter overhang by 12-15 inches for knee room. Don’t forget electrical outlets for charging devices.
Banquettes or built-in benches on the island can totally change the vibe, making it more inviting for long chats or casual meals.
Incorporating Smart and Energy-Efficient Solutions
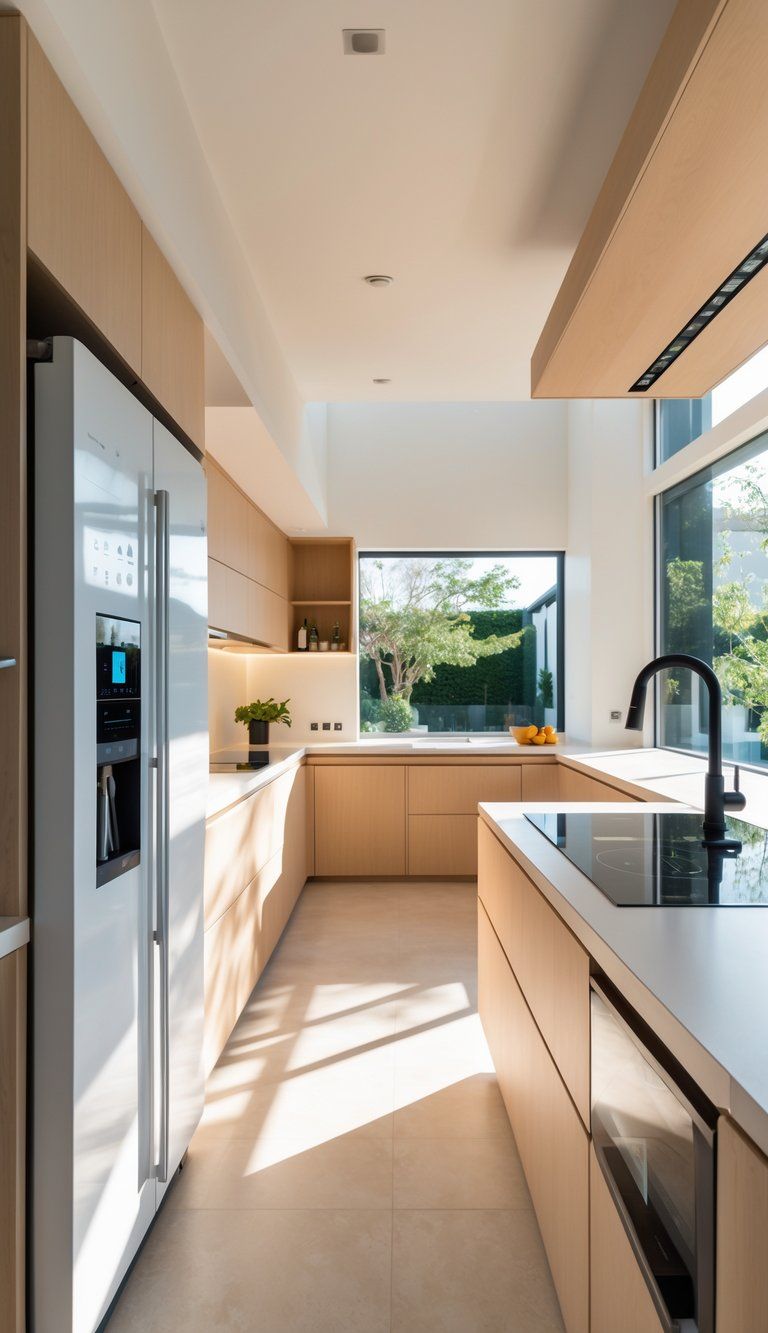
Smart features and energy-efficient designs can really upgrade your kitchen. With the right tech, you’ll save time, cut energy bills, and make your space more enjoyable.
Integrating Smart Appliances for Efficiency
Smart appliances really can boost your kitchen’s functionality in ways you might not expect.
Refrigerators with built-in cameras let you peek inside while you’re at the store. That saves time and helps you avoid buying duplicates or letting food go to waste.
Smart ovens? You can preheat or tweak the temperature from your phone—super handy if you’re juggling a lot at once.
Voice-controlled assistants like Alexa or Google Home make it easy to set timers, jot down shopping lists, or run other smart gadgets. Honestly, it’s a lifesaver when your hands are covered in dough or sauce.
Here are some popular smart kitchen tools you might want to check out:
- Smart faucets that work with a wave and let you dial in the temperature
- Connected dishwashers that use less water and ping you when they’re done
- Intelligent cooking appliances that suggest recipes based on what you’ve got in the fridge
You can connect most of these devices through a central hub, which ties everything together and makes your kitchen feel a bit futuristic.
Enhancing Energy Efficiency in Kitchen Design
You’ll want to start with smart appliance choices if you care about energy efficiency.
Go for ENERGY STAR certified models—they use a lot less energy than the old ones, sometimes up to 50% less. Induction cooktops also heat up fast and don’t waste as much energy as gas or traditional electric ranges.
Lighting makes a bigger difference than you might think. LED under-cabinet lights sip electricity but still give you great task lighting.
If you add motion sensors, you don’t even have to remember to turn lights off when you leave the room.
Water conservation? That’s important too. Low-flow faucets cut down on water use without making you wait forever to fill a pot.
Try these extra energy-saving tips:
- Install a ventilation system that’s the right size, so it clears the air but doesn’t waste power
- Pick refrigerators and freezers with good insulation to keep things cold without extra effort
- Keep appliances away from heat sources so they don’t have to work overtime
If you use smart power strips, you can stop appliances from sipping power in standby mode. It’s a small change, but it adds up over time.
Designing for Ergonomics and Accessibility
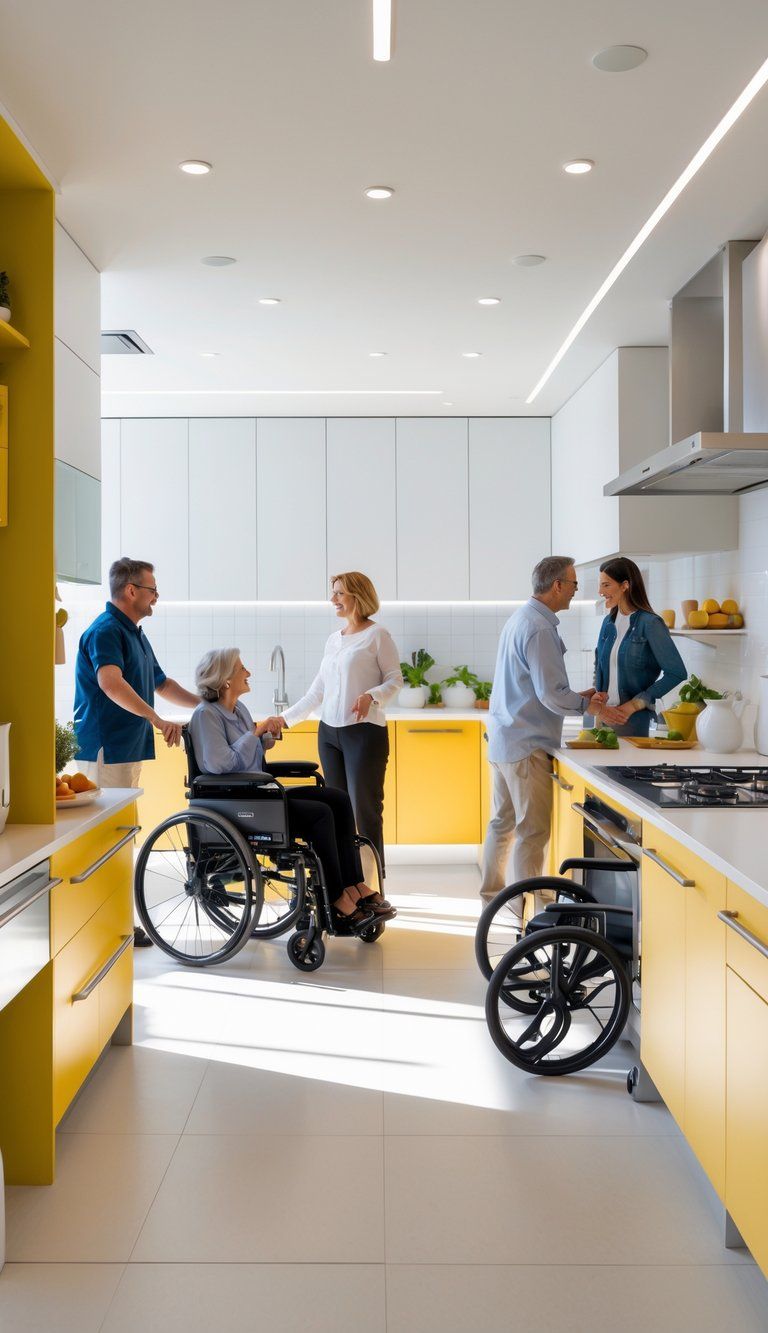
You want a kitchen that works with your body, not against it. That makes cooking way easier—and honestly, a lot more enjoyable.
Ergonomic design tries to create spaces that reduce strain and boost comfort. It’s not just about looks; it’s about how you feel in the space.
The work triangle connects your stove, sink, and fridge. Try to keep the walking path between them somewhere between 12 and 26 feet.
That saves steps and helps you avoid getting tired while prepping meals. Makes a surprising difference, doesn’t it?
Counter heights might seem like a small thing, but they matter a lot. The ideal working height is about 3-4 inches below your elbow.
For most, that means:
- Standard counters: 36 inches high
- Baking centers: 30-32 inches high
- Seated work areas: 28-30 inches high
Good lighting helps you avoid eye strain and accidents. Put task lighting under cabinets so you can actually see what you’re chopping.
Think about these accessibility features—honestly, everyone benefits:
- Pull-out shelves in lower cabinets
- Drawer organizers for utensils and tools
- Lever-style handles (way easier to grab than knobs)
- Side-opening ovens at counter height
Keep the stuff you use most between your shoulders and knees. This “golden zone” cuts down on bending and reaching, which your back will thank you for.
Leave at least 42 inches between counters so people can move around without bumping into each other. Especially if you’ve got more than one cook in the kitchen.
Even small ergonomic tweaks can totally change how your kitchen feels day to day. Isn’t it worth making things a bit easier?

